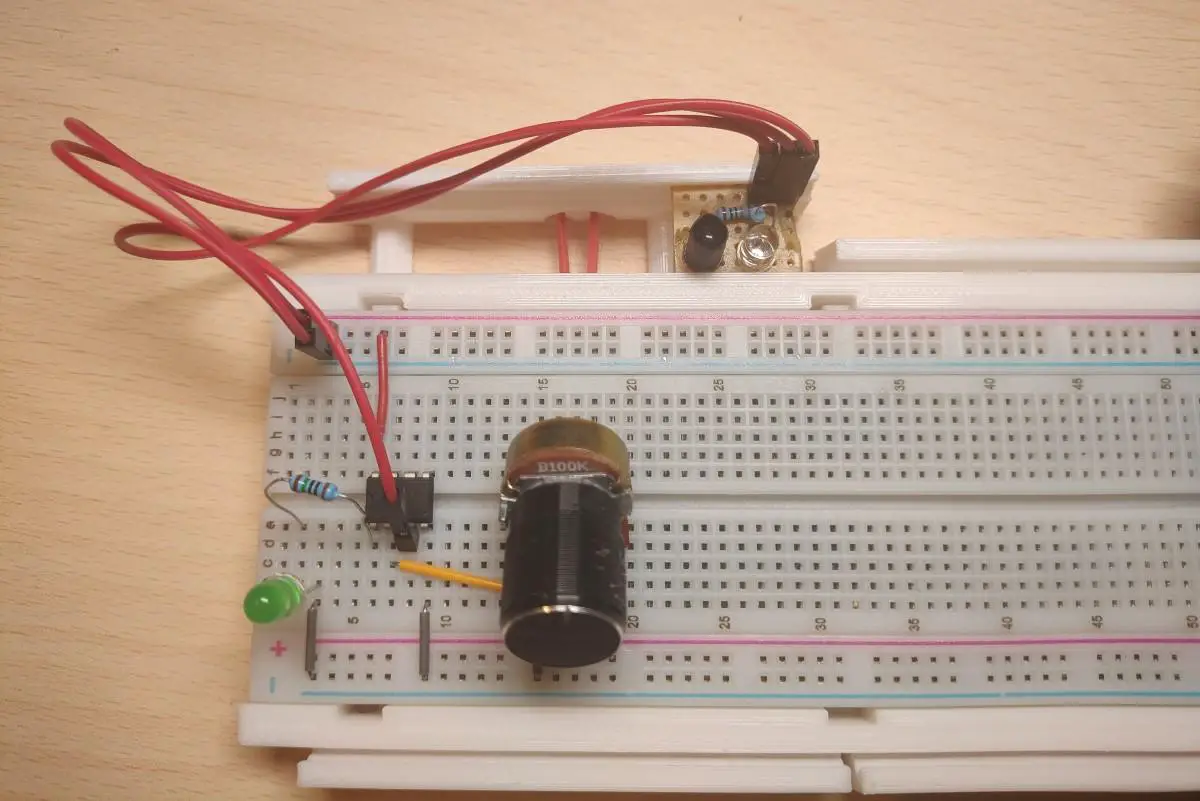
IR Distance And Motion Sensor
Usually, you would just buy the whole IR module which contains the transmitter, receiver, and amplifier. However, in this post, I’ll show you how you can make your own IR distance sensor/motion detector module.
Usually, you would just buy the whole IR module which contains the transmitter, receiver, and amplifier. However, in this post, I’ll show you how you can make your own IR distance sensor/motion detector module.
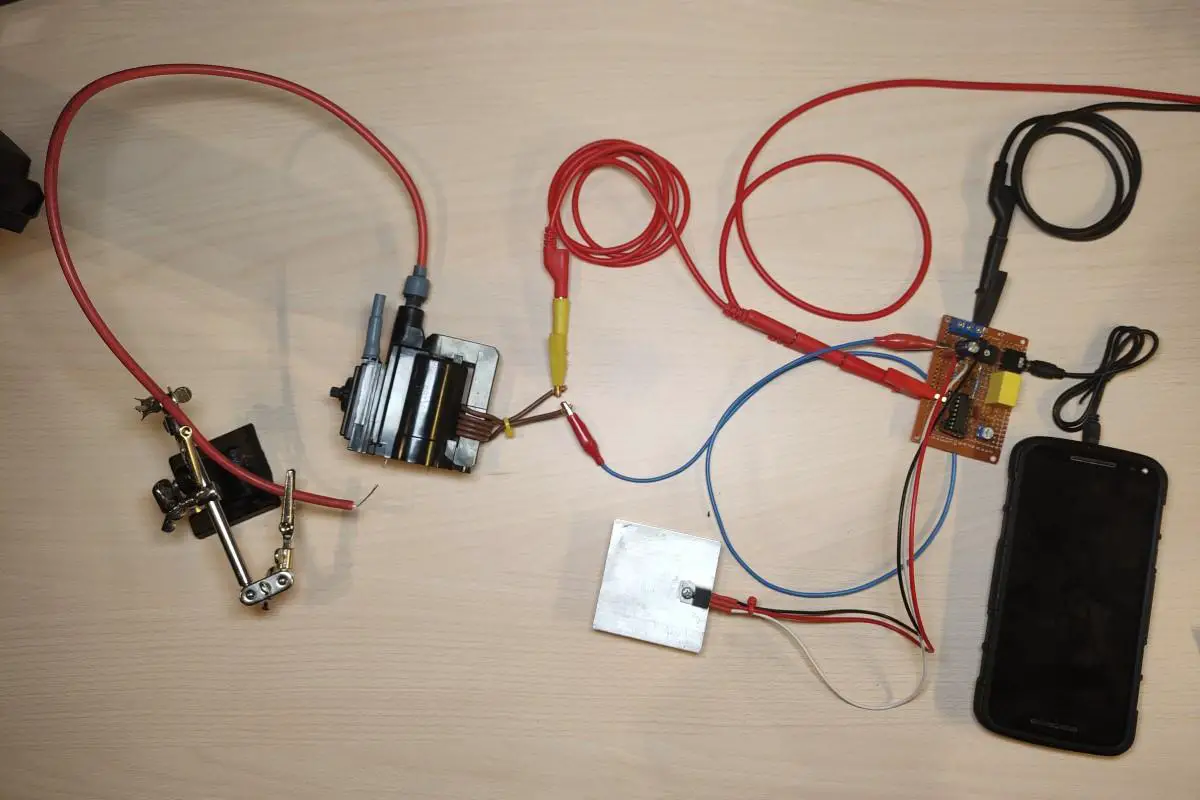
In this post, I’ll show you a plasma speaker I made many years ago in fact, over 13 years ago. I originally saw this on Instructables and thought it was really cool so I decided I would make one myself. Unlike a traditional speaker which moves air with a diaphragm, a plasma speaker makes sound by utilizing a high voltage electric arc to move air.
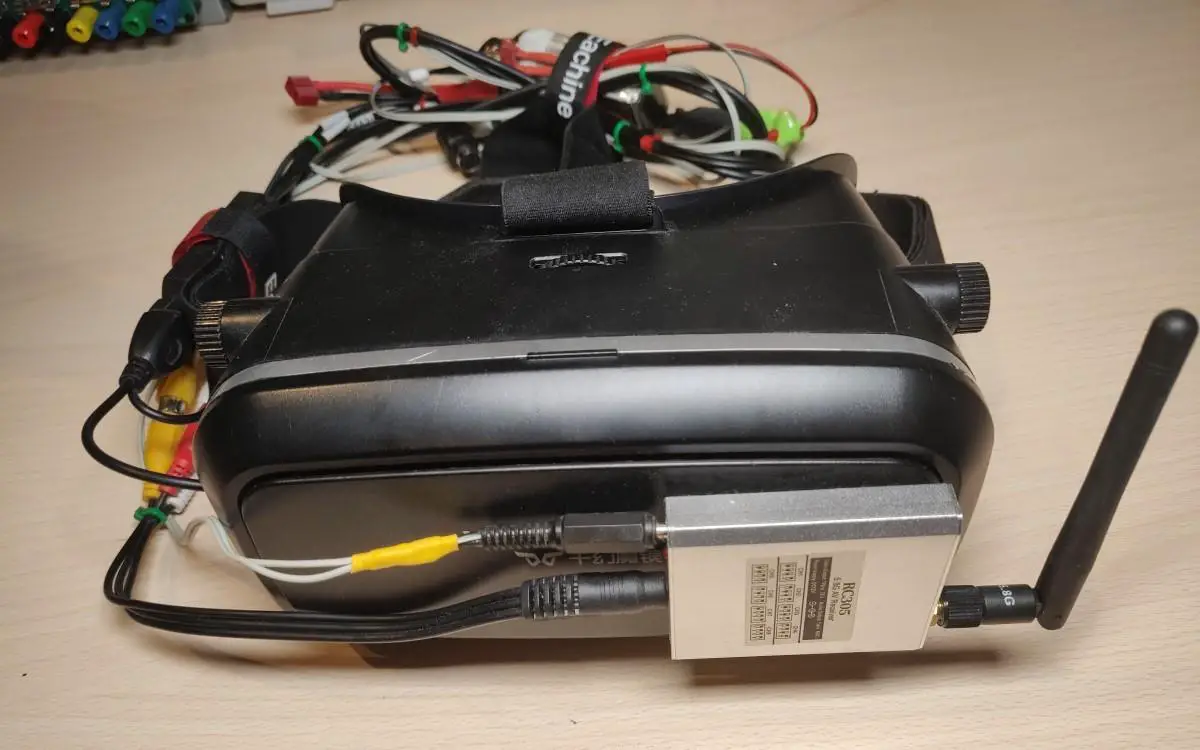
In this post, I’ll show you my DIY FPV goggles. These obviously aren’t as good as proper FPV goggles but they are cheap, they work and I was able to make them out of things I already had at home.
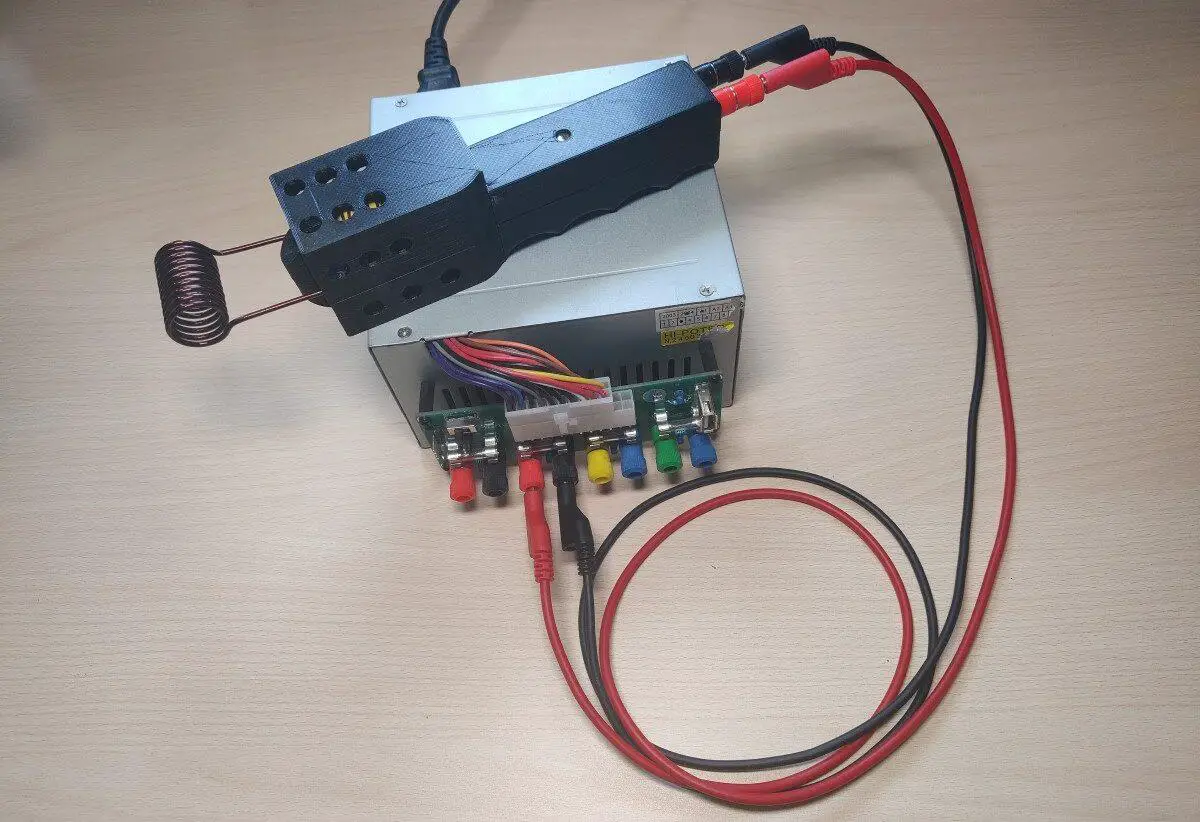
In this post, I’ll show you a handheld induction heater I made. I bought the ZVS driver circuit board and coil quite some time ago but I just recently saw someone made a very neat 3d printed case for it on thingiverse and decided to make a handheld induction heater out of it. This one is smaller and much less bulky than the other one I made wrote about in this post.

In this post, I’ll show you the induction heater I made. I bought the board and coil as it’s easier and quicker than making them on your own. It’s rated for 2000W but the maximum power I can get out of it is 1200W because that’s as much as the power supply I’m using can supply.

In this post, I’ll show you how to make a signal generator and oscilloscope from a PC soundcard. I used a cheap USB soundcard so in case the input voltage gets too high, I don’t damage my PC. This signal generator and oscilloscope obviously don’t have the best specs and are very limited. They can produce/measure a very narrow range of voltages and frequencies(0-20KHz).
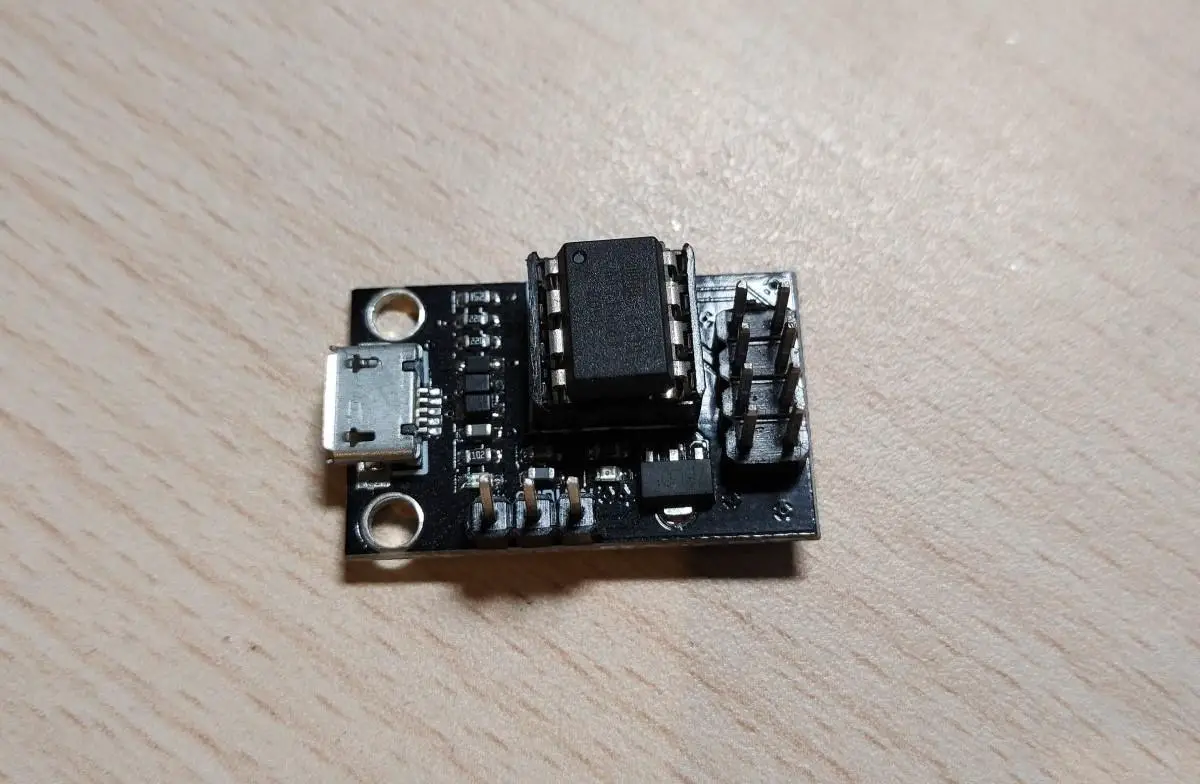
In this post, I’ll show you how to use and program the Attiny 85 Digispark board with the Arduino IDE. I’ll demonstrate how to add the board to the Arduino IDE and how to install the drivers. Finally, we’ll make an example sketch that simply blinks an LED.

Recently I decided to clean up my project backlog by either finishing or scraping the projects. A lot of times when I start something it eventually ends up being sidelined for months(or even years) for a multitude of reasons (being busy with other stuff, waiting for parts, forgetting about them, not feeling like it). In this post, I will document some of the ones that I decided to cancel/scrap, how far along I got and the reason I started the project in the first place and why scrapped it.
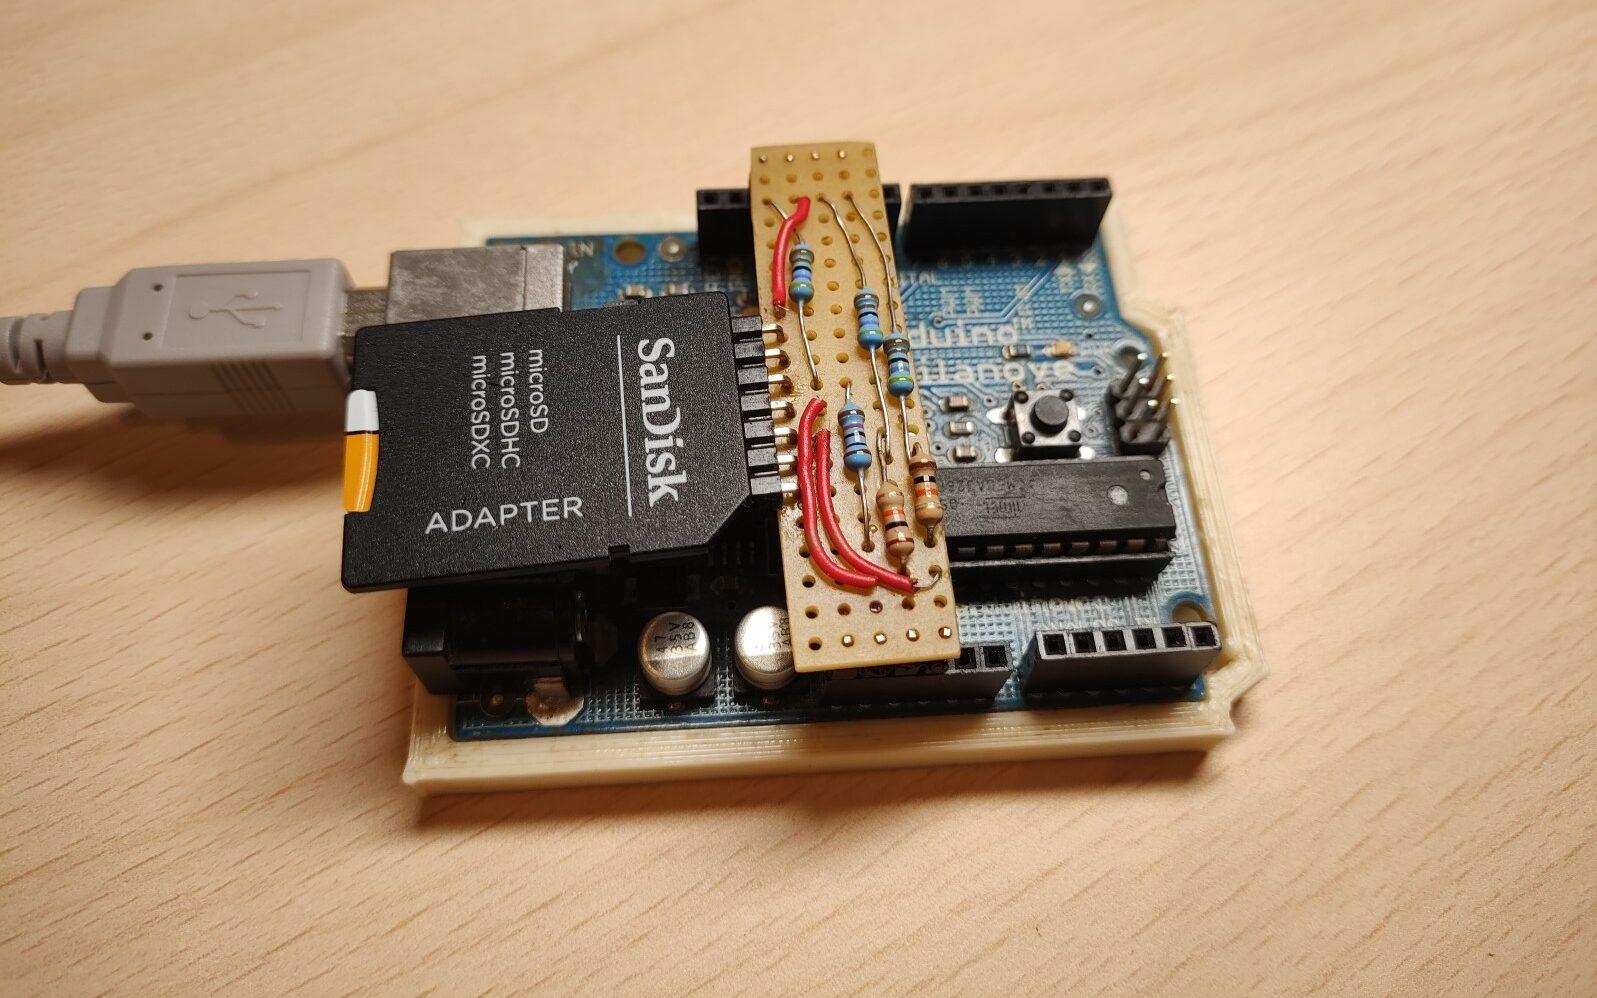
In this post, we’ll see how to make an SD card reader shield for the Arduino. It’s pretty simple as it’s just a matter of connecting the proper Arduino pins to the correct pads on the SD card adapter. Additionally, resistors need to be added for certain pins. These will form voltage dividers that will drop down the signal voltage for the SD card from 5V to around 3.3V.
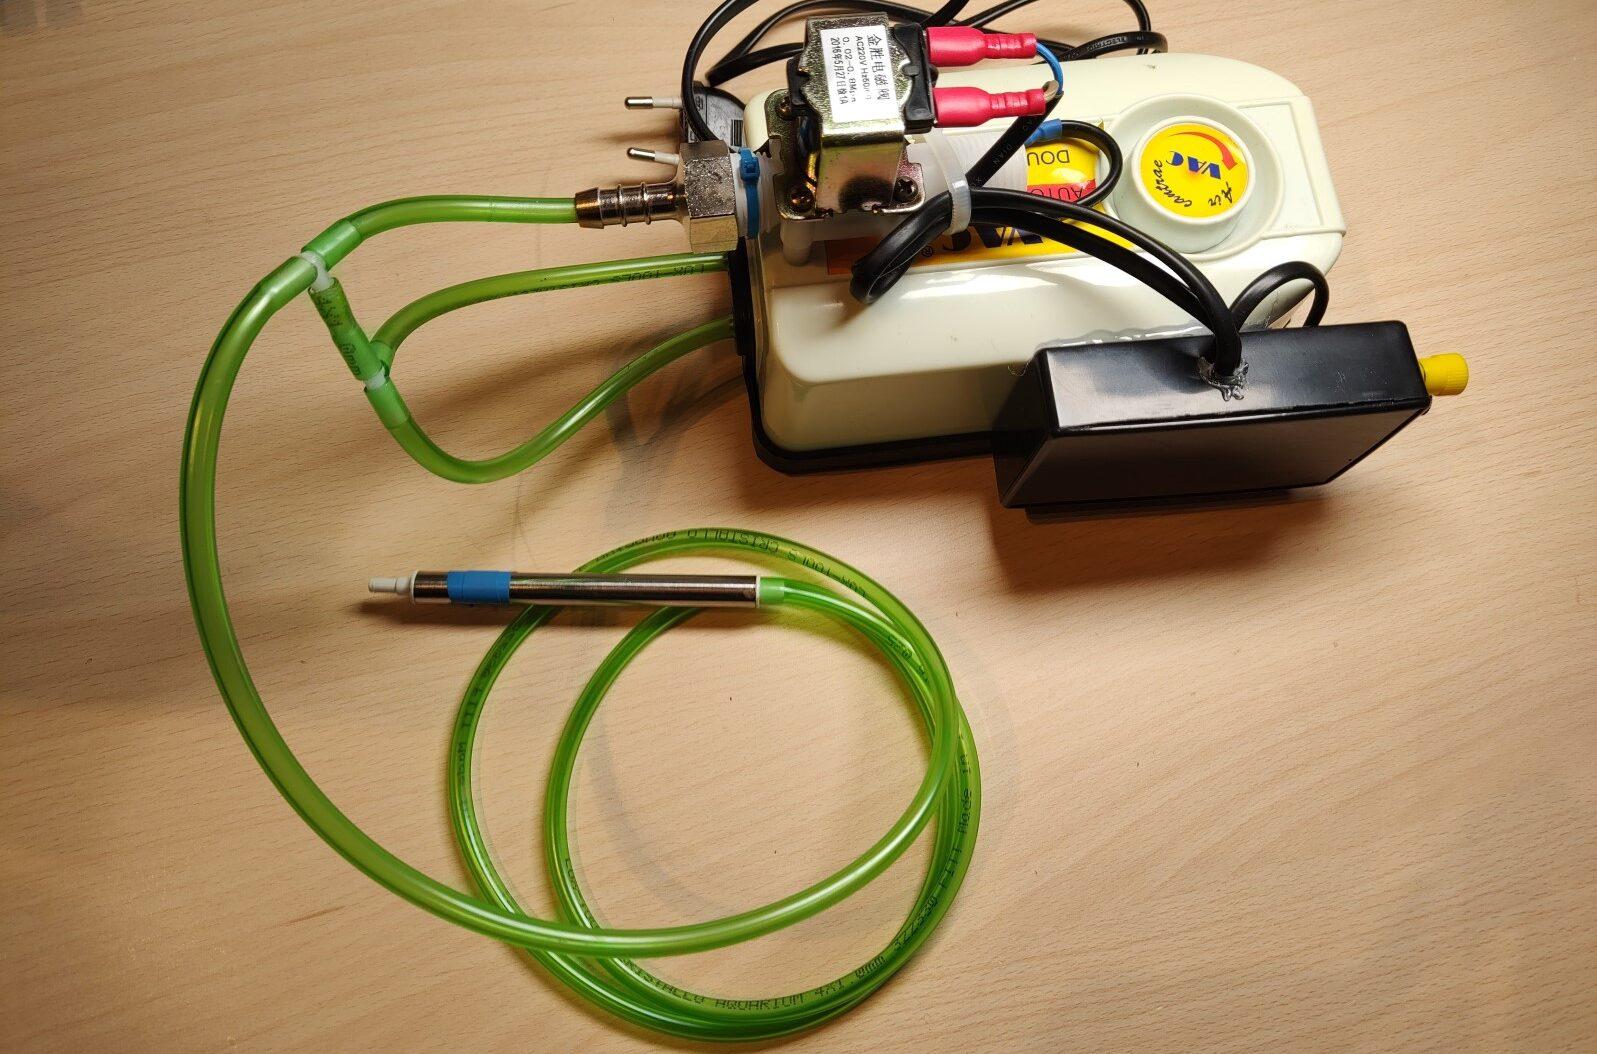
In this post, I’ll show my DIY SMD vacuum pickup tool. I bought this vacuum pump SMD pickup but it had no way to be turned on/off. There is only a hole on the vacuum “pen” that you can cover with your finger to make or release the vacuum. I decided I would mod it and make it operable with a footswitch. When pressed the vacuum pump is turned on and when you let go the vacuum pump is turned off while the valve is opened at the same time to release the vacuum and instantly drop the SMD part from the nozzle.