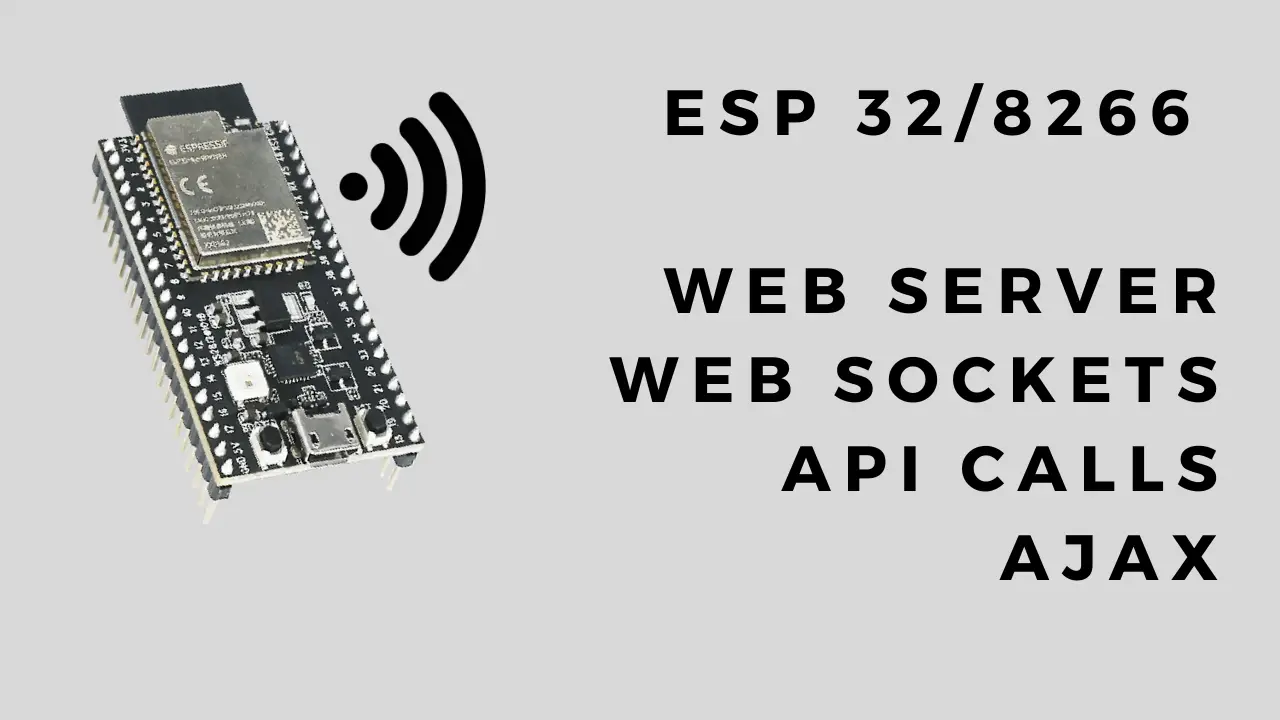
In this post, I’ll show you how to make API requests from the ESP32 or ESP8266, how to set up a web server on the ESP and use AJAX to send/receive data and how to establish a web socket connection for bi-directional data streaming. These examples can be used as basic starting templates for projects.
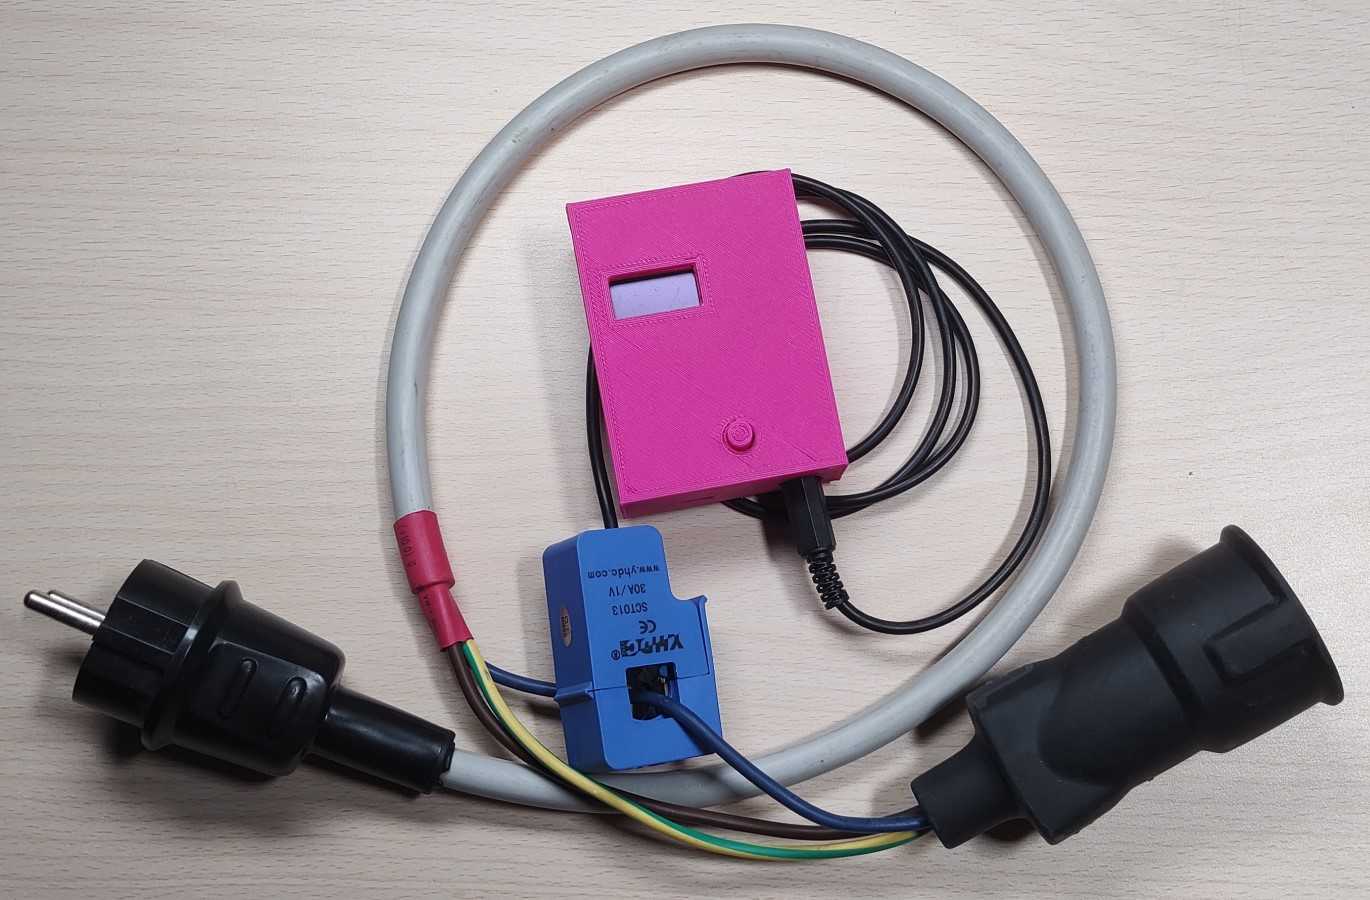
In this post, I will show you the contactless clamp power meter I made. I used a readily available SCT-013 current transformer clamp. The great thing about this is that you can measure the current flowing through a wire without having to put an amp meter in series with the load and source. This means you also don’t have to expose yourself to a potentially dangerous voltage.
In this post, I’ll show you how to do OTA(over the air updates) to your ESP32/ESP8266. This means that you don’t have to connect your ESP board to your PC by cable and can instead push firmware updates wirelessly over the network(as long as you are connected to the same network). The process of uploading the firmware remains almost the same. The only difference is you have to select a network port under Tools -> Port -> Network Ports instead of a COM port.
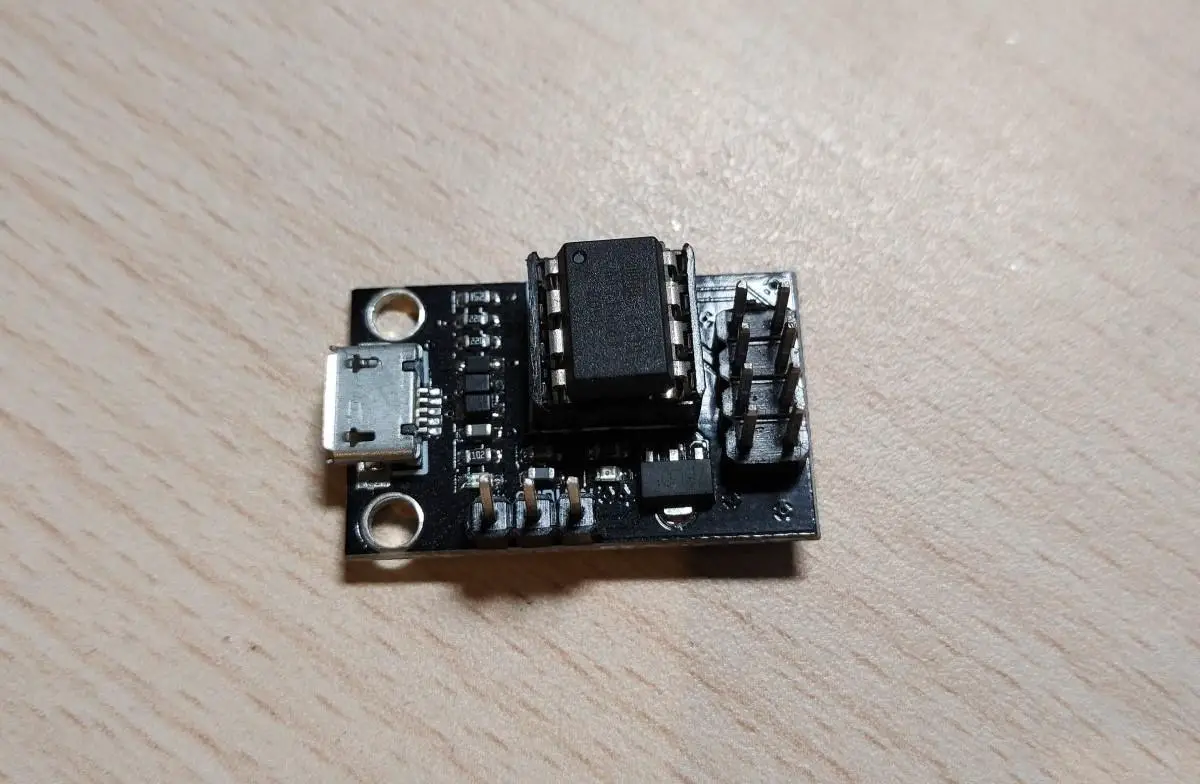
In this post, I’ll show you how to use and program the Attiny 85 Digispark board with the Arduino IDE. I’ll demonstrate how to add the board to the Arduino IDE and how to install the drivers. Finally, we’ll make an example sketch that simply blinks an LED.
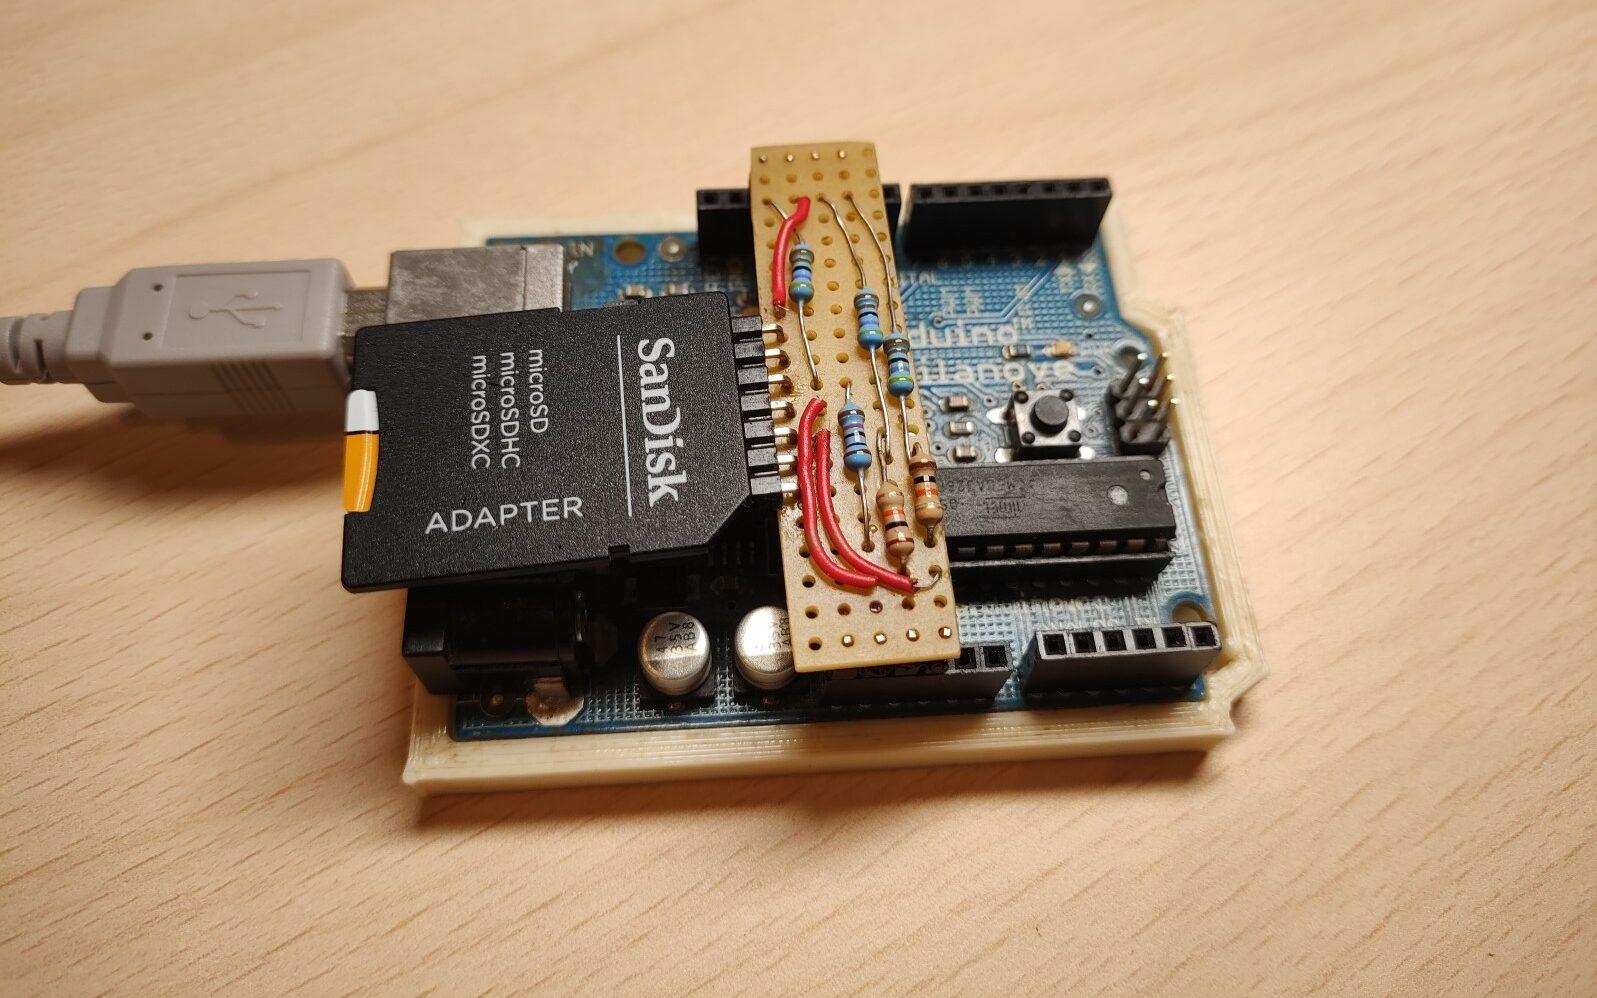
In this post, we’ll see how to make an SD card reader shield for the Arduino. It’s pretty simple as it’s just a matter of connecting the proper Arduino pins to the correct pads on the SD card adapter. Additionally, resistors need to be added for certain pins. These will form voltage dividers that will drop down the signal voltage for the SD card from 5V to around 3.3V.
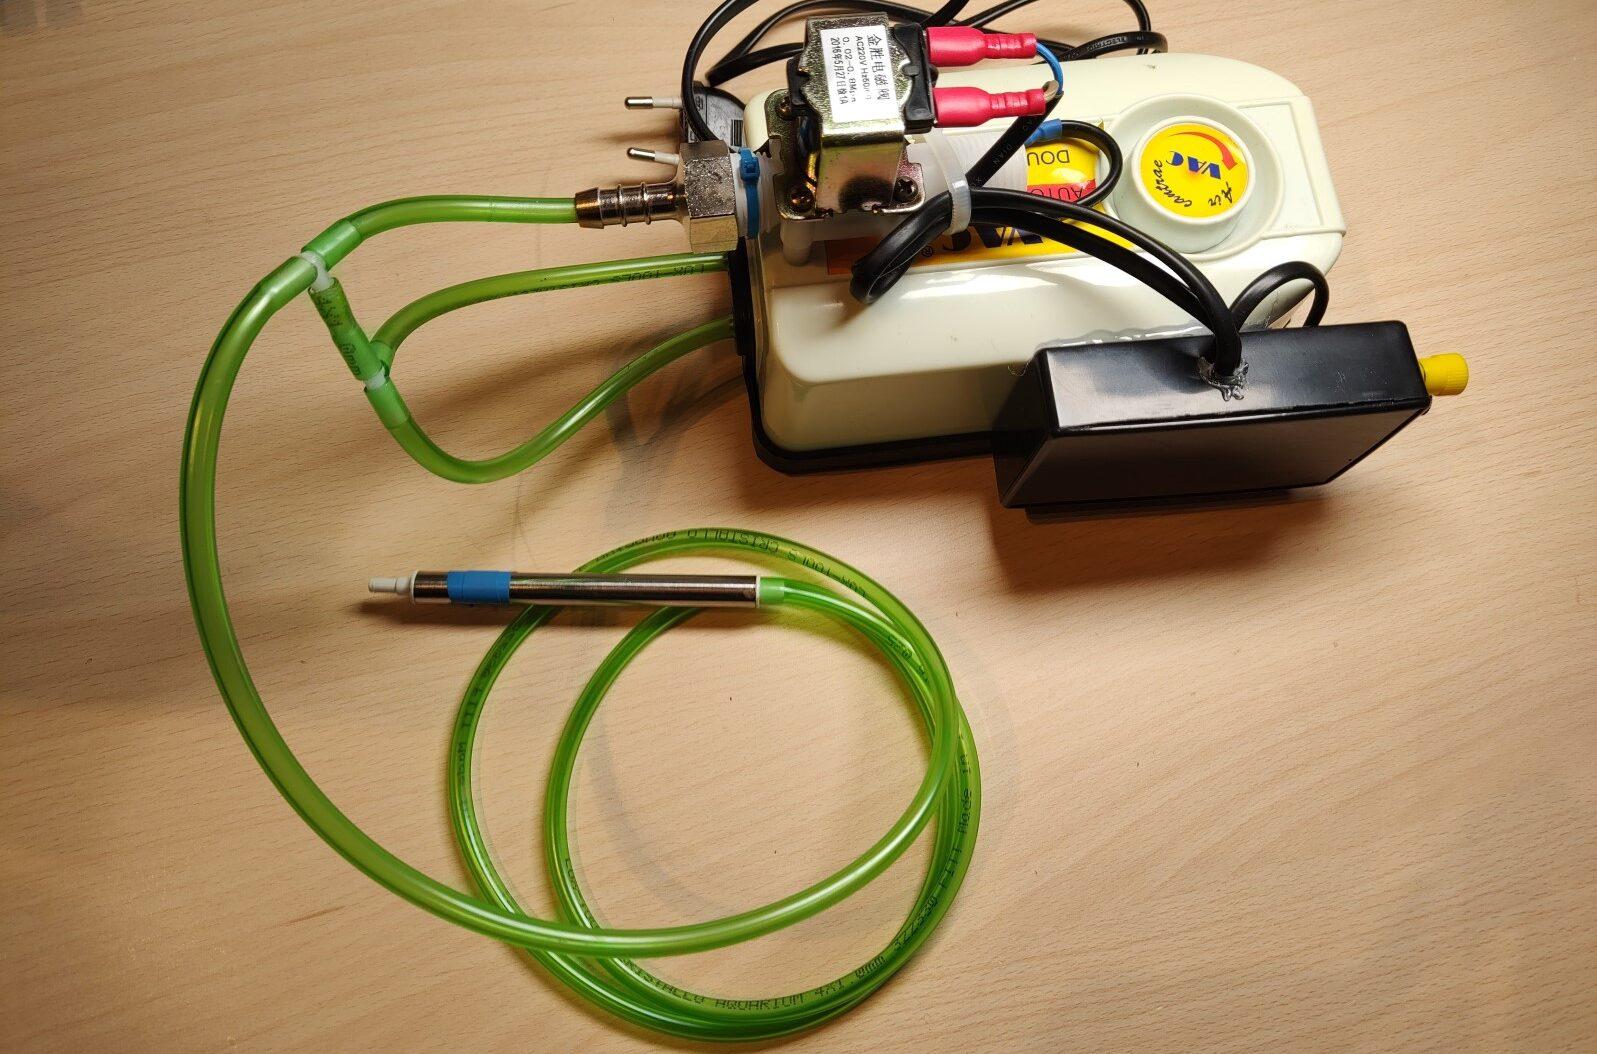
In this post, I’ll show my DIY SMD vacuum pickup tool. I bought this vacuum pump SMD pickup but it had no way to be turned on/off. There is only a hole on the vacuum “pen” that you can cover with your finger to make or release the vacuum. I decided I would mod it and make it operable with a footswitch. When pressed the vacuum pump is turned on and when you let go the vacuum pump is turned off while the valve is opened at the same time to release the vacuum and instantly drop the SMD part from the nozzle.
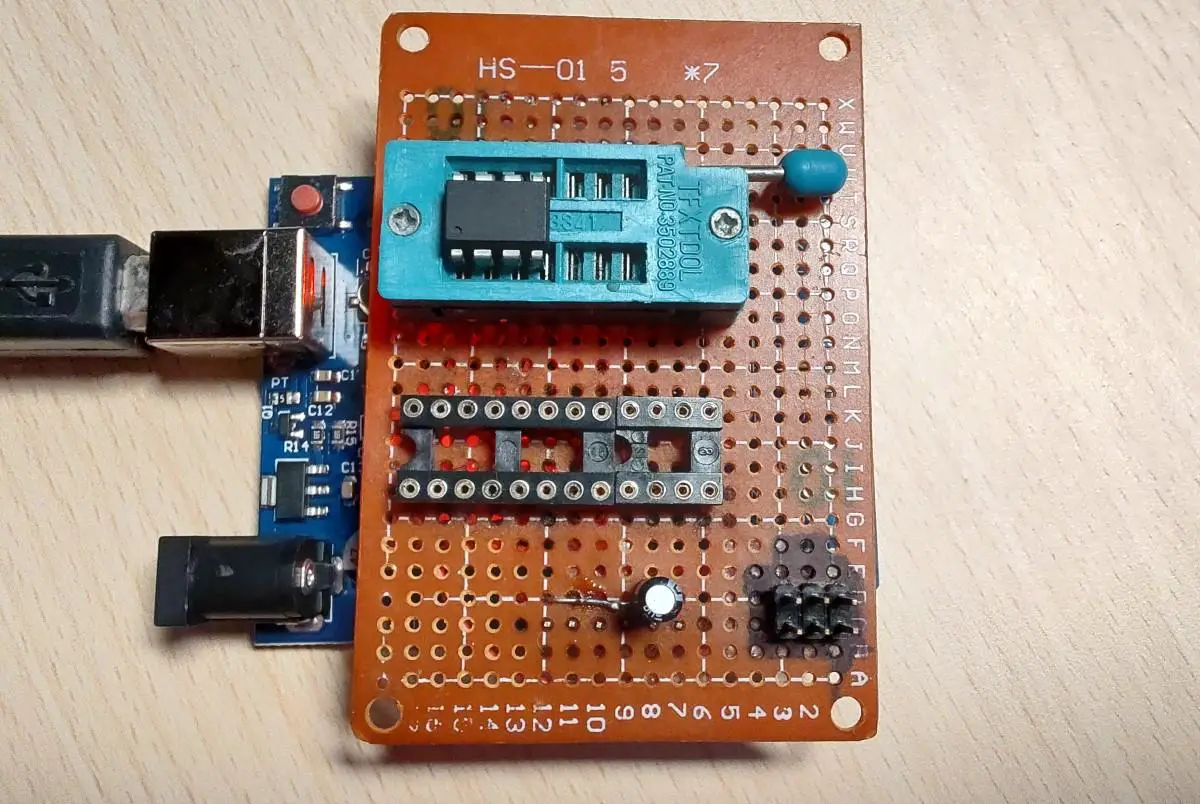
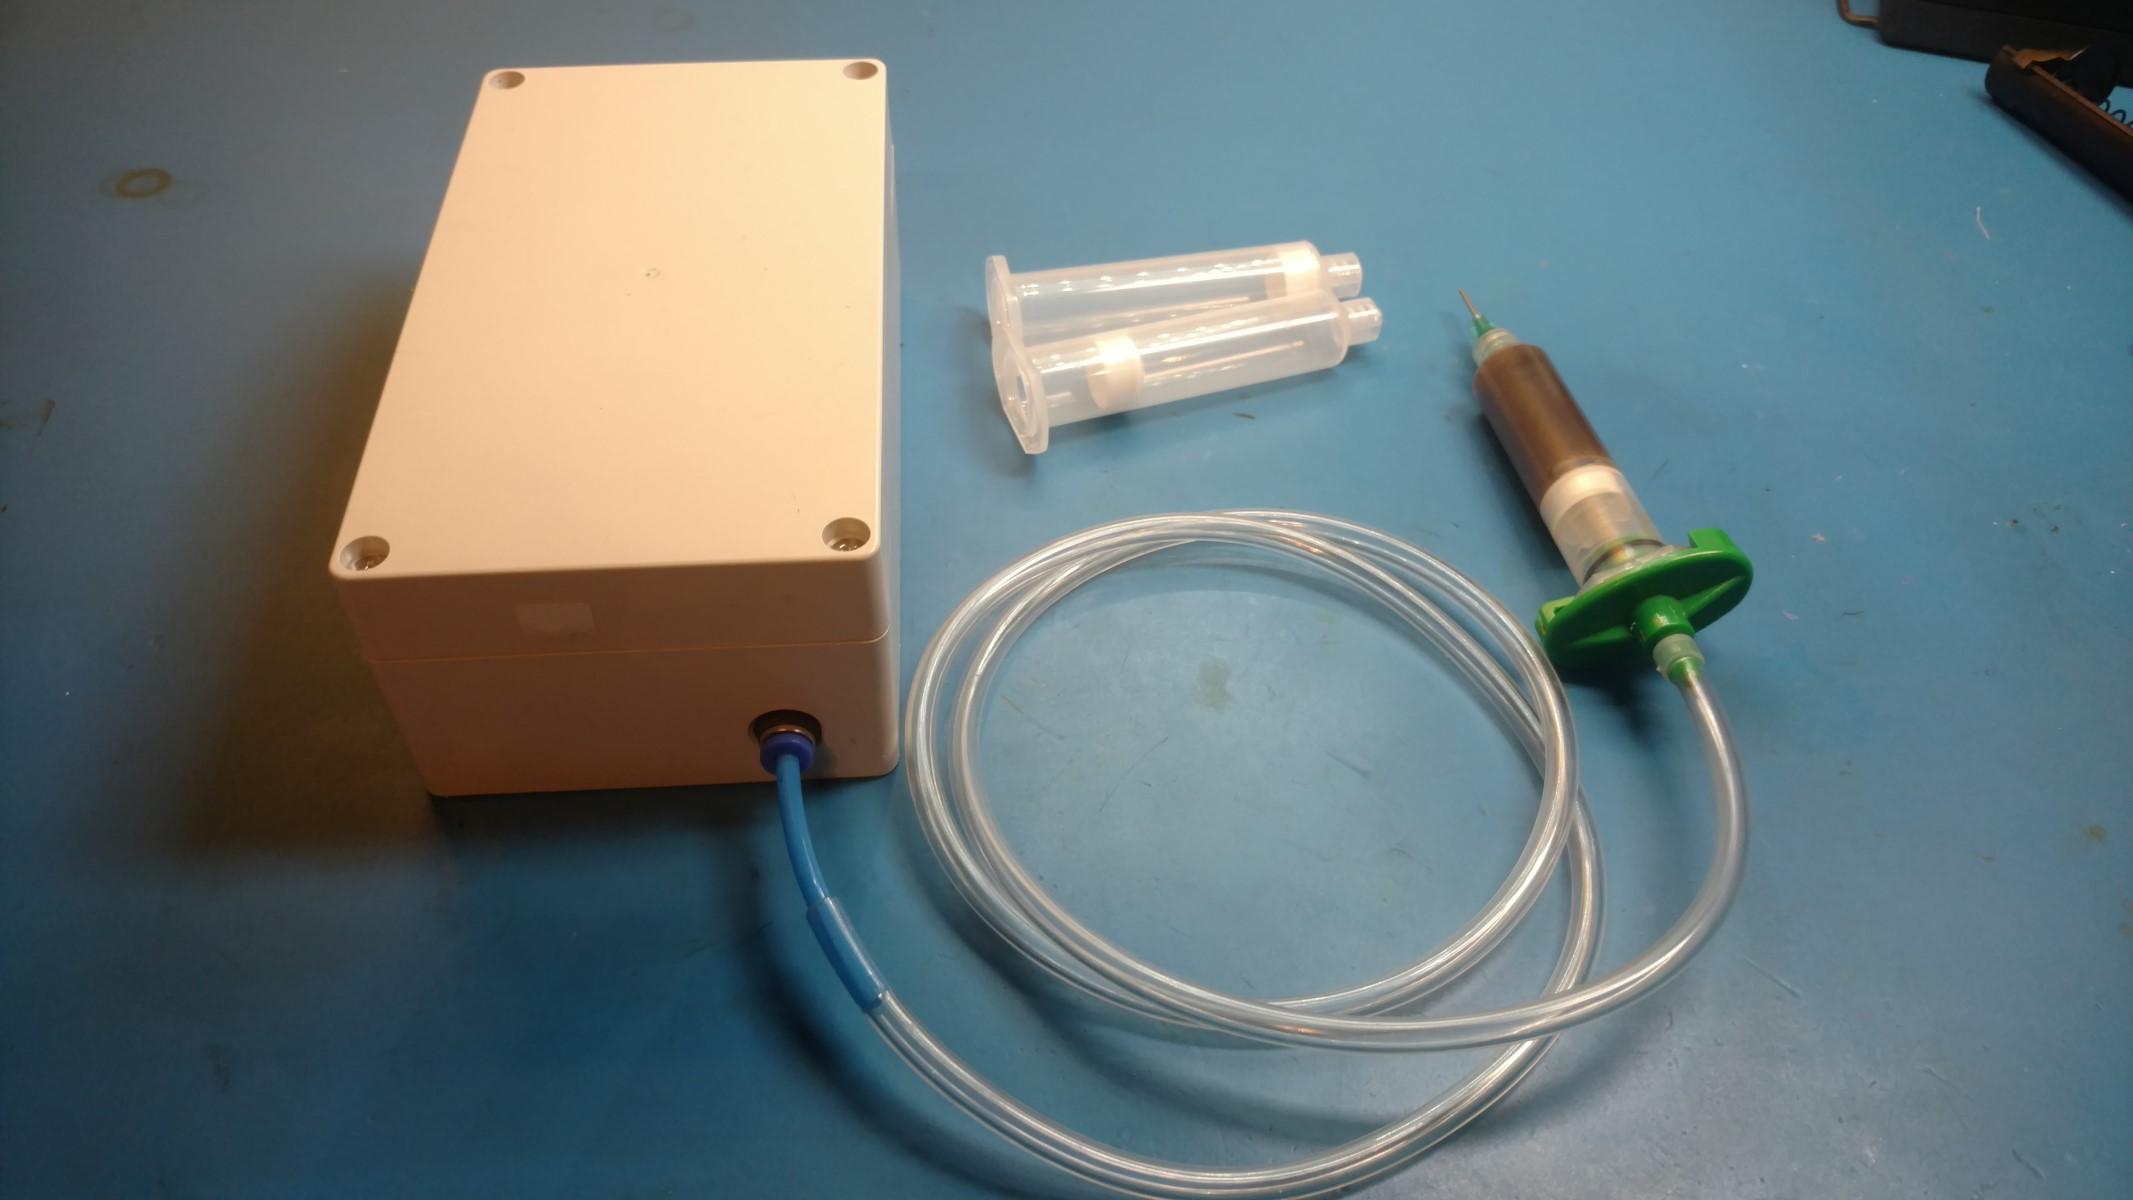
In this post, I’ll show my DIY solder paste dispenser. It’s powered by a 12V adapter and can be operated by a footswitch(connected via banana connectors). It uses a small membrane air pump/compressor to dispense the solder paste/flux. Additionally, there is a solenoid air valve connected to the airline so the pressure can be released after you let go of the footswitch which prevents the solder paste or flux from oozing out. The pump and valve timing is controlled through a relay module by an attiny45 microcontroller.
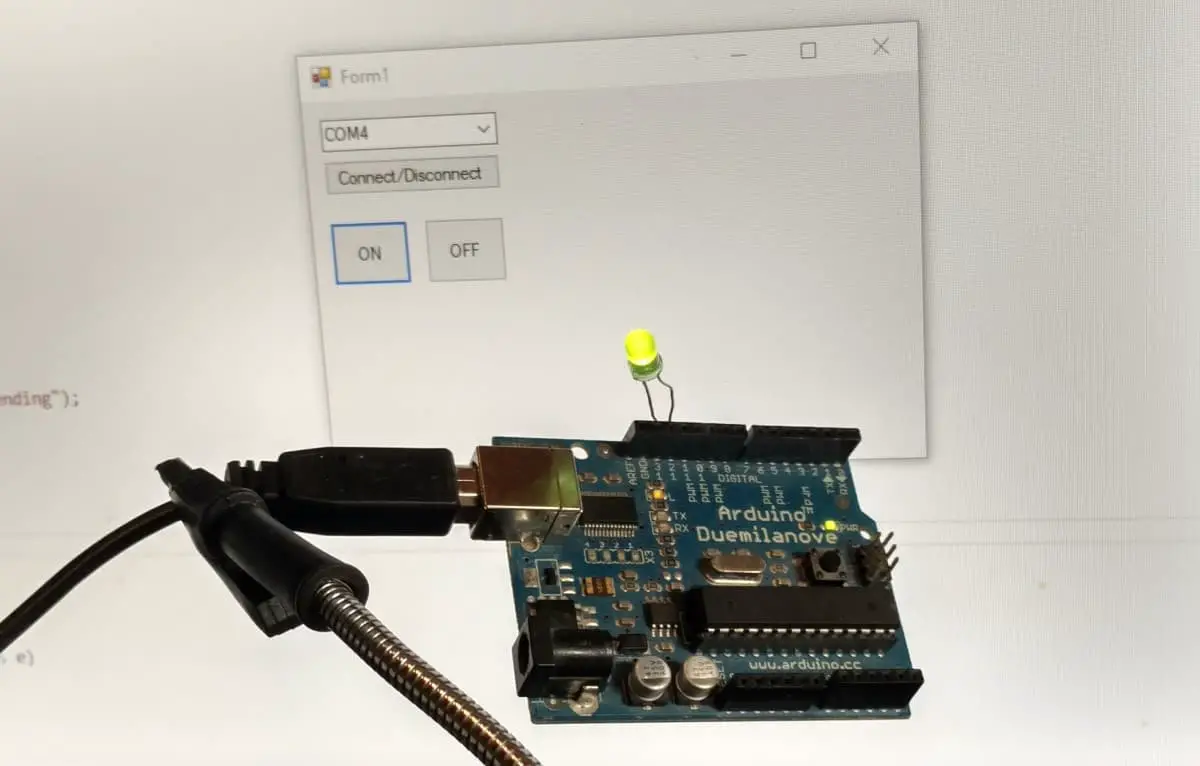
We will be using Visual Studio to make a Windows Forms Application that will communicate with the Arduino over a serial port and switch an LED on or off.