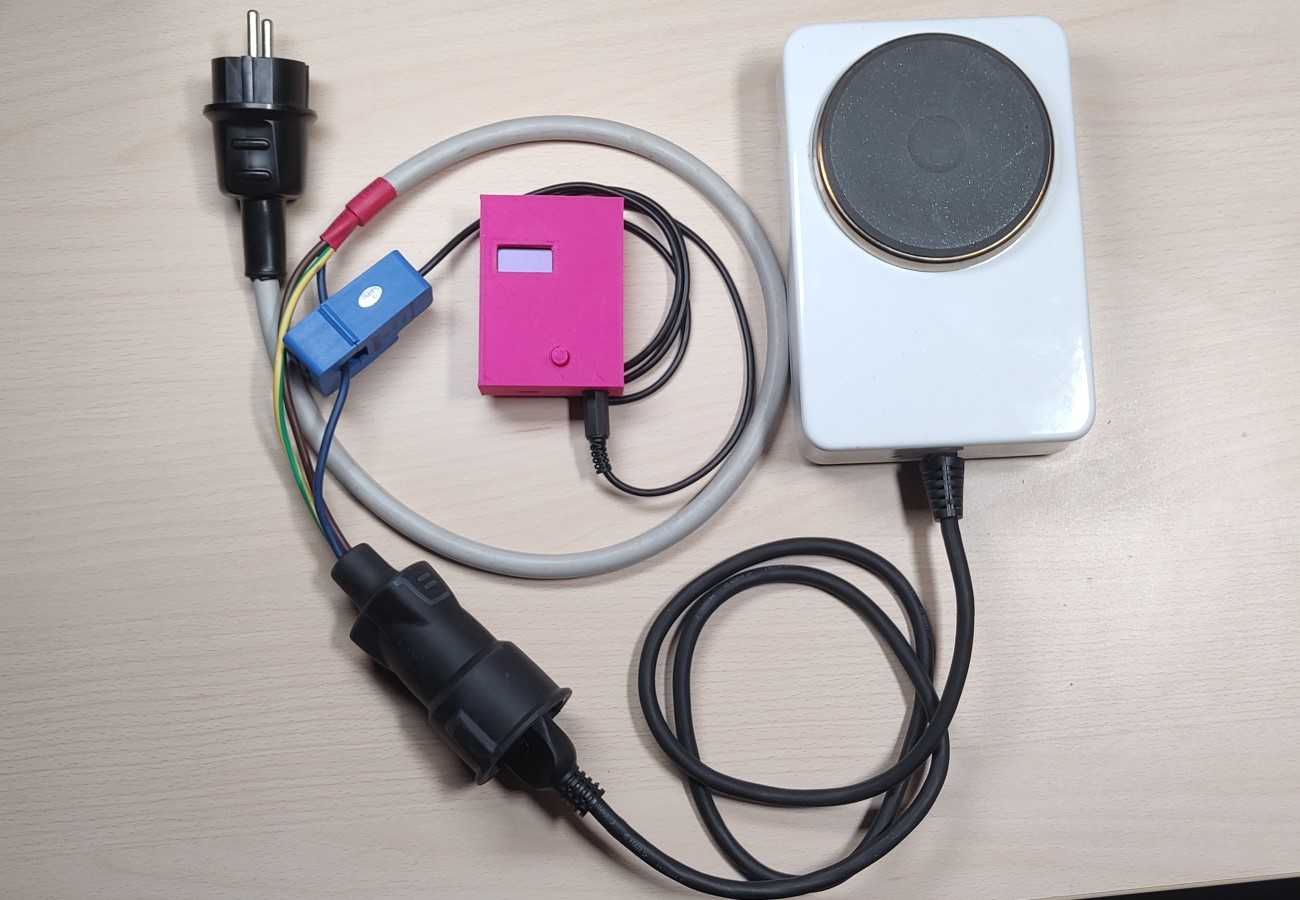
In this post, I will show you the contactless clamp power meter I made. I used a readily available SCT-013 current transformer clamp.
The great thing about this is that you can measure the current flowing through a wire without having to put an amp meter in series with the load and source. This means you also don’t have to expose yourself to a potentially dangerous voltage.
The downside of using what is essentially a transformer is that we can’t measure DC this way. If you want to make a contactless measurement for DC you have to use a clamp with a magnetic field strength(hall-effect) sensor.
Another downside of this method is that we can’t measure the actual voltage. We can only assume that the voltage is constant. In my case, I plan to use this for measuring mains power so I have hardcoded the voltage to be 230V. If the actual grid voltage is a bit higher/lower the calculated power will also be a bit higher/lower the the actual power. I should also mention that only apparent power can be measured this way as we don’t know about any potential phase shift between the voltage and current.
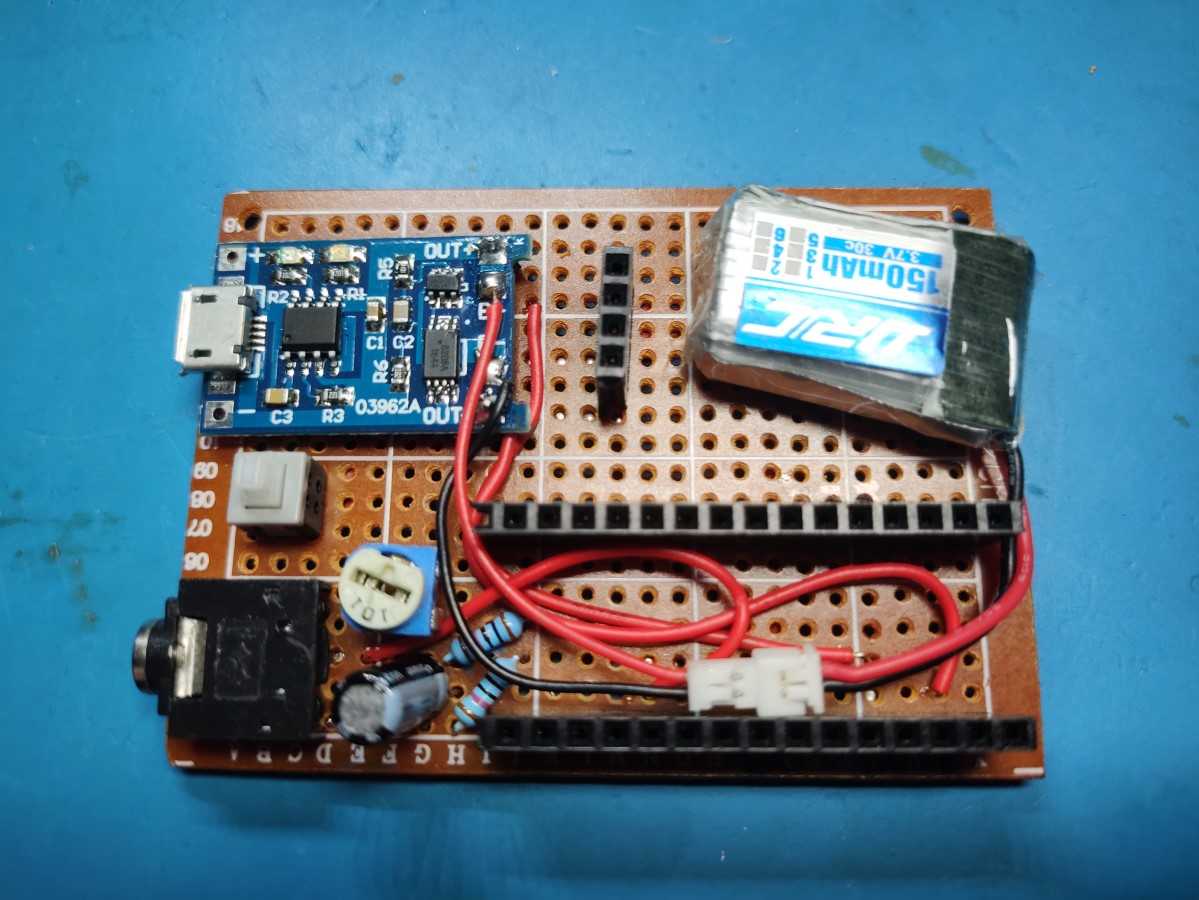
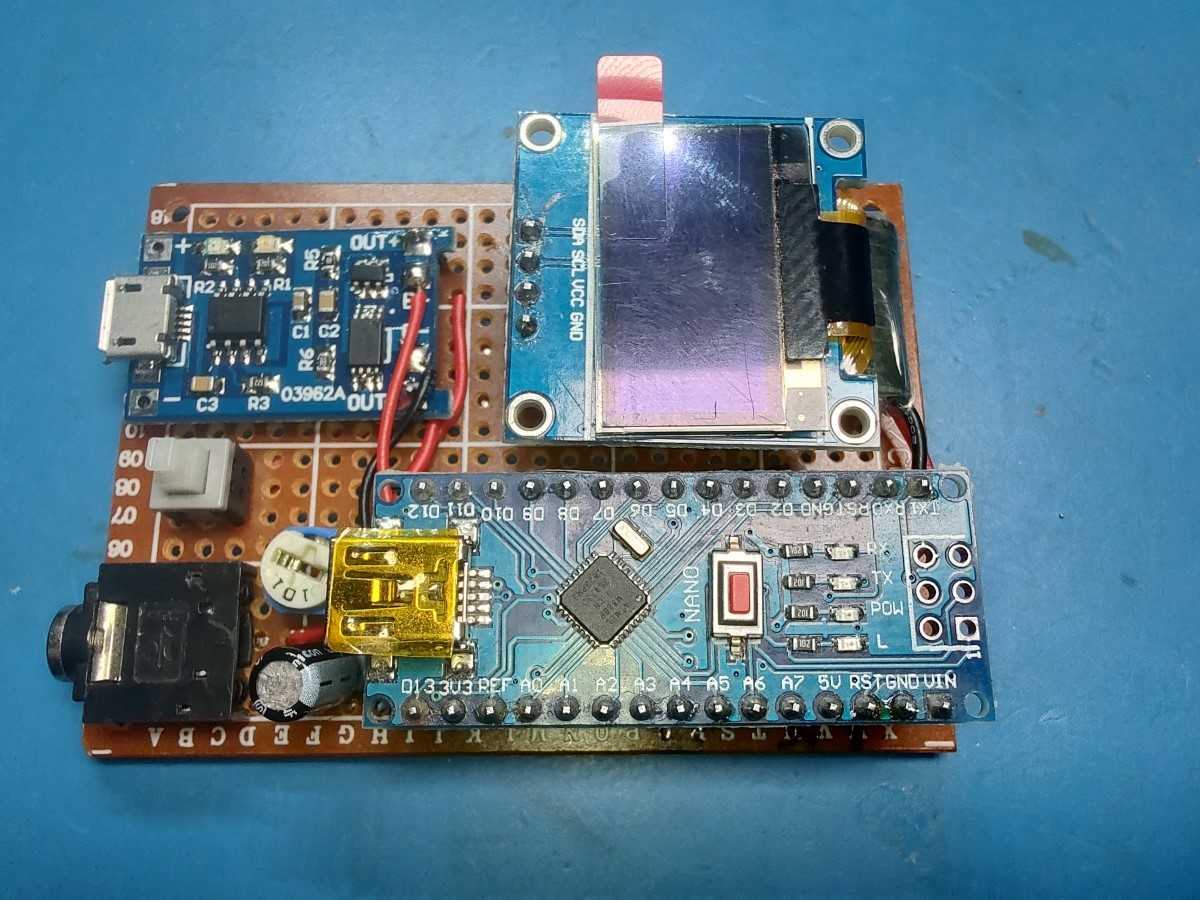
Here are all the components mounted on proto board.
The potentiometer is used to adjust the measured current. To perform a calibration you need to measure a fairly stable load with both this and a proper multimeter. Then simply adjust the potentiometer until the DIY power meter displays more or less the same current as the multimeter.
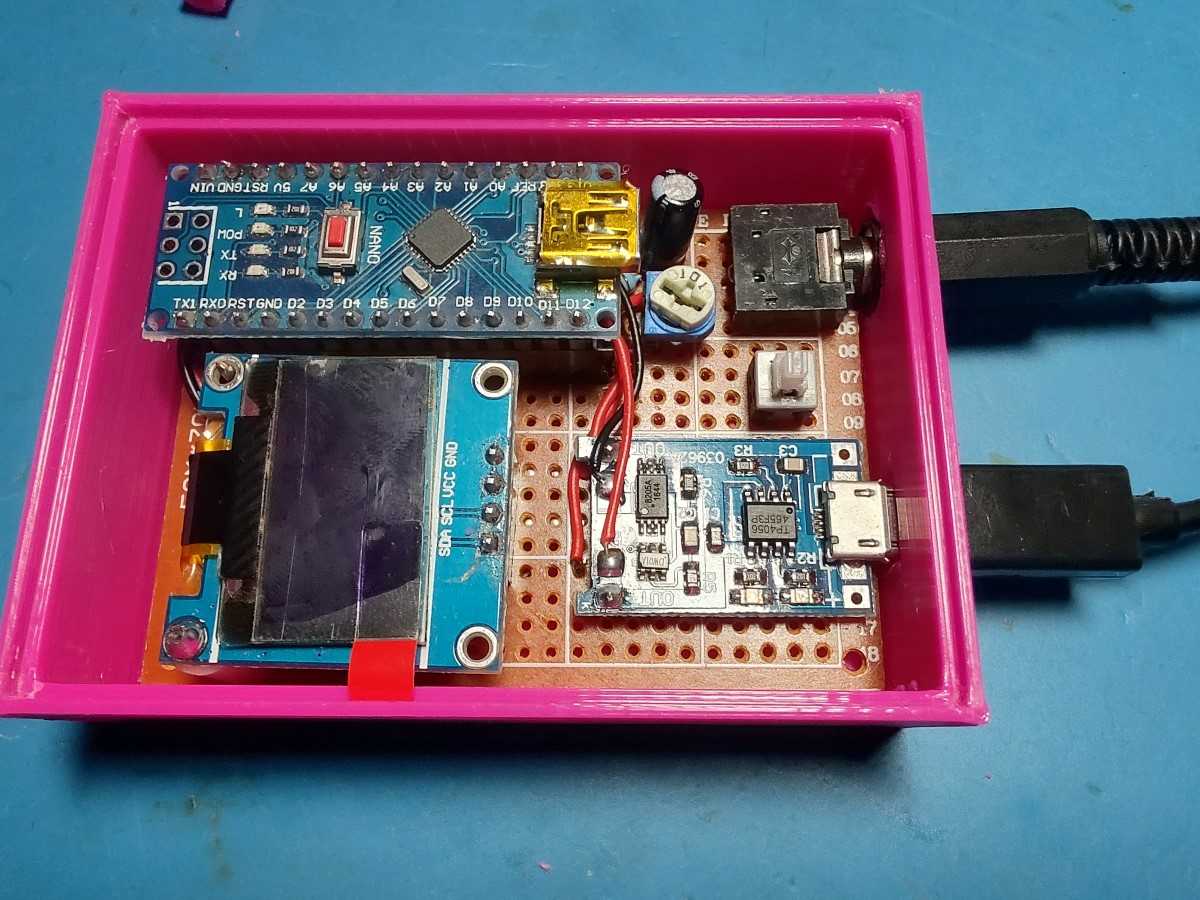
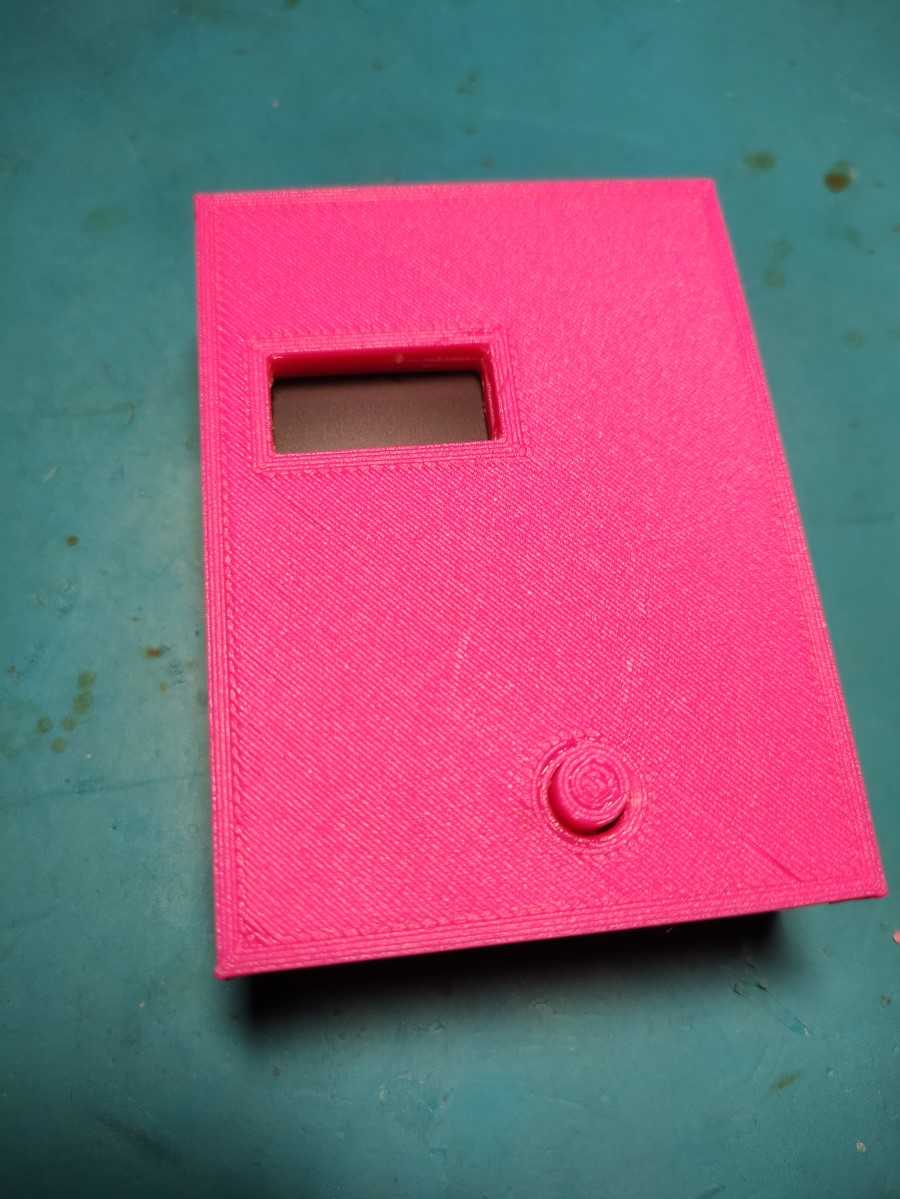
I mounted everything into a 3D printed case.
Code
You will need to install the Emon library. It can be downloaded from here. Then add it to your Arduino libraries(I covered how to do this as part of this post here). You will also need a library for the OLED screen. I already made a blog post using the ssd1306 OLED screen in this post here.
//Include libraries
#include <Adafruit_GFX.h>
#include <Adafruit_SSD1306.h>
#include "EmonLib.h"

//Uncomment to enable debug serial print.
//#define DEBUG


//Put pin number of SCK into constructor.
Adafruit_SSD1306 display(4);
//Create energy monitopr instance
EnergyMonitor emon;


void setup() {
    //Initialize display by providing the diplay type and it's I2C address.
    display.begin(SSD1306_SWITCHCAPVCC, 0x3C);

    #ifdef DEBUG
      Serial.begin(9600);
    #endif

    //Set the text size and color.
    display.setTextSize(1);
    display.setTextColor(WHITE);
    display.setRotation(2);

    //current(input pin, calibration)
    emon.current(1, 111.1);
}

void loop() {
  //Clear previous image.
  display.clearDisplay();

  double current = emon.calcIrms(1480);
  double power = current*230.0; //Adjust to the votage you will be measuring.

  display.setCursor(0,5);
  display.print("Current:");
  display.setCursor(0,15);
  display.print((String)current+"A");

  display.setCursor(70,5);
  display.print("Power:");
  display.setCursor(70,15);
  display.print((String)power+"W");

  #ifdef DEBUG
    Serial.print("Current: ");
    Serial.print(current);
    Serial.print("A");
    Serial.println("");

    Serial.print("Power: ");
    Serial.print(power);
    Serial.print("W");
    Serial.println("");
  #endif

  //delay(1000);

  //Display changes if any were made.
  display.display();
  delay(1);
}
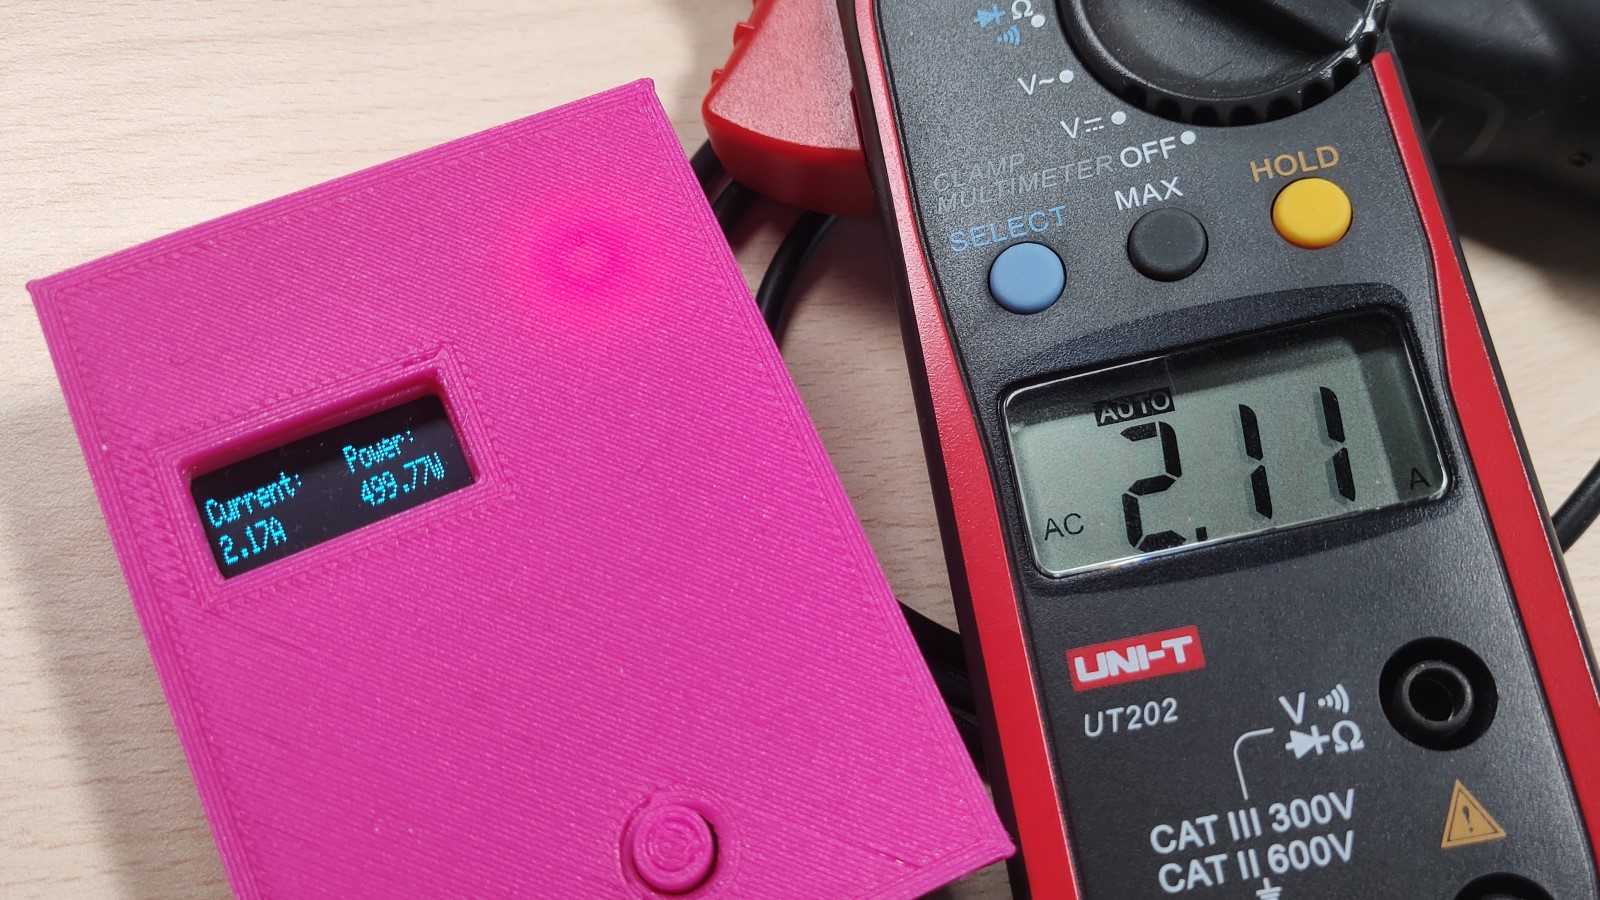
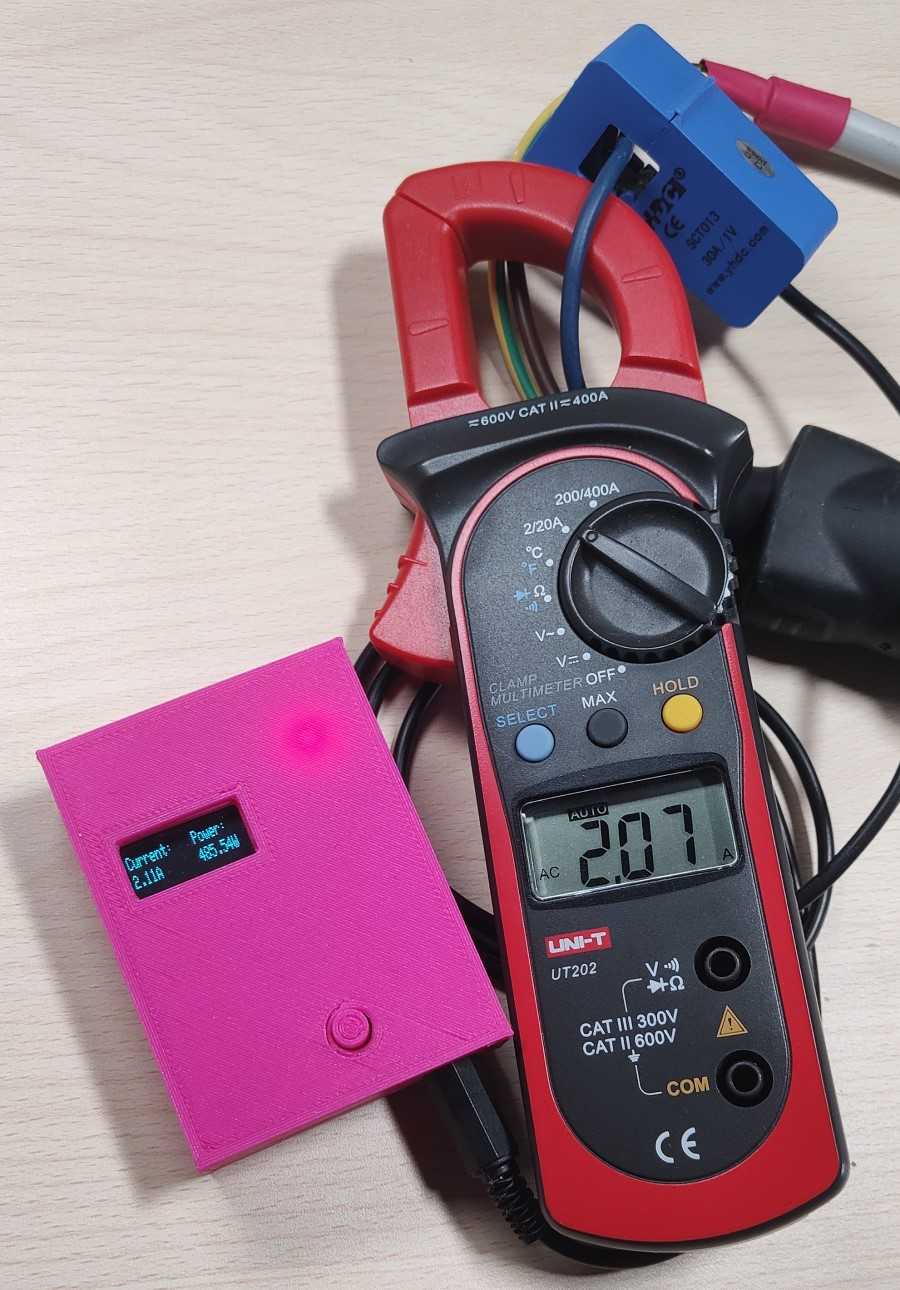
Demonstration
For this test, I measured the current and power consumption of a hotplate. As you can see the current measured by the DIY power meter is very close to the one measured by the clamp multimeter.