In this tutorial, I will be using the U8Glib graphics library for the screen. In this tutorial, I do the same but using Adafruits SSD1306 graphics library.
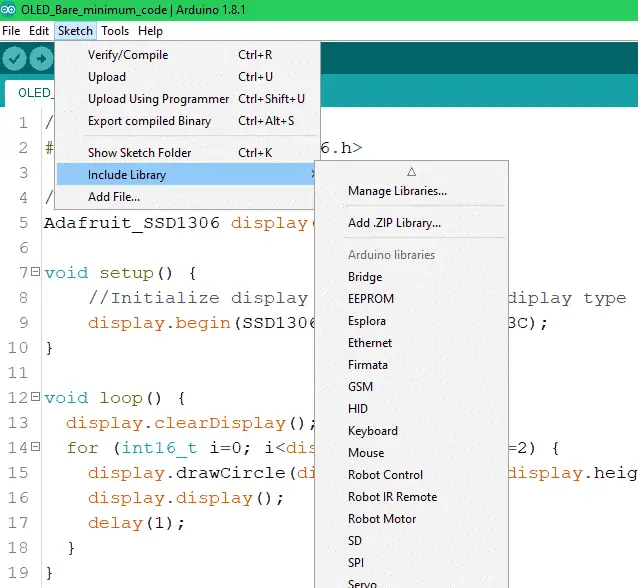
sketch > include library > Add .ZIP Library > select the downloaded ZIP
Method 2:
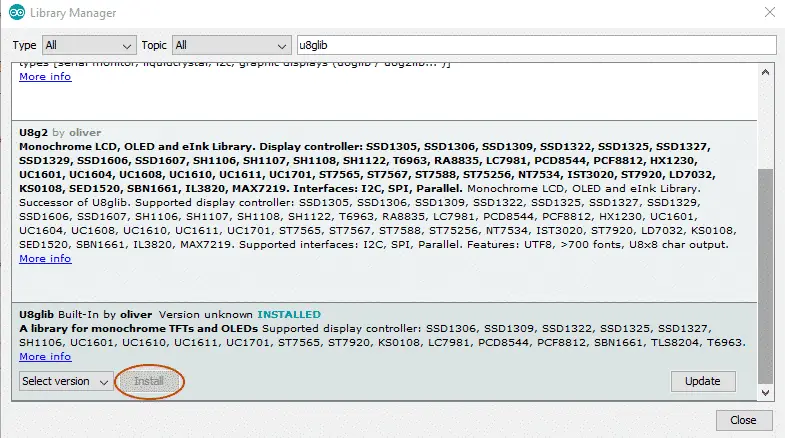
Or go to sketch > include library > manage libraries > type u8glib in the search bar and click on install.
Code
Here is the bare minimum code to make the display work. If you need more info about the library check out the documentation on GitHub. You can find more examples provided in the Arduino IDE: File > Examples > U8glib.
//Include the graphics library.
#include "U8glib.h"

//Initialize display.
U8GLIB_SSD1306_128X64 u8g(U8G_I2C_OPT_NONE | U8G_I2C_OPT_DEV_0);

void setup(void)
{
    //Set font.
    u8g.setFont(u8g_font_unifont);
}

void loop(void)
{

    u8g.firstPage();
    do {
        draw();
    } while (u8g.nextPage());

    //Delay before repeating the loop.
    delay(50);
}

void draw(void)
{

    //Write text. (x, y, text)
    u8g.drawStr(20, 40, "Hello World.");
}
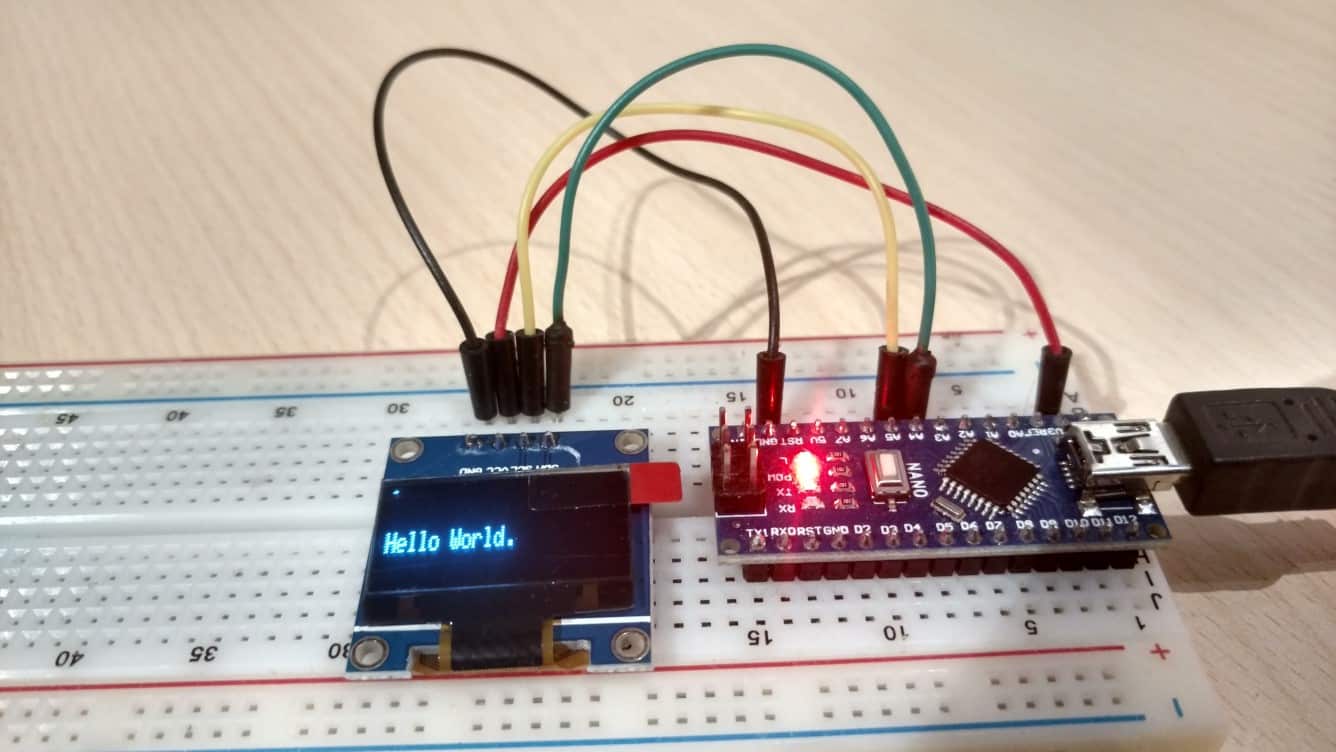
Hello World!
Upload the above-provided code and you should have a Hello World.