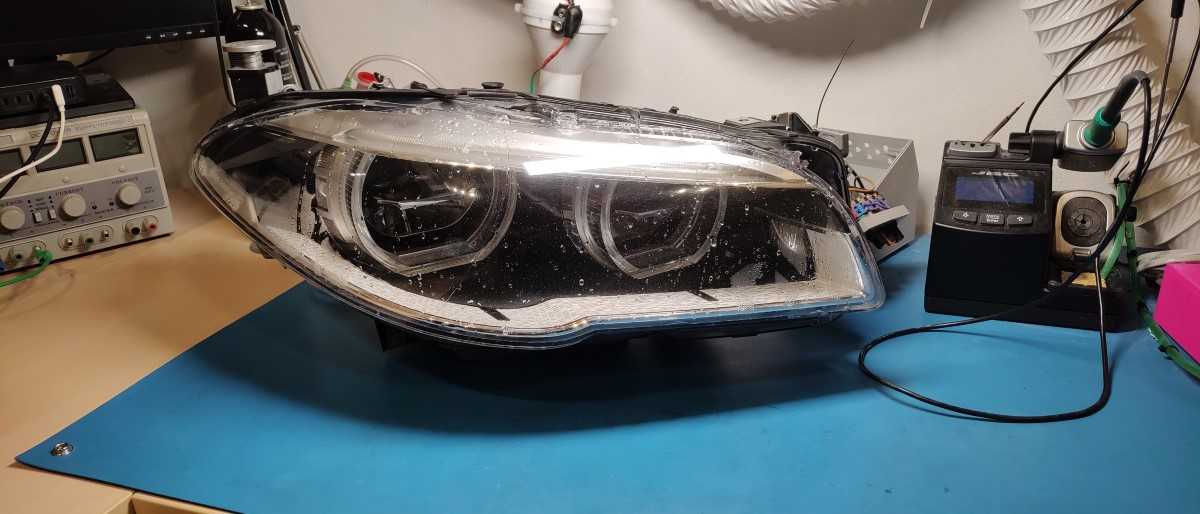
The headlight has an excessive amount of moisture or is excessively foggy. A bit of moisture can be normal during certain weather, as vents allow air to come in and out, so they might fog up a little bit and then dry out by themselves, which is normal.
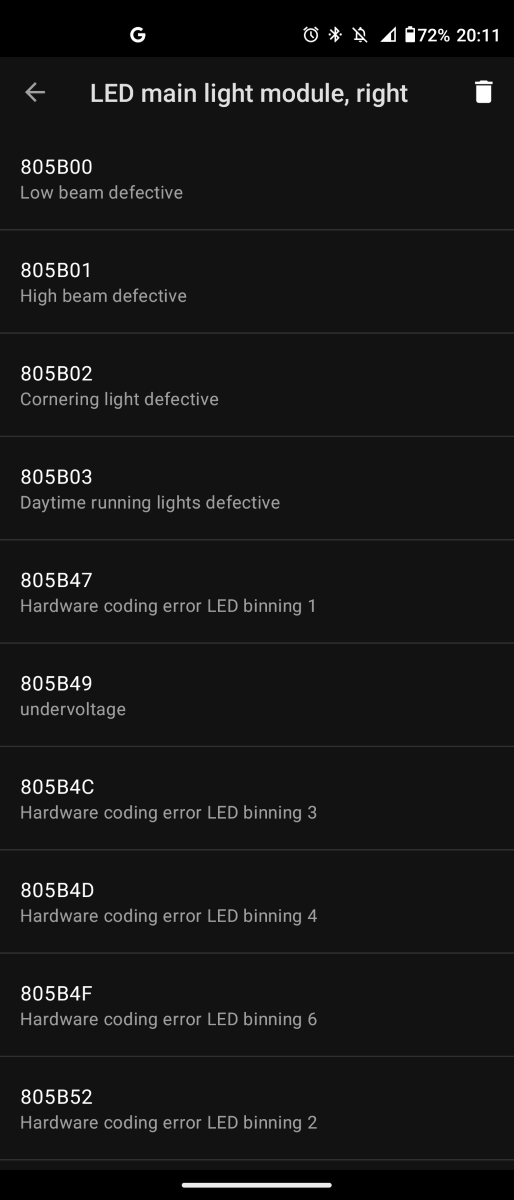
But if moisture becomse excessive even to the point where liqiuid water is accumulating inisde the headlight and or you start getting errors like “805B00: Low beam defective“, “805B01 High beam defective“, “805B02: Cornering light defective“, “805B03: Daytime running light defective“, “805B47: Hardware coding error LED binning“, “805B49: undervoltage“, … the water is shorting something out, or it already damaged something in the headlight.
Here’s an image of my headlight and the errors I was getting.
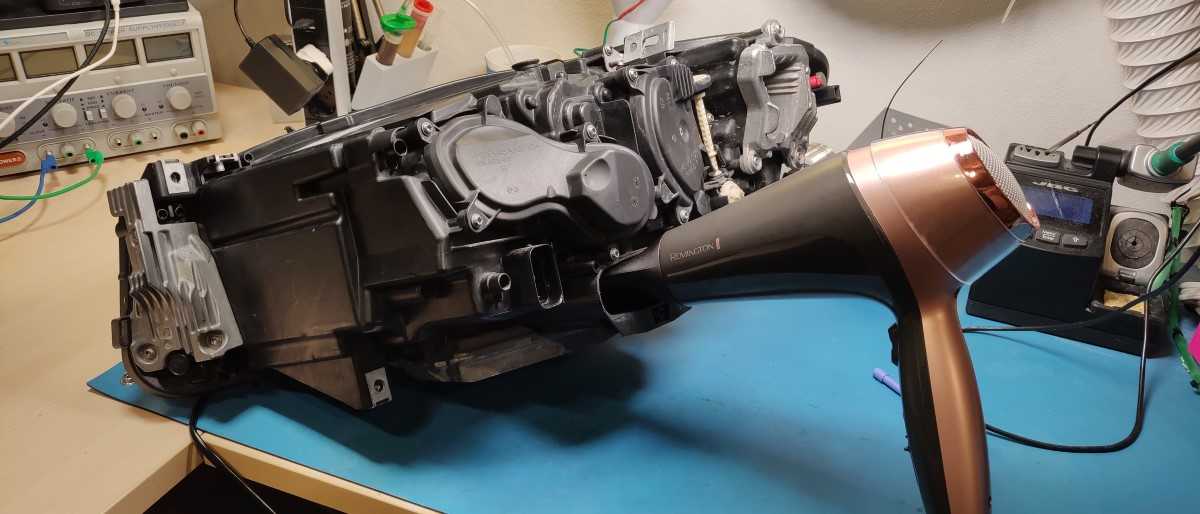
I removed the electronics control board/module and stuck a hair dryer inside it to dry out the headlight.
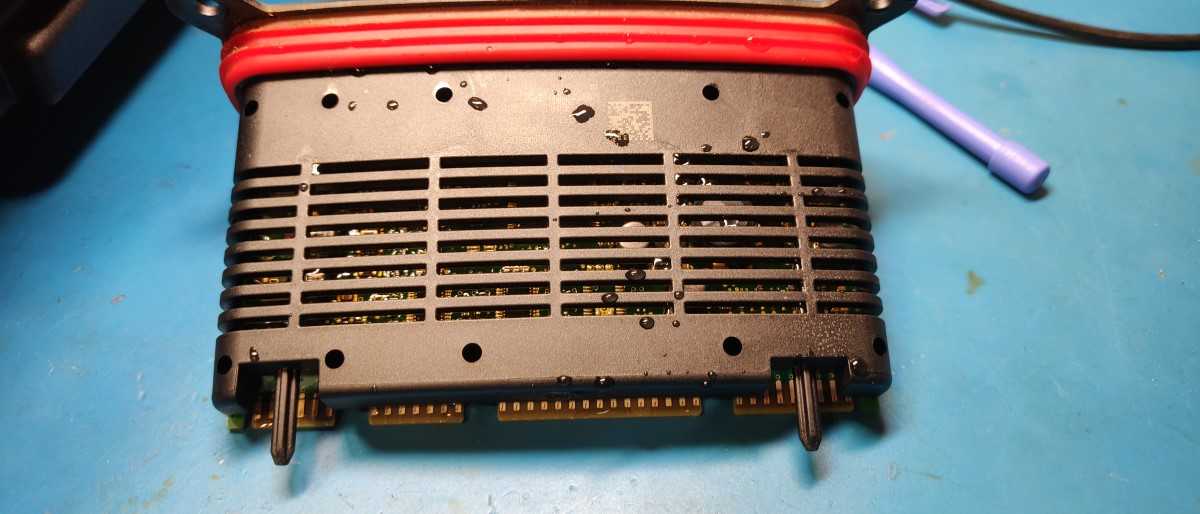
The module was also wet, so I dried it out as well and inspected it for damage. Luckily, I caught the problem early on and there was no damage. If the module is damaged, you might have to repair it or buy a new one.
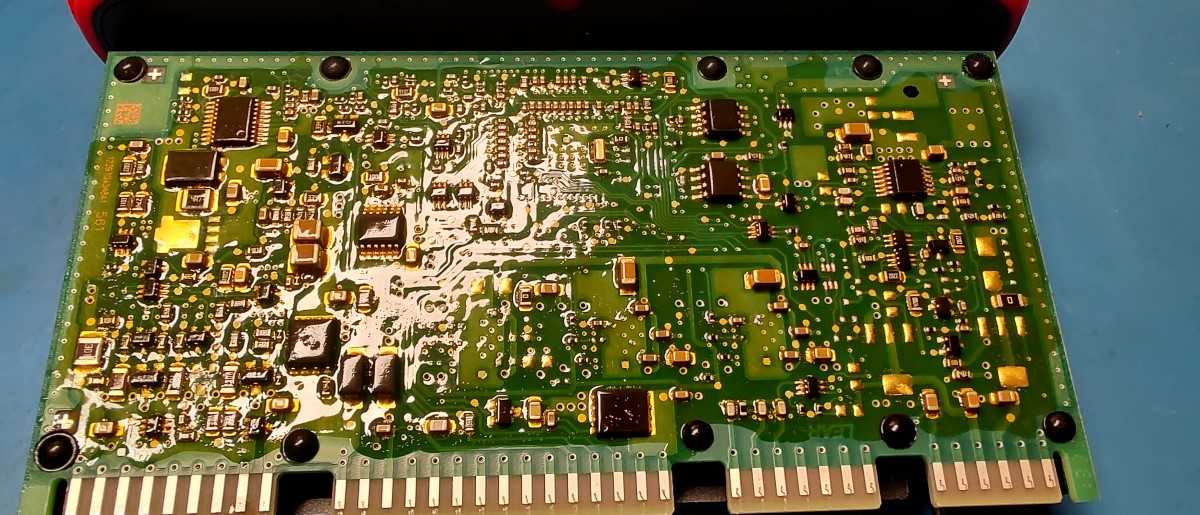
The glossy-looking residue is not water but a conformal coating added to the PCB to protect it from moisture/liquid.
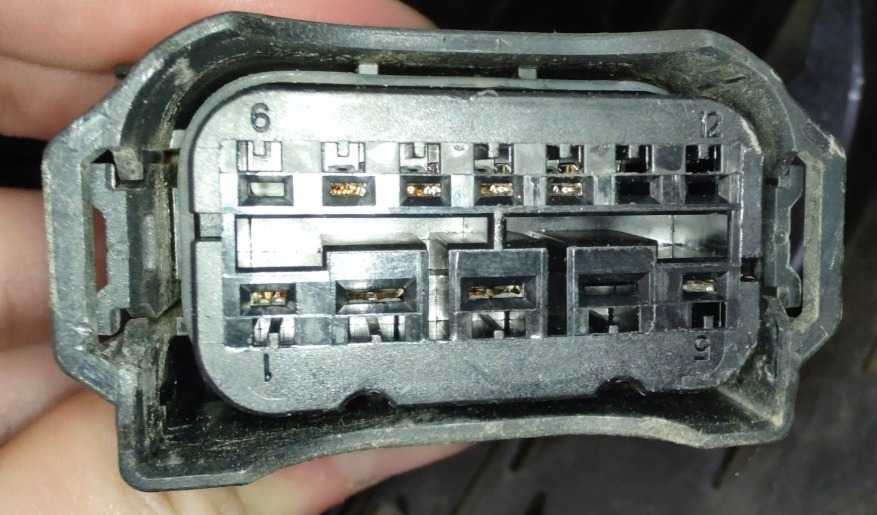
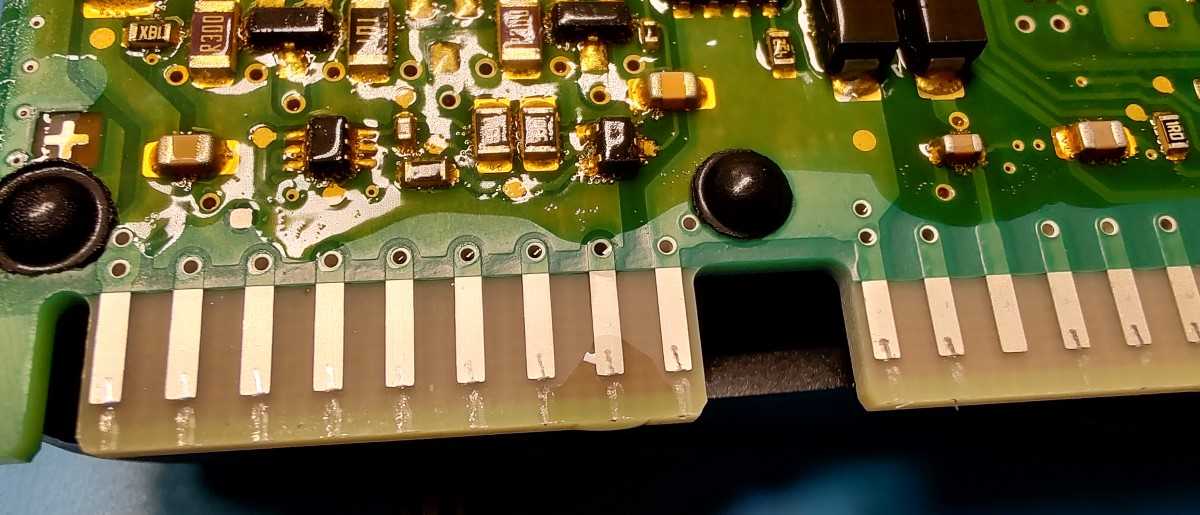
On the connector pin, you can actually see a droplet of water. Again, luckily, there was no corrosion here yet either.
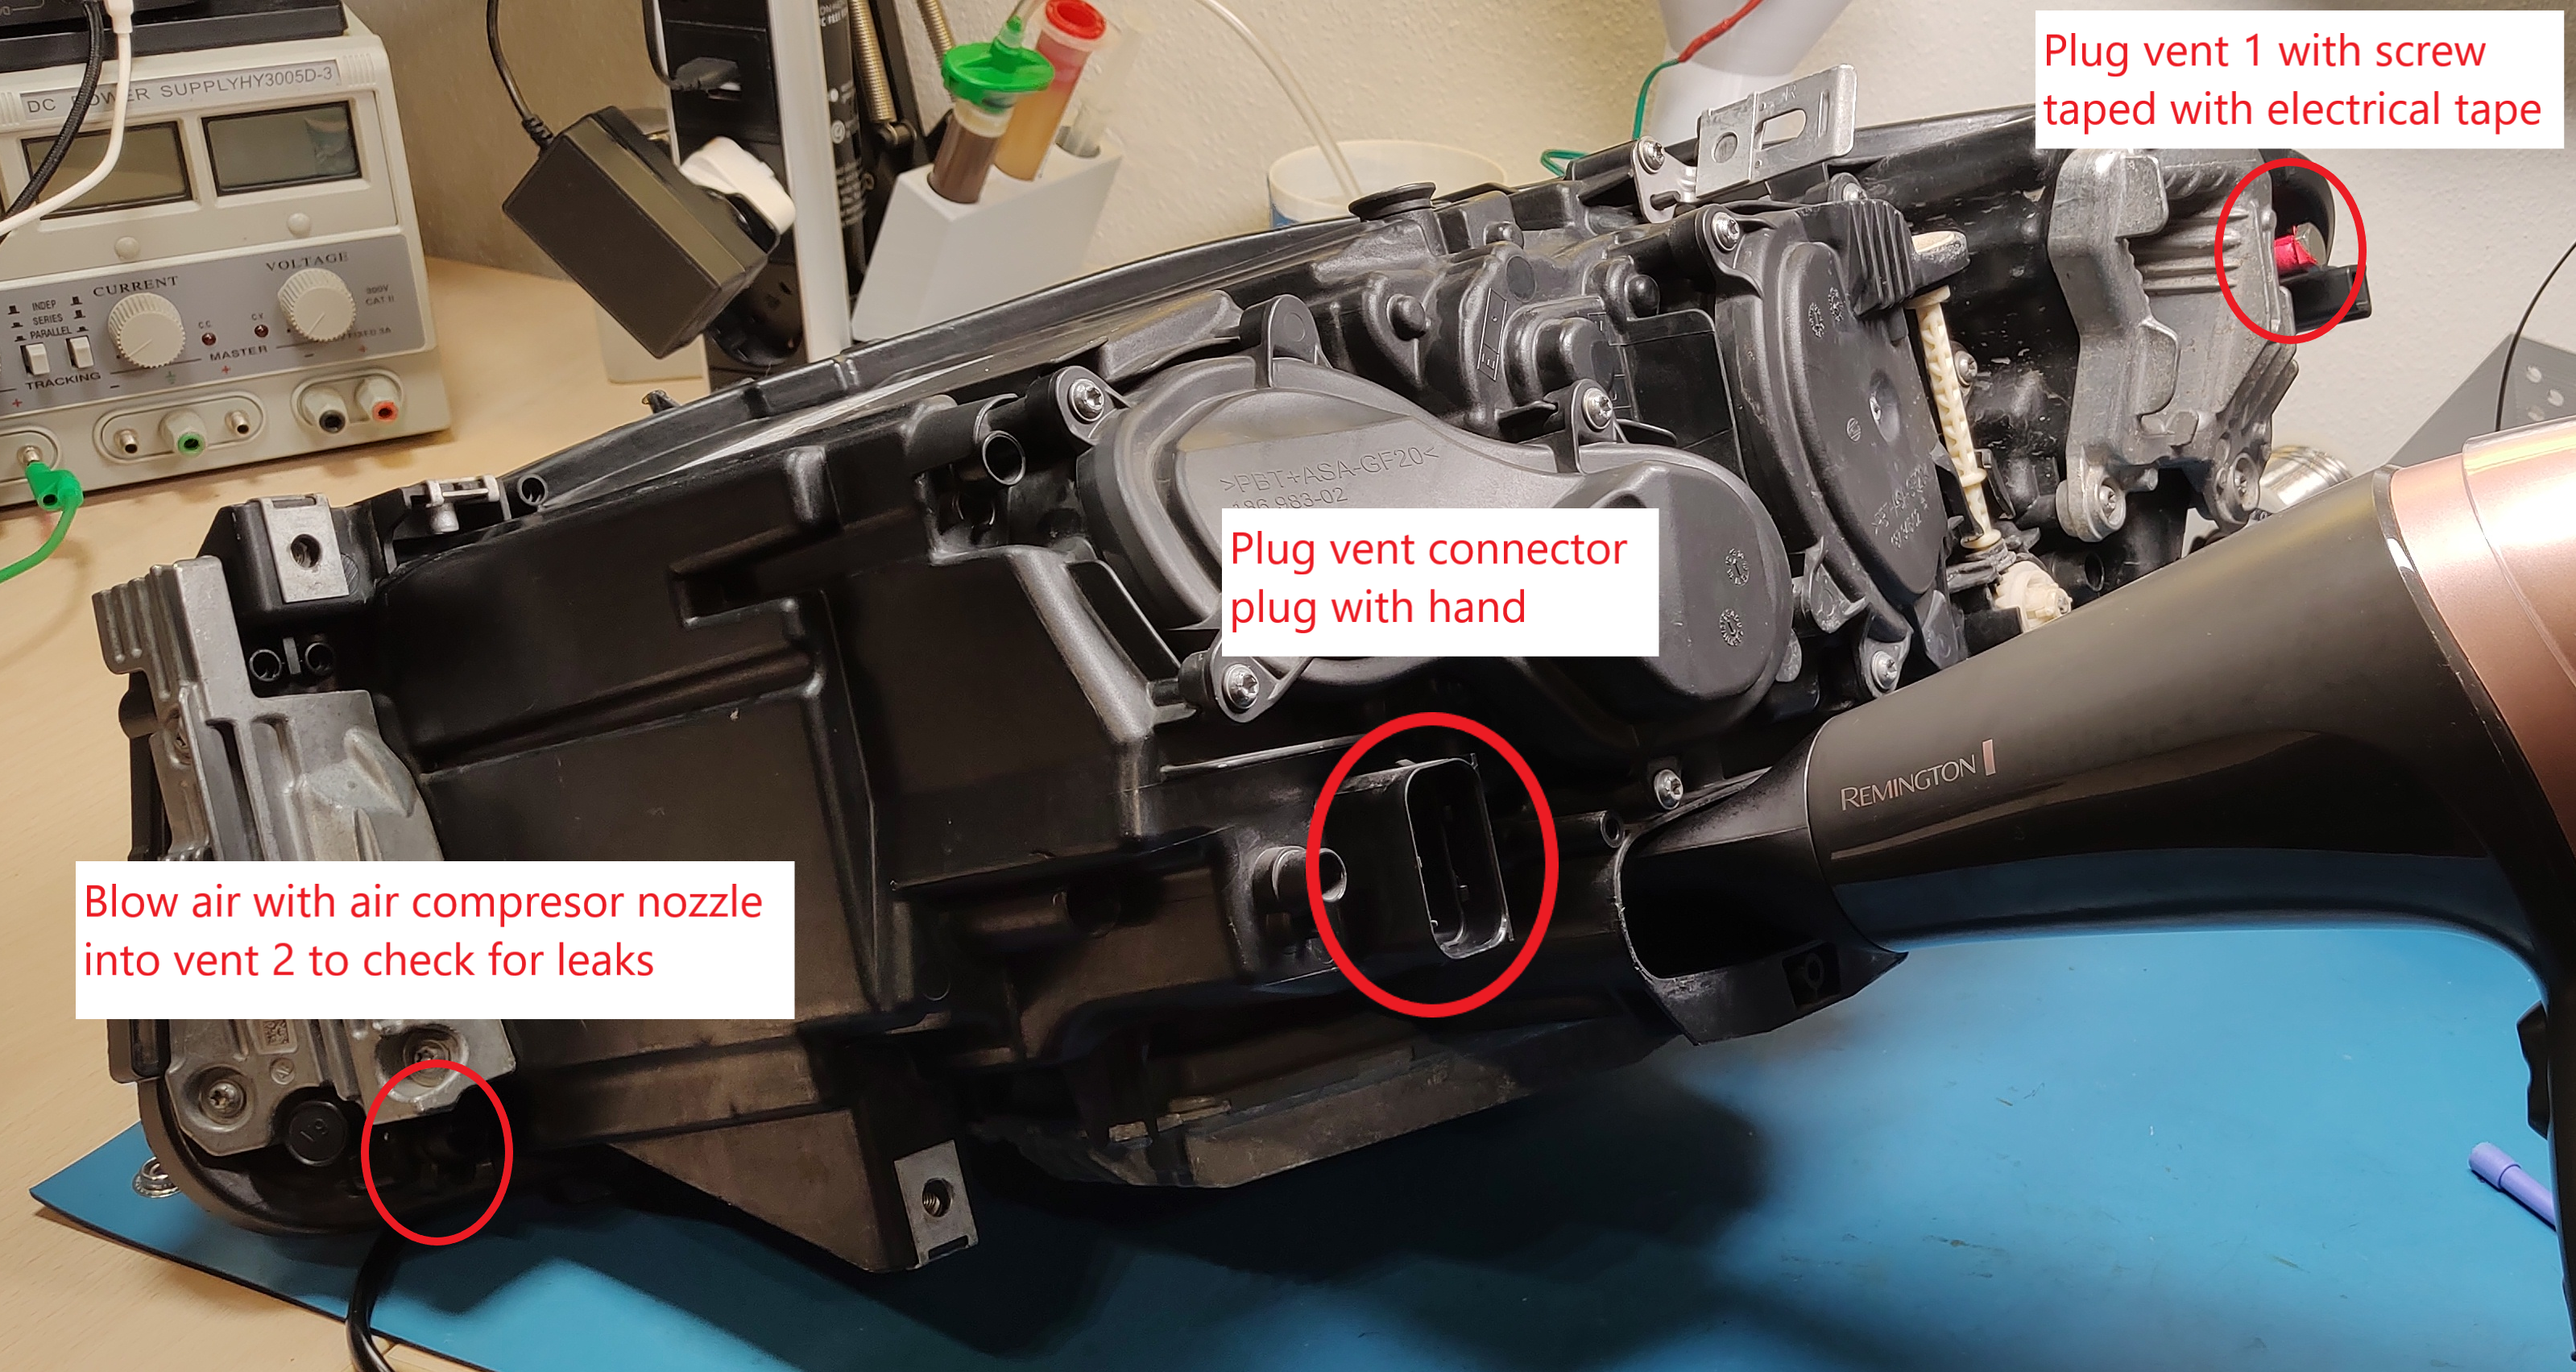
Now I re-inserted the module and proceeded to the leak test.
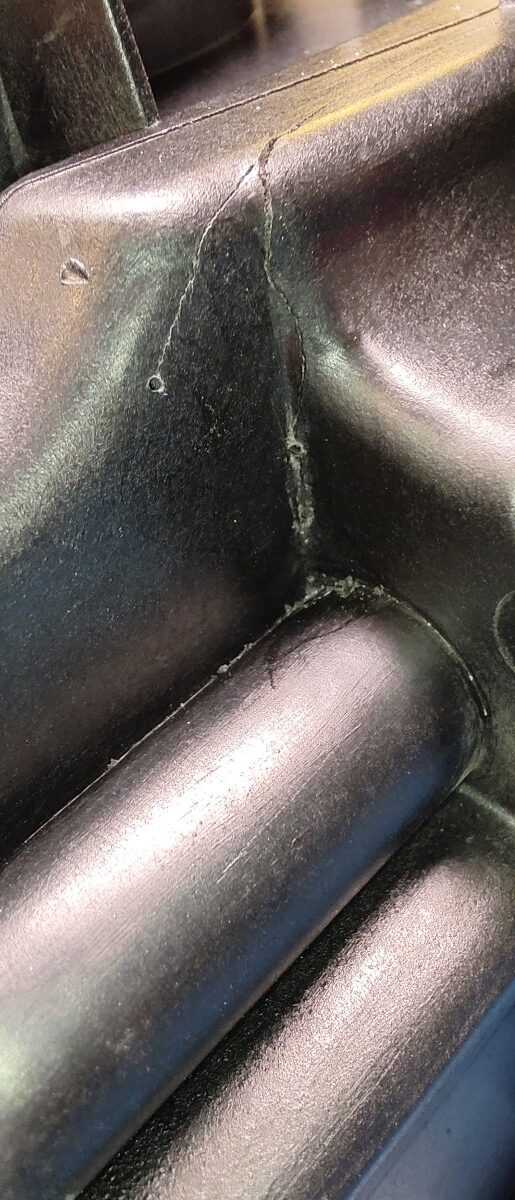
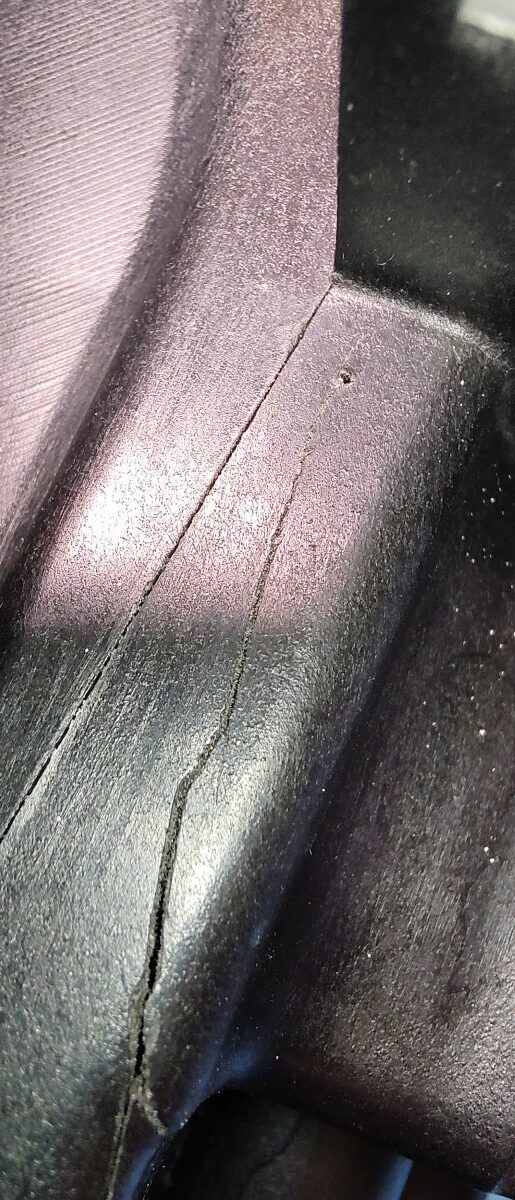
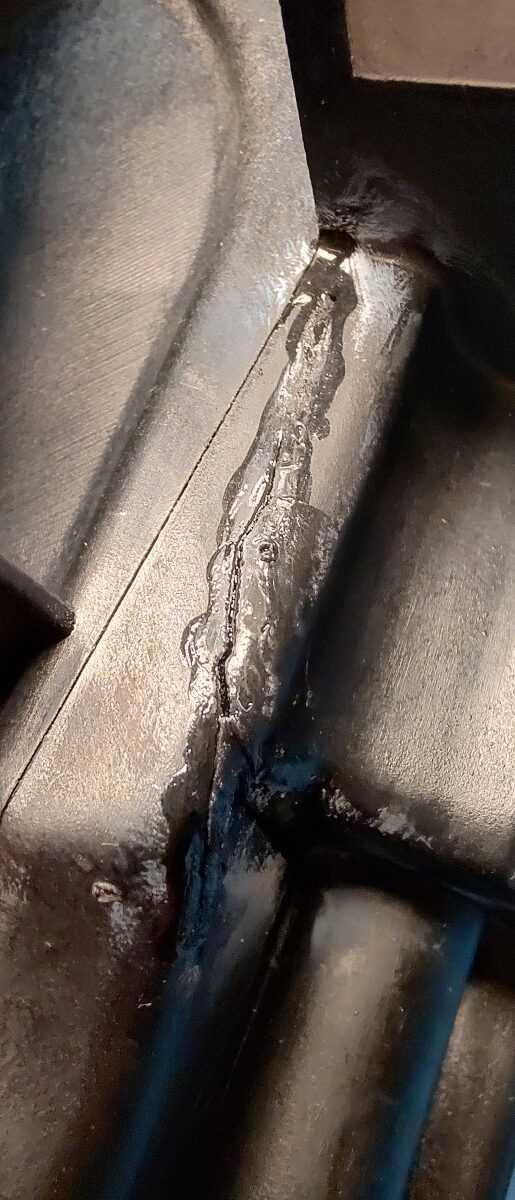
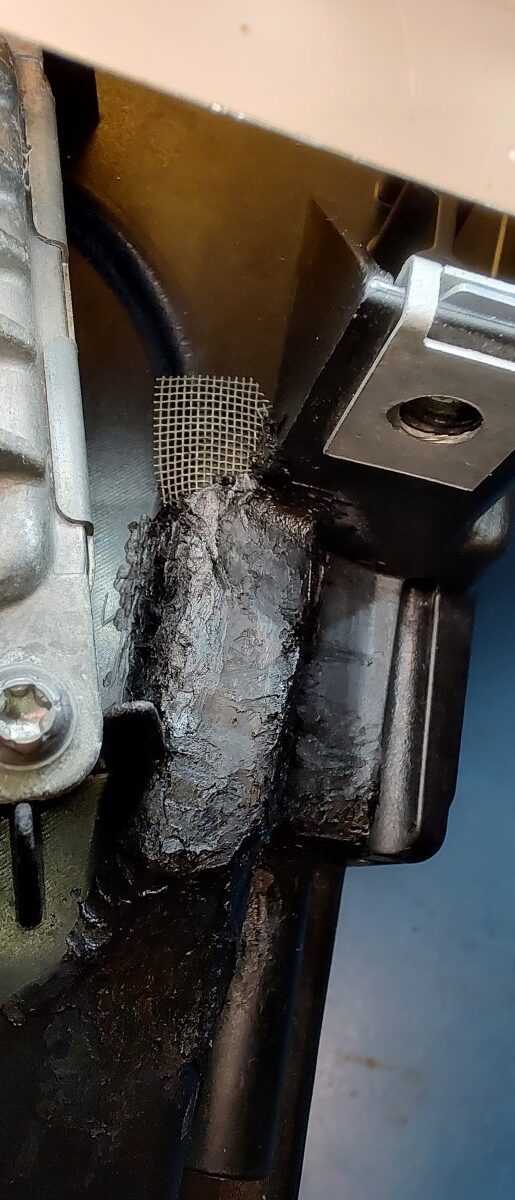
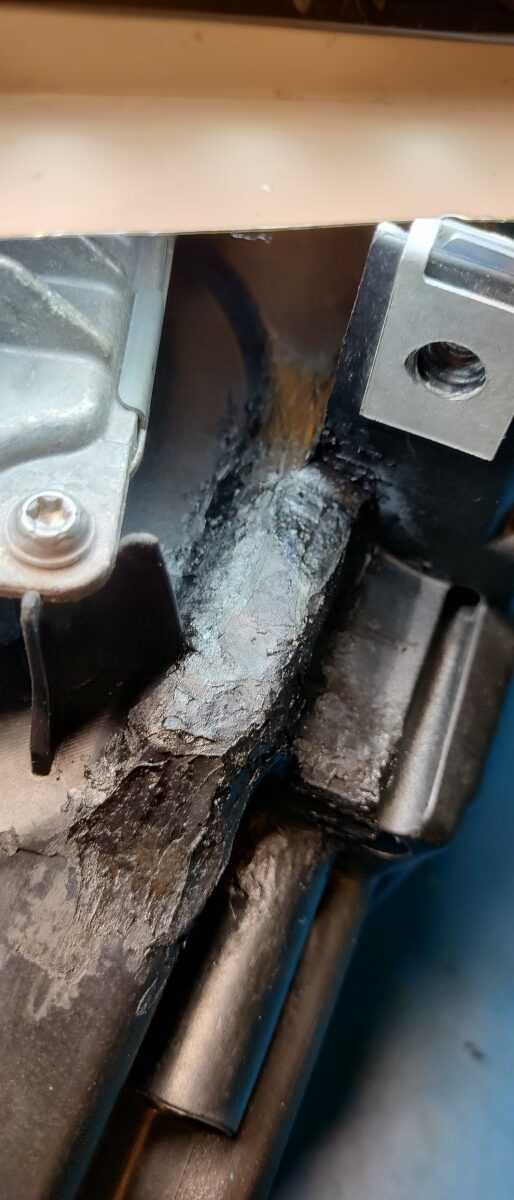
As mentioned before, in my case, the issue was cracks in the housing that propagated from the mounting points of the headlight.
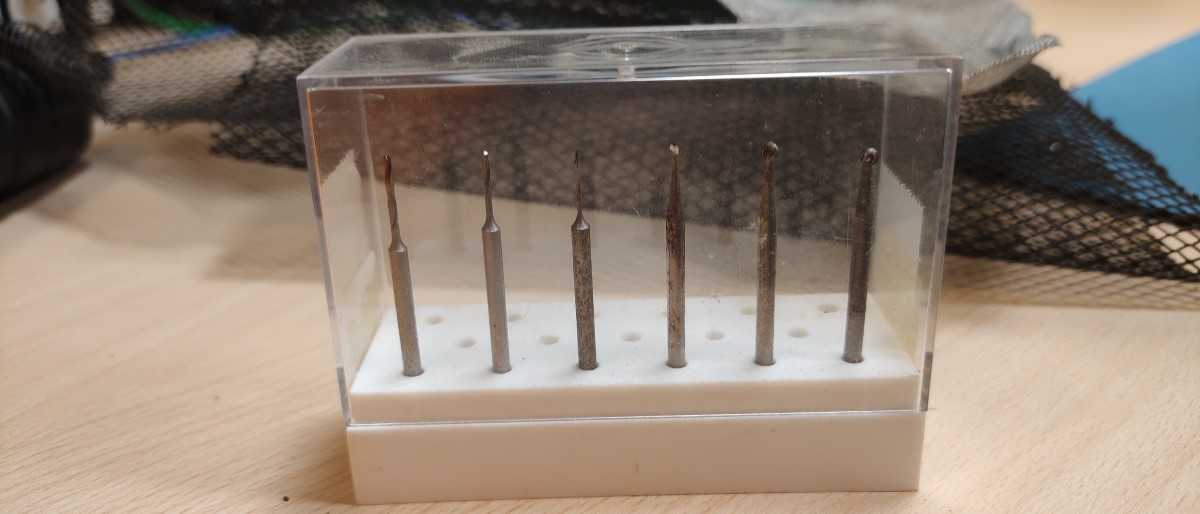
As you can already see in the image above, I have used these mini drill bits to drill a small hole at the end of the cracks in an attempt to stop them from spreading.
Next, I applied a generous amount of super glue and tried to spread the cracks a bit so the glue could go as deep as possible, hopefully also all the way through.
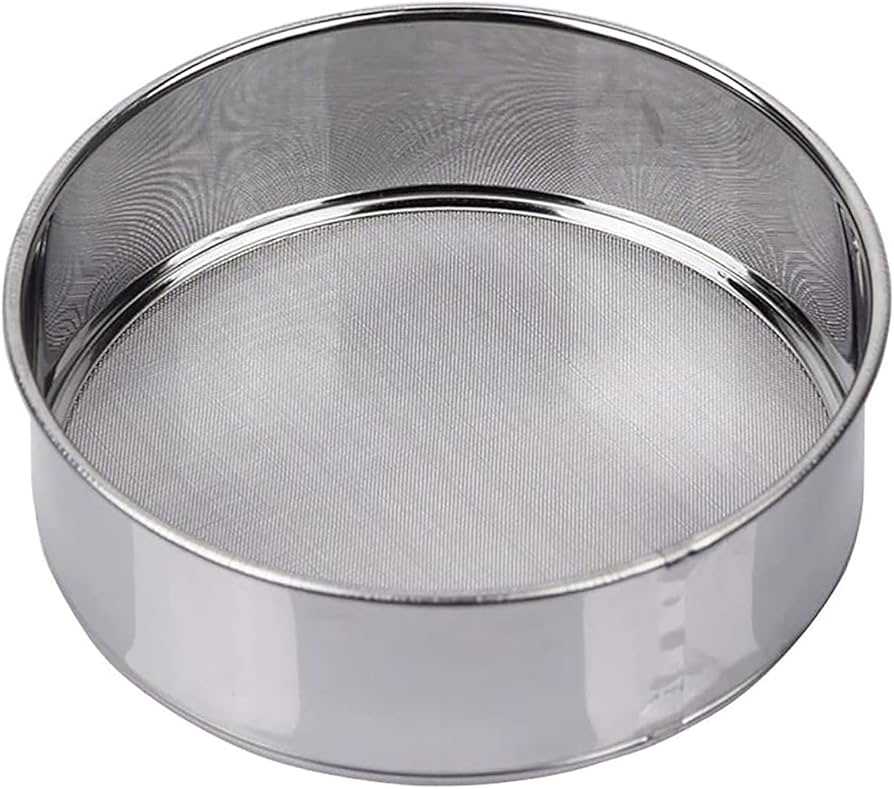
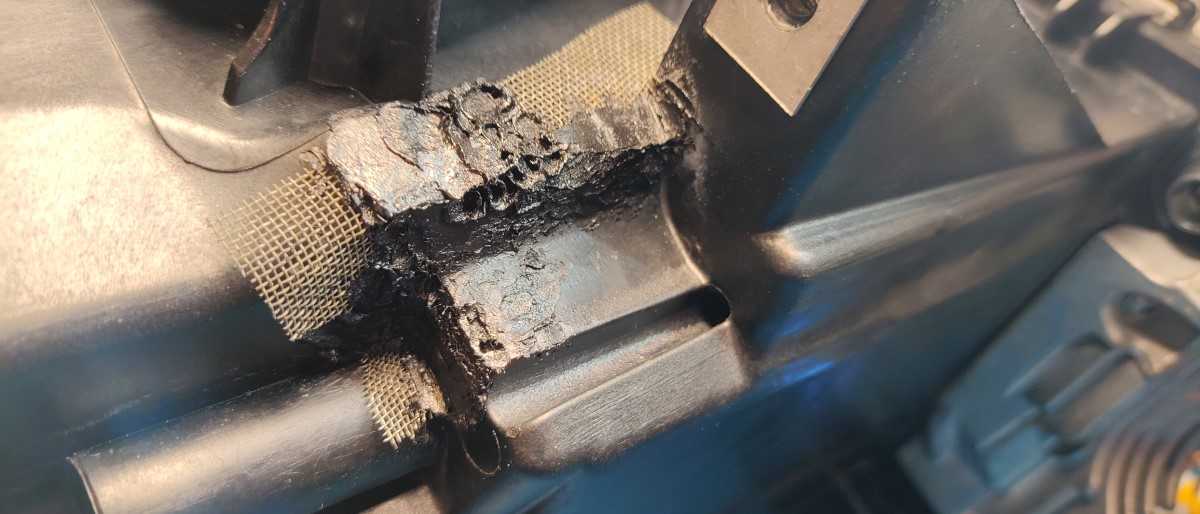
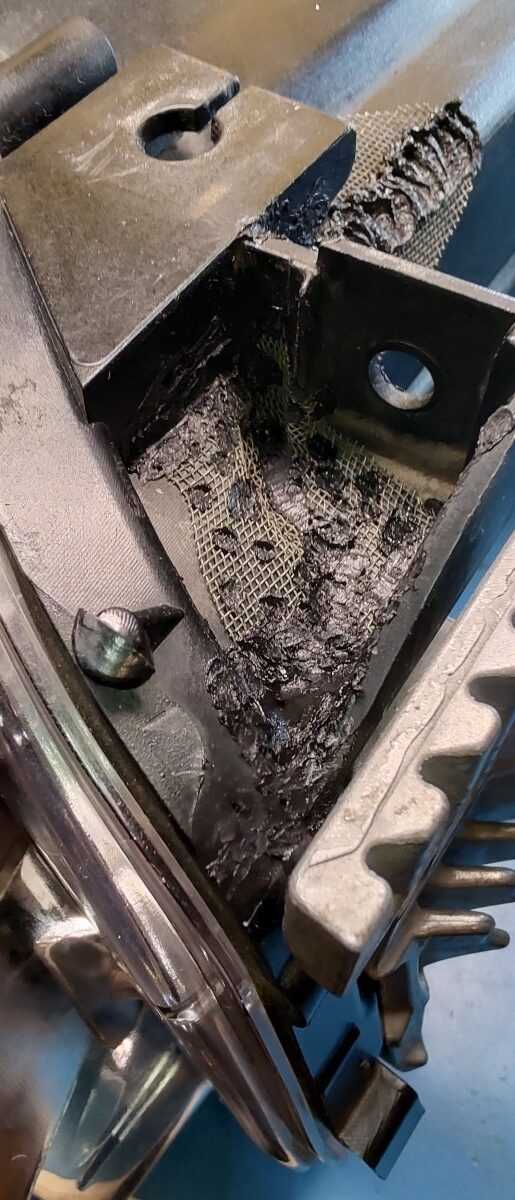
Finally, we get to the plastic welding. I used some fine steel mesh I got from an old flour sieve. I then used my soldering iron to melt the mesh about 1/3 to 1/2 way into the case.
After this, I reinstalled the headlight into my car and after about a year, I still have had no problems with it so far.