About
In this code snippet, we’ll learn how to upload files with Javascript.
We will use the input HTML element and set it’s type to “file”. Then javascript can be used to retrive the selected file from the input element and send it to the backend. You can use whatever you want for your backend: nodejs, PHP, Java or in this case I will use a C# Azure function.
Let’s see the example below.
Frontend Code:
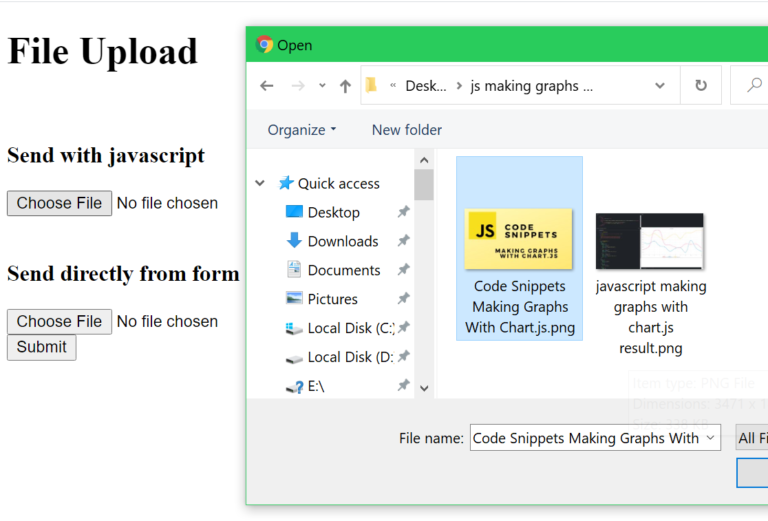
I also added a second way of sending the file to the backend by only using a form and completely avoiding javascript. Both examples will produce the same result.
html
<!DOCTYPE html>
<html>
    <head>
        <title>File Upload</title>
    </head>
    <script src="code.js"></script>
    <body>
        <div>
            <h1>File Upload</h1>

            <br>

            <h3>Send with javascript</h3>
            <input id="fileUpload" name="file" type="file" />

            <br>

            <h3>Send directly from form</h3>
            <form enctype="multipart/form-data" action="http://localhost:7071/api/FileUpload" method="post">
                <input name="file" type="file" /> <br>
                <input type="submit">
            </form>
        </div>
    </body>
</html>
Javascript will grab the file from the file input, create a FormData object and add the file to it. This object will then be sent to the backend using fetch().
javascript
//Run this when the HTML gets loaded.
window.onload = () => {
  //Add event on the file input.
  document.getElementById("fileUpload").addEventListener("change", fileUploaded);
}

function fileUploaded(event){
  //Get the upload input element.
  const fileInput = event.target;
  //Get the first file.
  const fileData = fileInput.files[0];

  //Create a form data object.
  let formData = new FormData();
  //Add file.
  formData.append("file", fileData);

  //Set reqeust properties.
  const requestProperties = {
    method: "POST",
    body: formData //Add form data to request.
  };

  //Url of the backend where you want to upload the file to.
  const fileUploadURL = "http://localhost:7071/api/FileUpload";

  //Make the request.
  makeRequest(fileUploadURL, requestProperties);
}

async function makeRequest(url, requestProperties){
  let response = await fetch(url, requestProperties);
  console.log(response.status);
}
Backend Code:
As mentioned before you can use whatever you want for your backend but I will be using C# and Azure Functions in this example. The file will simply be read from the request and written to the file system.
C# Azure Function
using System;
using System.IO;
using System.Threading.Tasks;
using Microsoft.AspNetCore.Mvc;
using Microsoft.Azure.WebJobs;
using Microsoft.Azure.WebJobs.Extensions.Http;
using Microsoft.AspNetCore.Http;
using Microsoft.Extensions.Logging;

namespace Company.Function
{
    public static class FileUpload
    {
        [FunctionName("FileUpload")]
        public static async Task Run([HttpTrigger(AuthorizationLevel.Function, "put", "post", Route = null)] HttpRequest req, ILogger log)
        {
            try
            {
                //Read form data.
                var formData = await req.ReadFormAsync();
                //Get file.
                var file = formData.Files["file"];

                //For this demo I will save the file localy to the desktop.
                //In a real scenario you could process the file and return some sort of result or save it to a DB/Cloud storage.
                using(Stream outStream = File.OpenWrite(@"C:\Users\DTPC\Desktop\" + file.FileName))
                    file.CopyTo(outStream);

                //Return seccessful response.
                return new OkObjectResult("File was uploaded.");
            }
            catch (Exception ex)
            {
                return new BadRequestObjectResult(ex);
            }
        }
    }
} 


