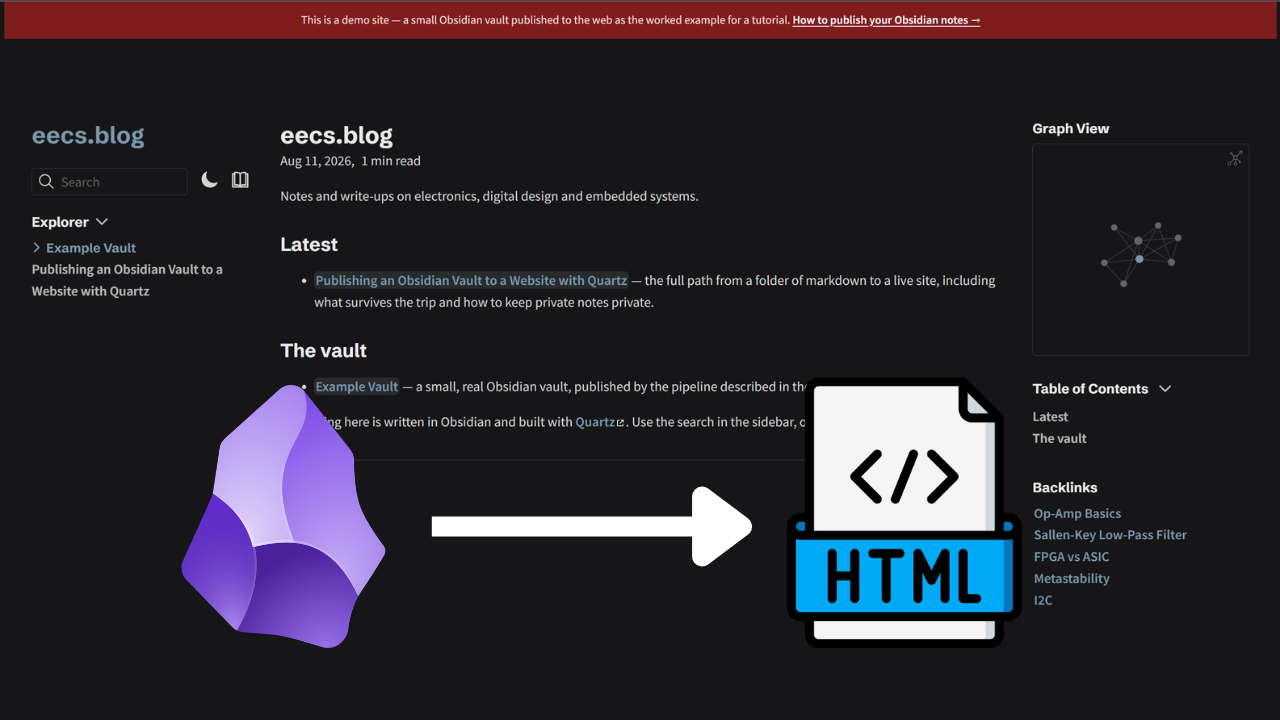
In this post, I’ll show you how to add your Obsidian notes or entire vault to your website for free. This way, you can easily share them with the world. I’m planning to post some Obsidian notes on my blog in the future, so I thought I’d also share/document the process.
Obsidian stores your notes as plain Markdown in a plain folder. We’ll be using Quartz to convert it to an HTML site you can upload to a web server. I made an example site here if you want to check it out.
Note: Things like dataview queries, plugins (Excalidraw, Kanban, etc.) and canvas files will not get exported.
Step 1 — Install Quartz
git clone https://github.com/jackyzha0/quartz.git my-site
cd my-site
npm installcontent/— your vault goes herequartz/— the generator itselfpublic/— build output; this is the websitequartz.config.ts— what the site isquartz.layout.ts— where things sit on the page
Step 2 — Get your vault into content/
Everything under content/ becomes the site. There are three ways to put it there, and the right one depends on how you work.
cp -r "/path/to/Your Vault" content/New-Item -ItemType SymbolicLink -Path "content\vault" -Target "C:\Users\you\Documents\Obsidian Vaults\Your Vault"Make the vault a git submodule. If your vault is a git repository.
git submodule add https://github.com/you/your-vault.git content/vaultStep 3 — Configure the site
quartz.config.ts. configuration: {
pageTitle: "eecs.blog",
baseUrl: "eecs.blog/obsidian/publish-example",
ignorePatterns: ["private", "templates", ".obsidian"],
analytics: null,
}Note: For the baseUrl don’t include the protocol or trailing slash, so in my case eecs.blog, not https://eecs.blog/. It can include a path if your site lives in a subdirectory.
Step 4 — Decide what to publish
If you don’t want to publish something, you can exclude it like so:
draft: true and the note is dropped at build time: ---
title: Half-finished thoughts
draft: true
---ignorePatterns is never read: ignorePatterns: ["private", "templates", ".obsidian", "Daily Notes"]content/ Step 5 — Preview it locally
npx quartz build --serveStep 6 — Build
npx quartz buildpublic/. That folder is a self-contained HTML, CSS, JS, images, an RSS feed and a sitemap. Step 7 — Deploy
Now simply upload the contents of public/ to your web server.
If you will be deploying the notes into a subdirectory of an existing WordPress site(like I did), WordPress “swallows” your URLs. Its rewrite rules hand every path that is not a real file to index.php. Quartz emits about.html, not about/index.html, so a link to /about is not a real file and WordPress throws a 404.
To fix it, declare a RewriteEngine in a child .htaccess that replaces the parent’s rules for the whole subtree:
RewriteEngine On
RewriteBase /obsidian/publish-example/

# Quartz emits about.html, not about/index.html
RewriteCond %{REQUEST_FILENAME} !-f
RewriteCond %{REQUEST_FILENAME} !-d
RewriteCond %{REQUEST_FILENAME}.html -f
RewriteRule ^(.*)$ $1.html [L]

ErrorDocument 404 /obsidian/publish-example/404.html