About
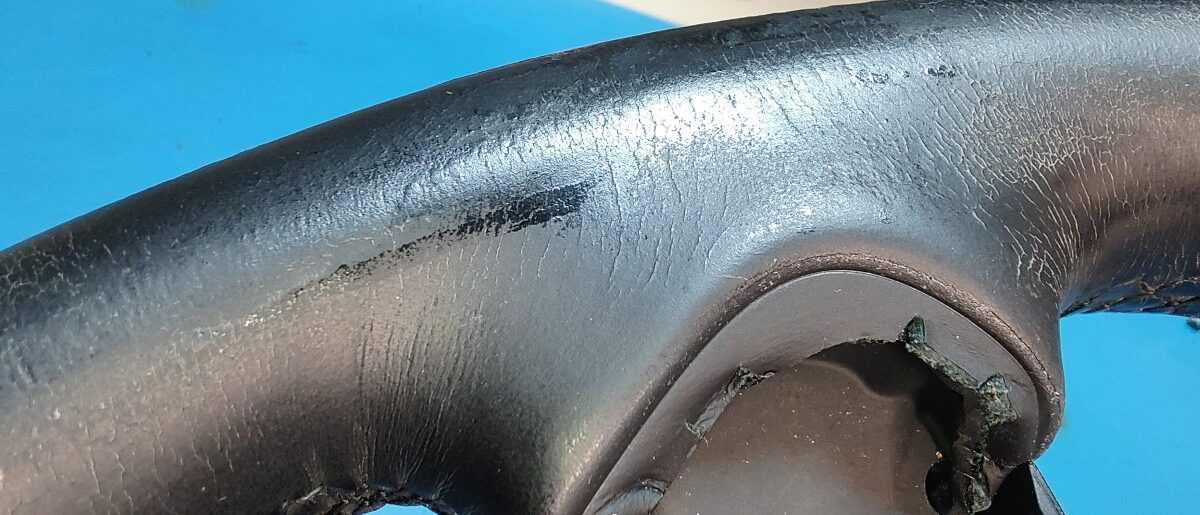
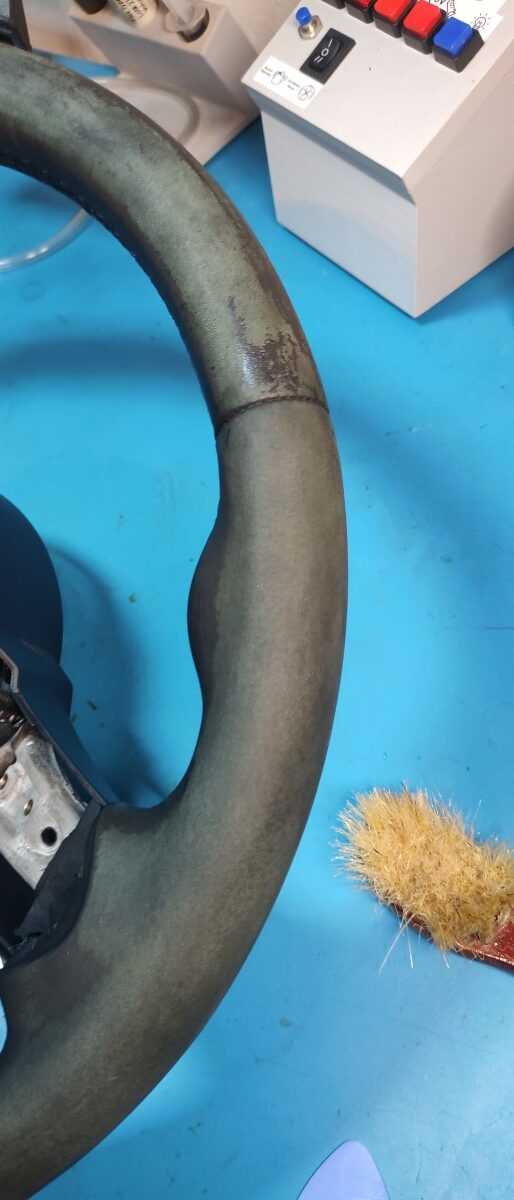
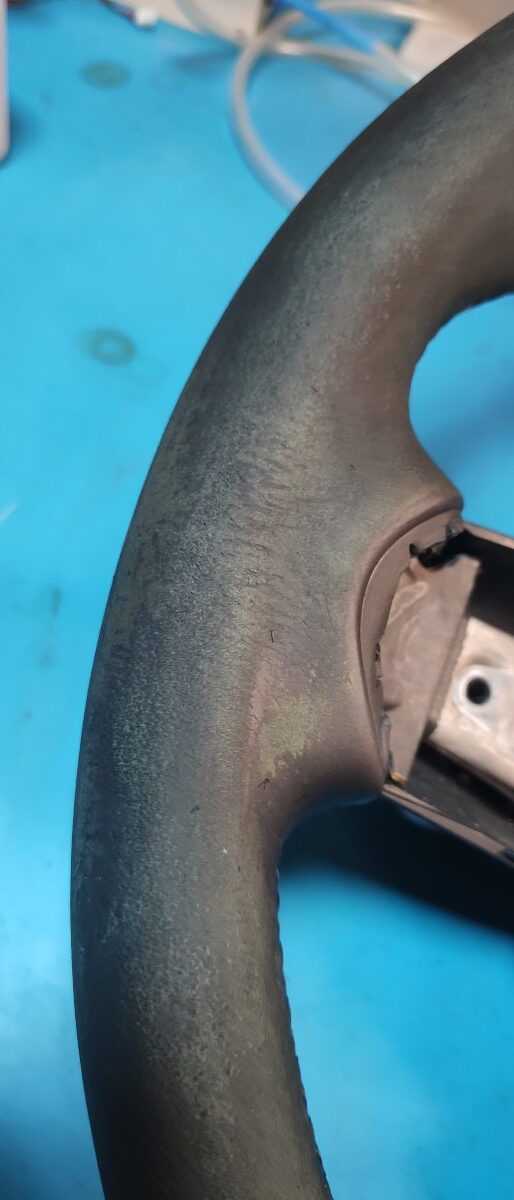
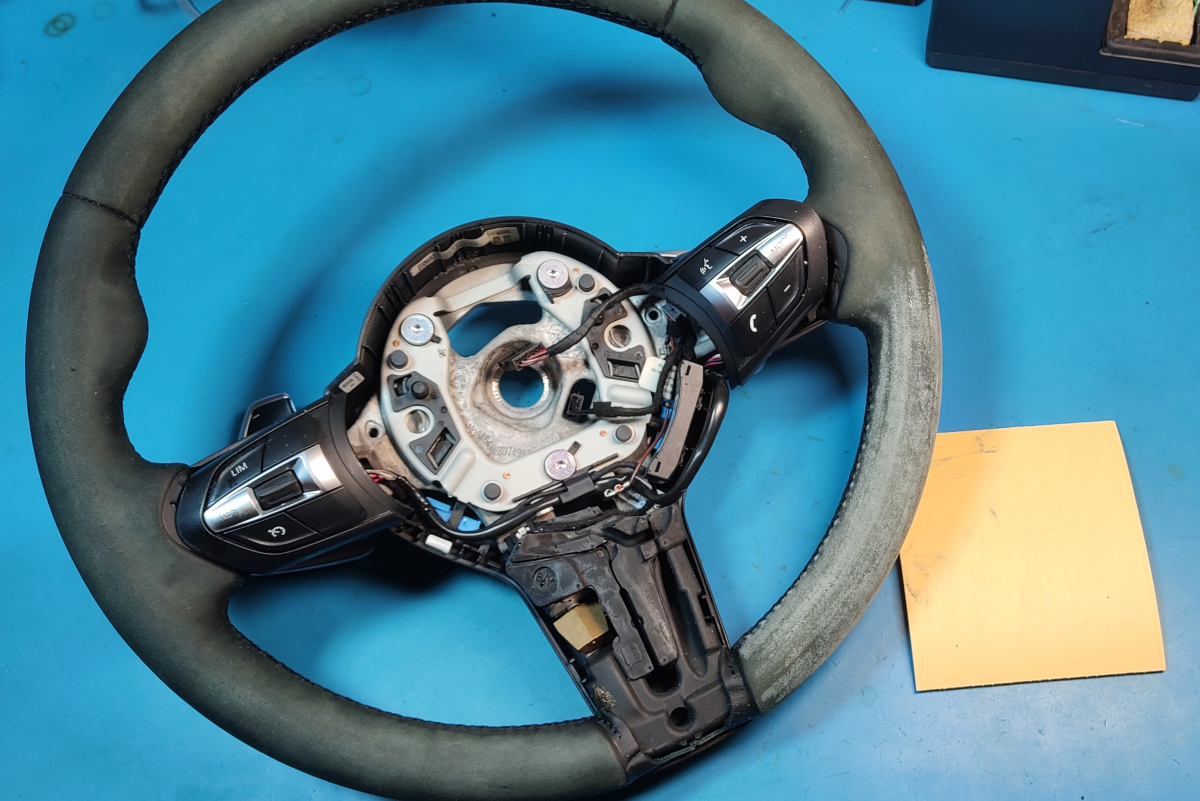
In this post, I will show you the process I used to restore a worn-out, dirty, cracking and damaged leather steering wheel.
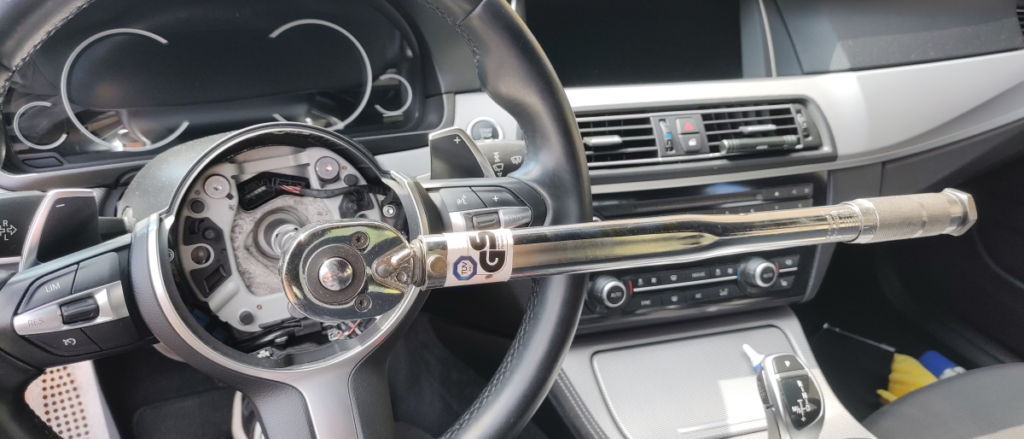
While it’s possible to do this while the steering wheel is still installed inside your car, it makes the process much easier if you take it out and do it on a workbench. I made a separate blog post here showing how to remove the steering wheel for the BMW F10.
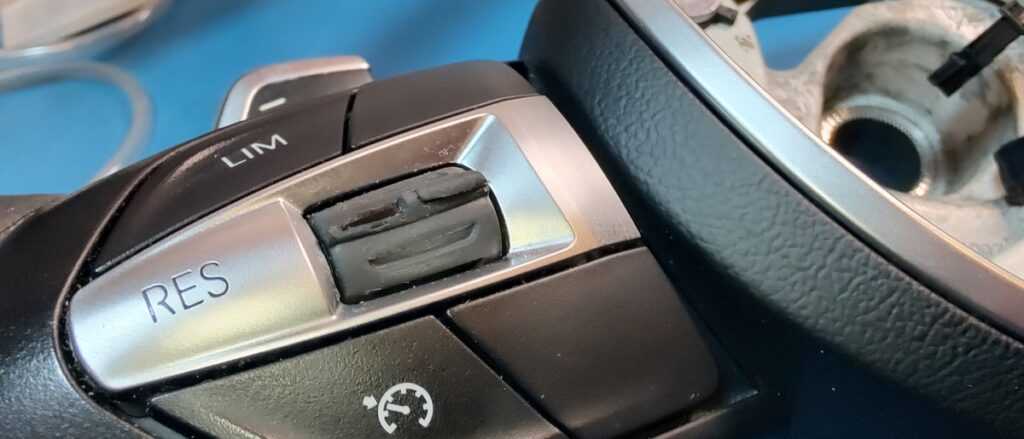
Additionally, I also replaced the worn-out cruise control switch/button; see the blog post about it here if you are interested. In that post, I also covered how to take off the plastic cover, button assemblies and paddle shifters. Again, this isn’t necessary, but it makes the restore process easier.
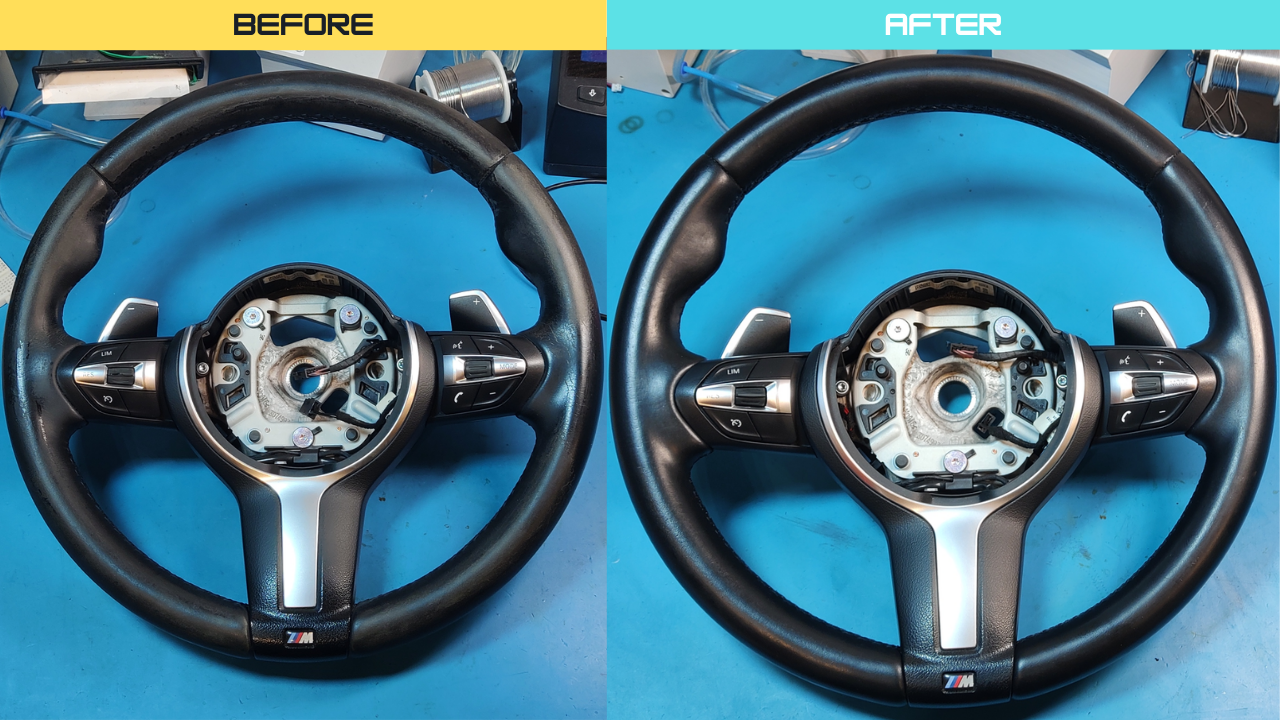
Before/After Comparison
Restore Process
Step 1: Remove Dirt And Old Coating
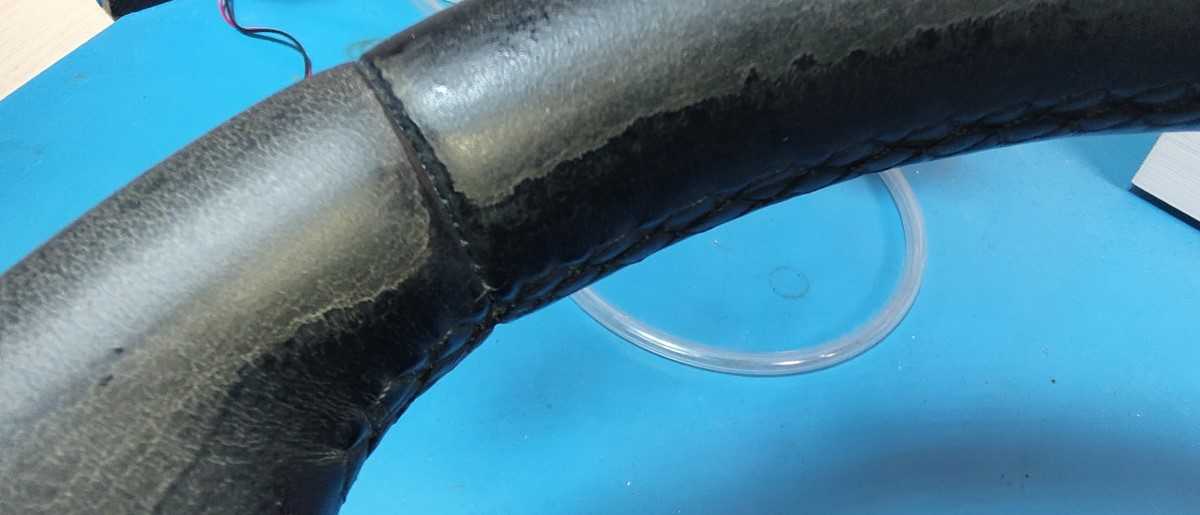
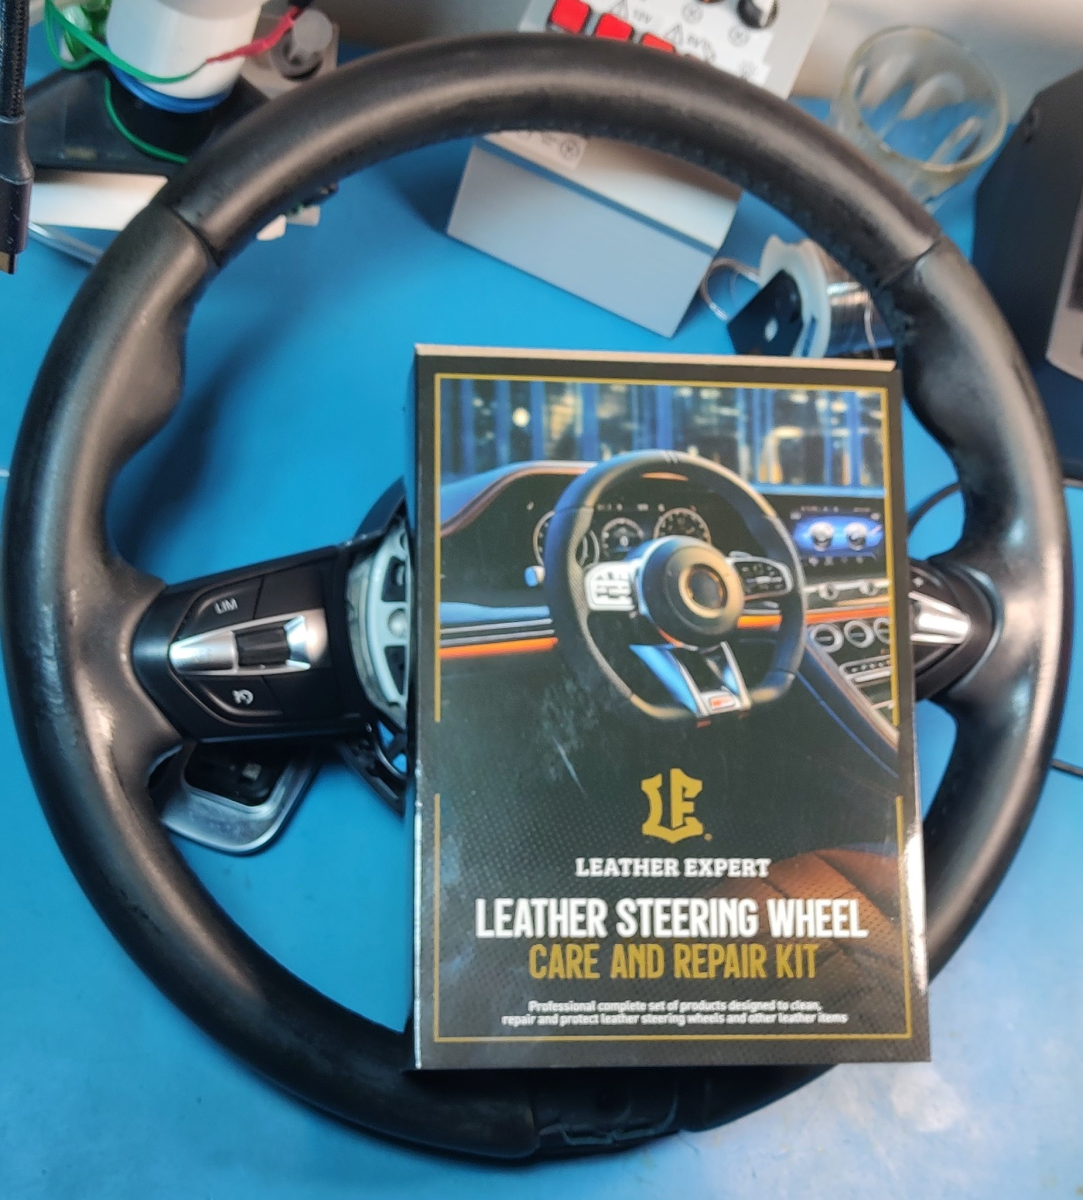
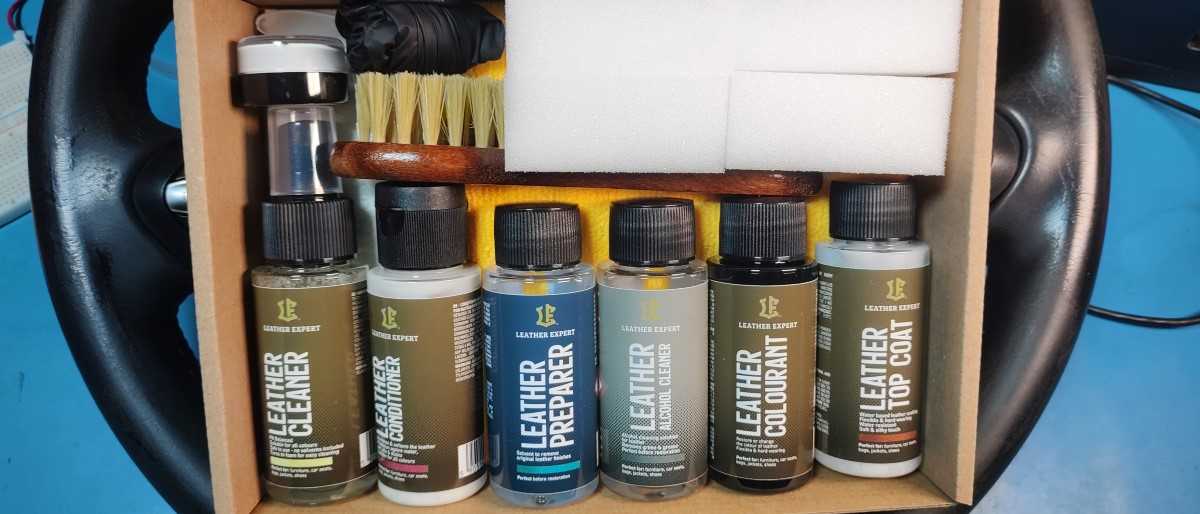
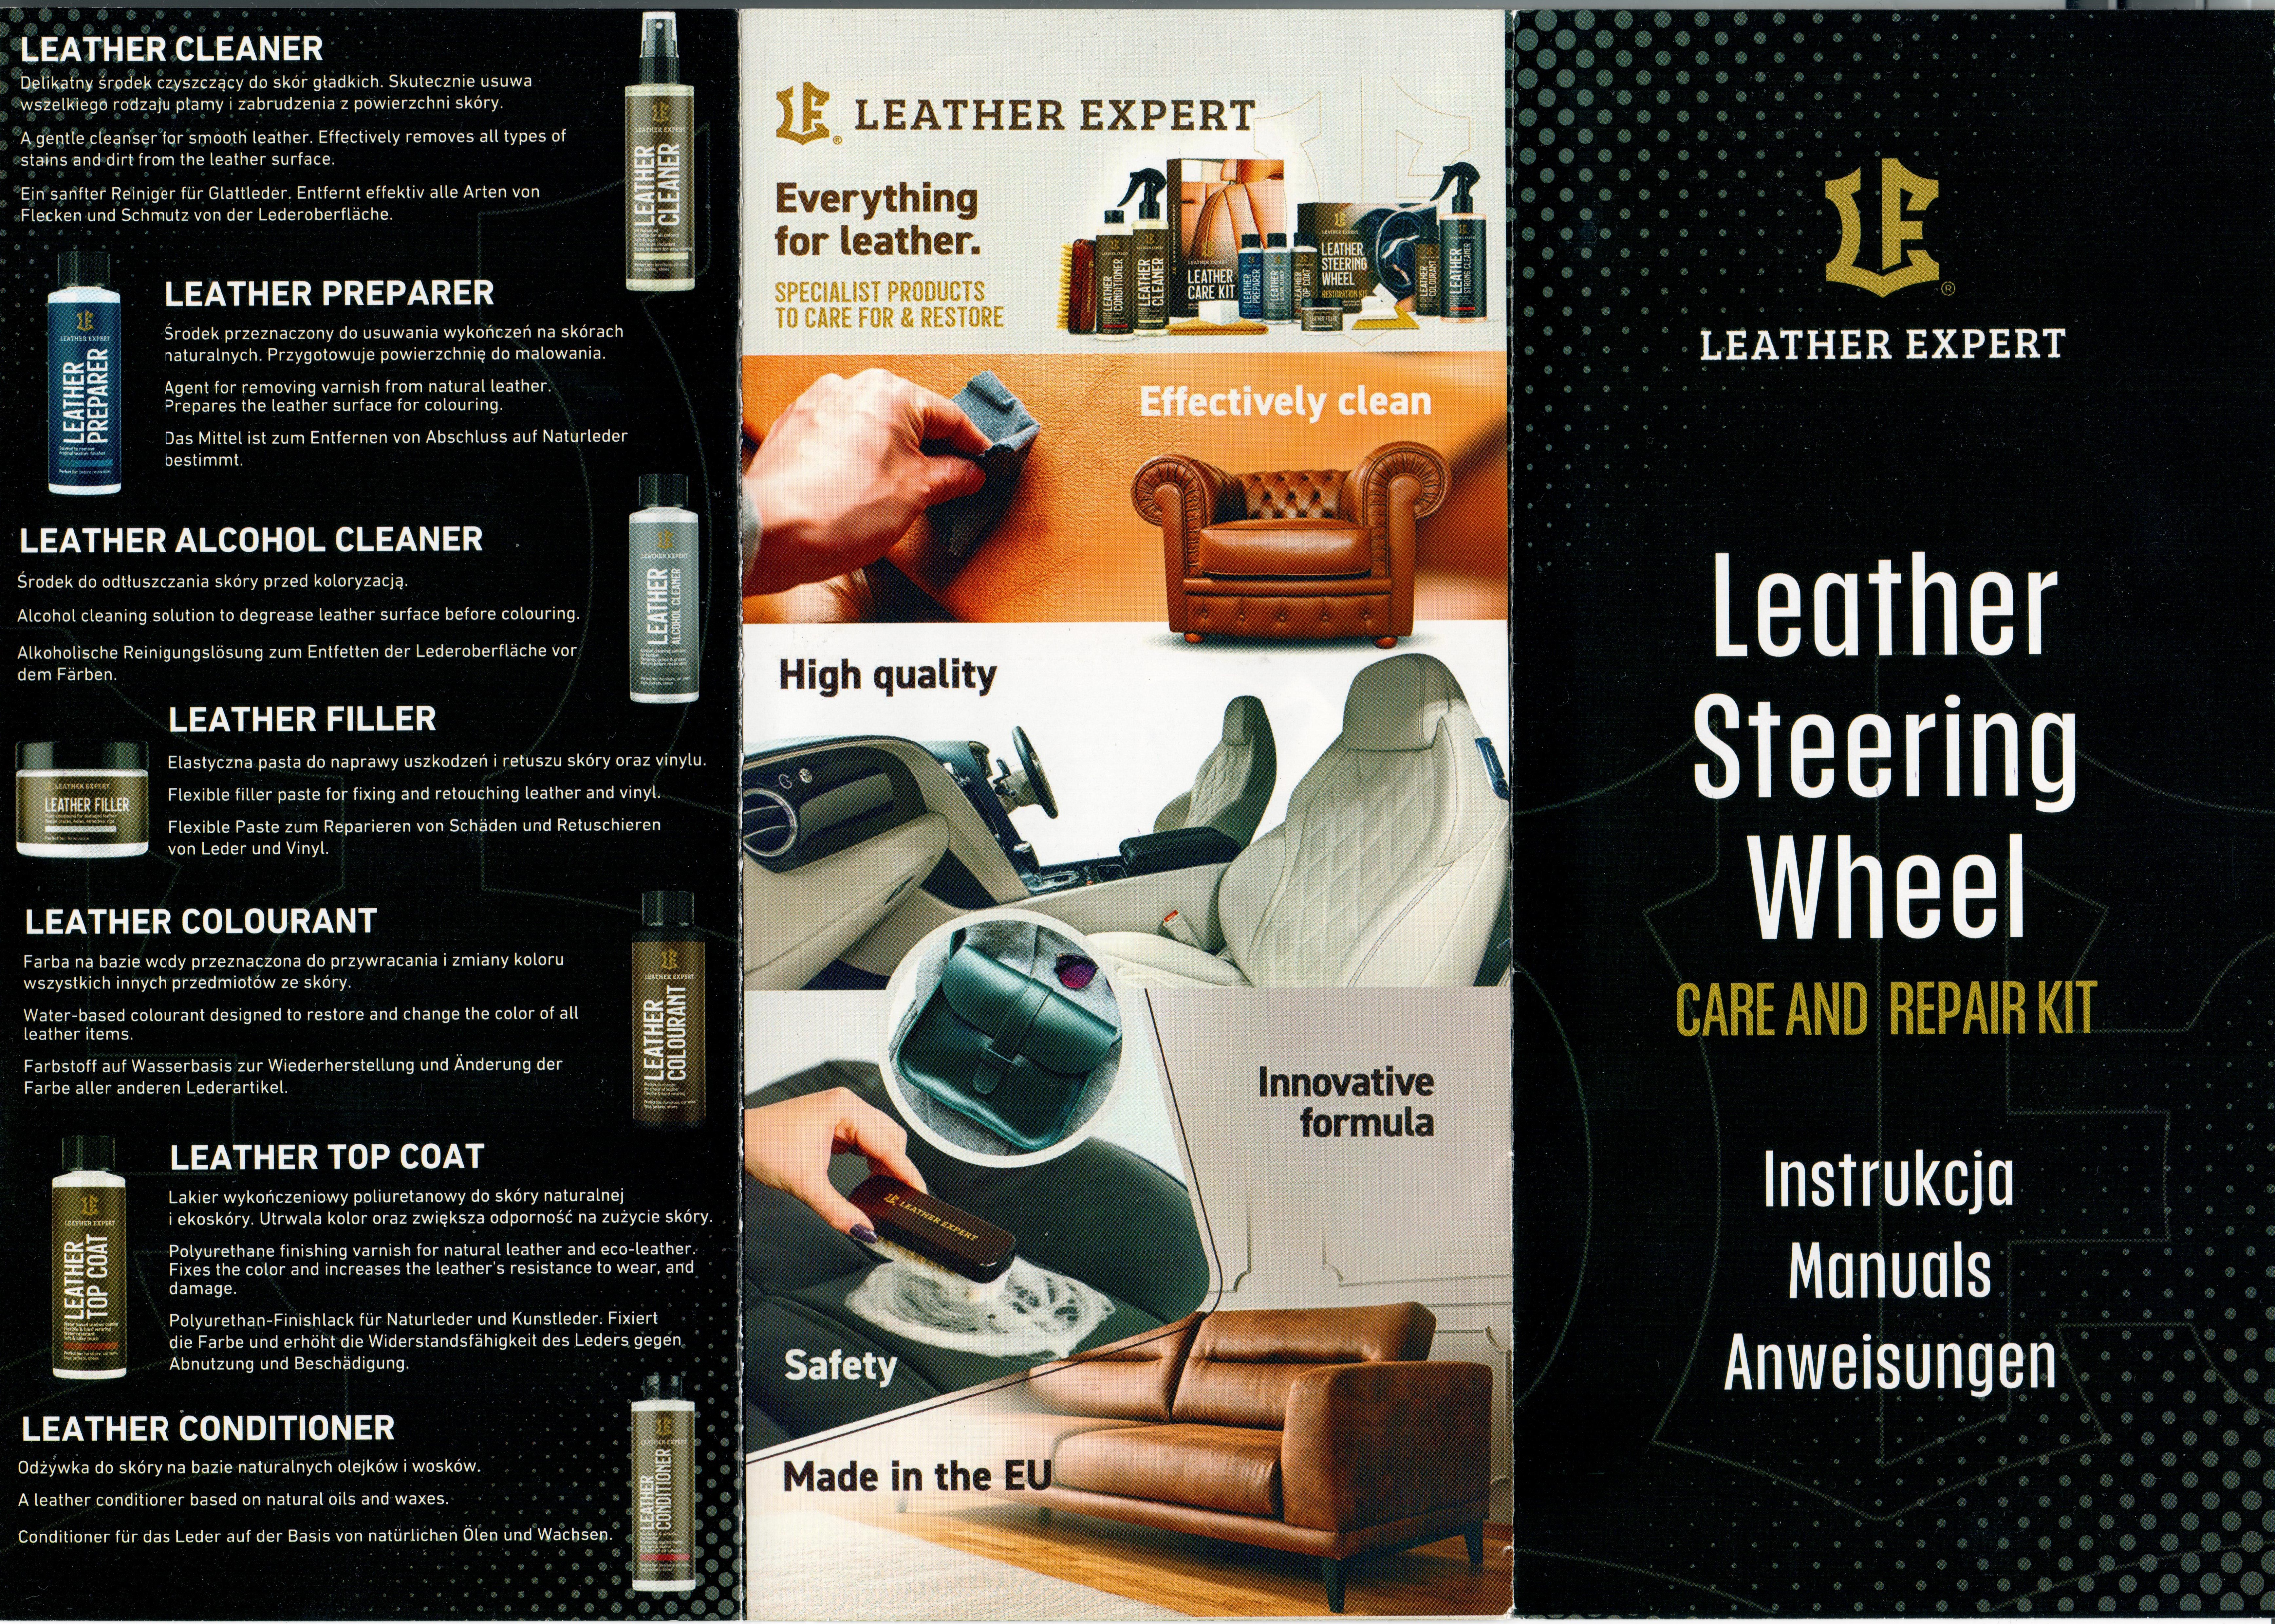
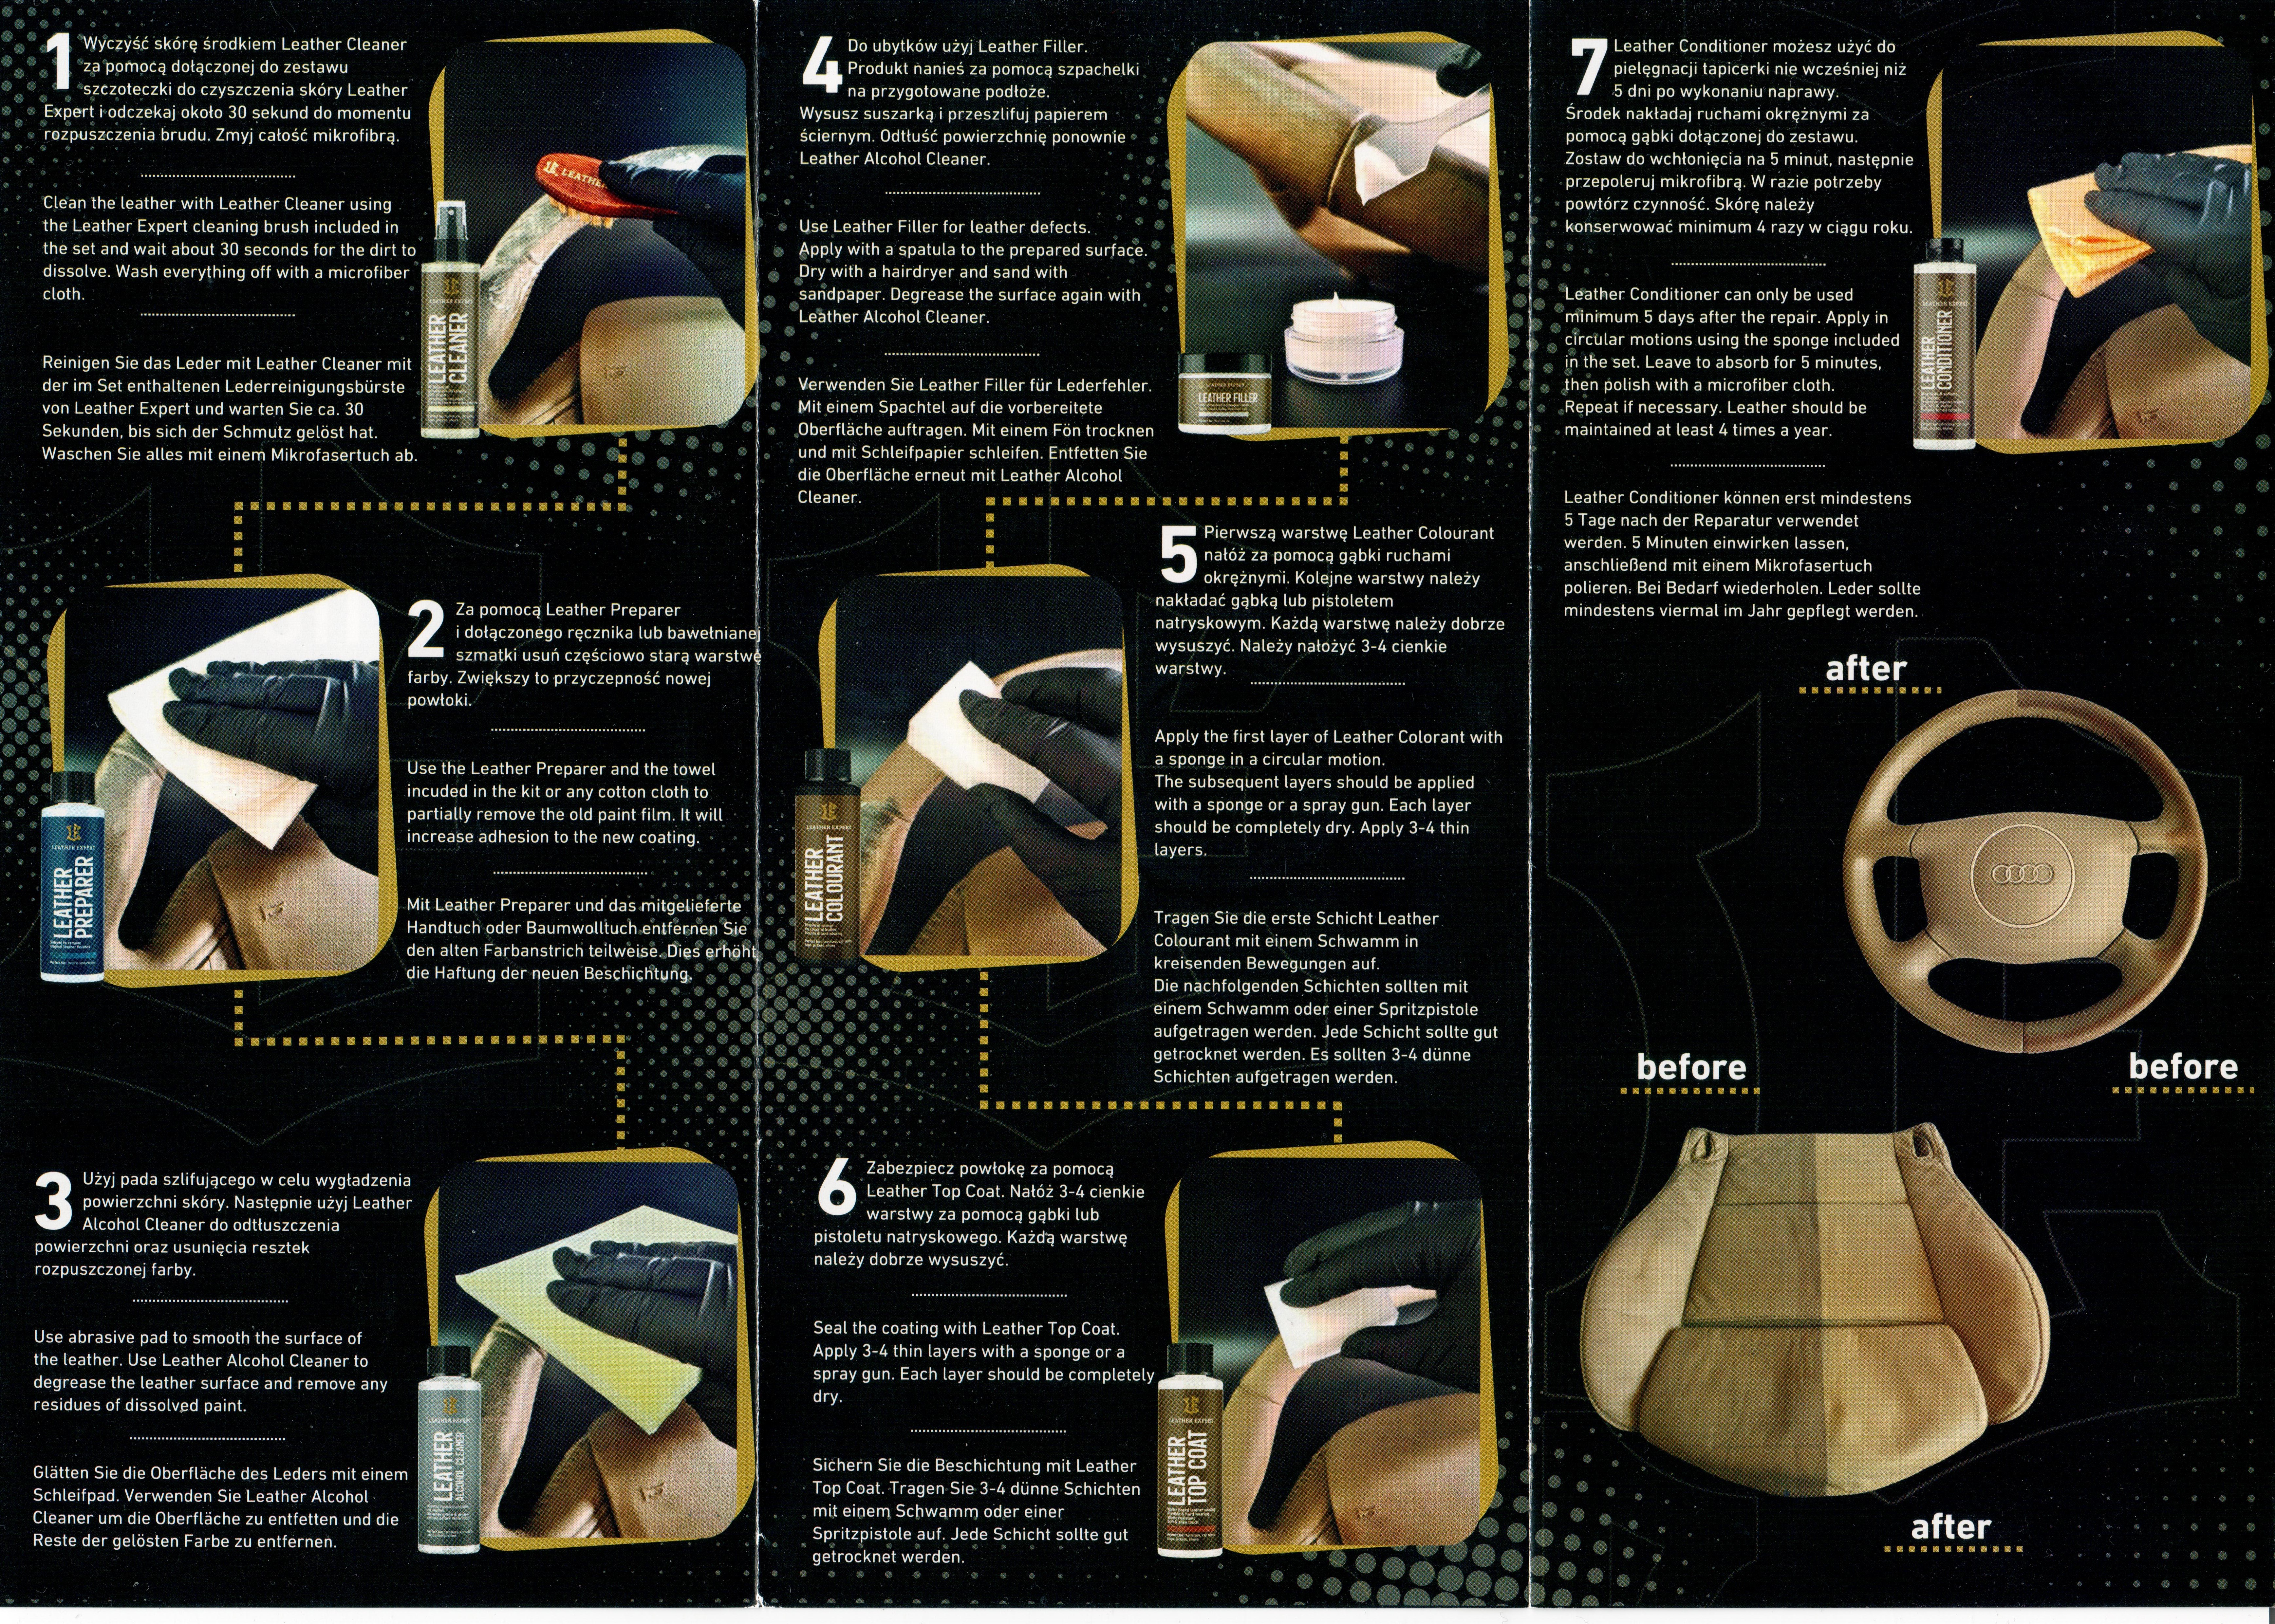
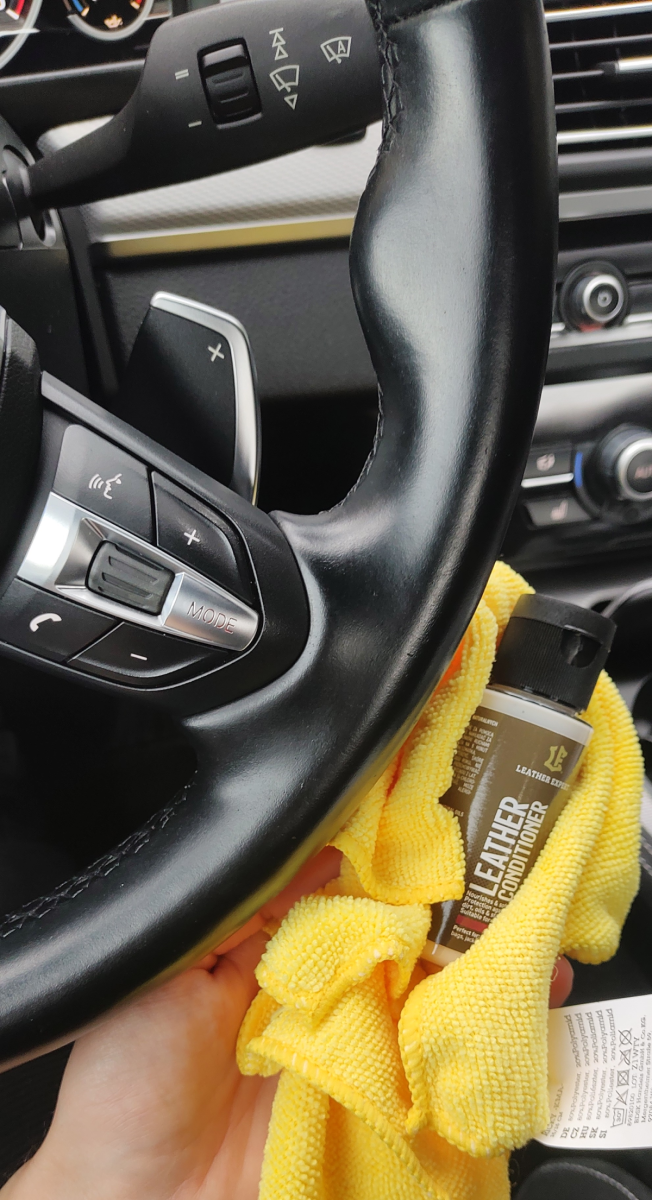
Use the leather cleaner to remove dirt, grime, and the old, worn-through, cracking, and peeling coating.
This actually ended up being the longest and hardest of all the steps because I had to remove the aforementioned coating of “quick repairs” I did before.
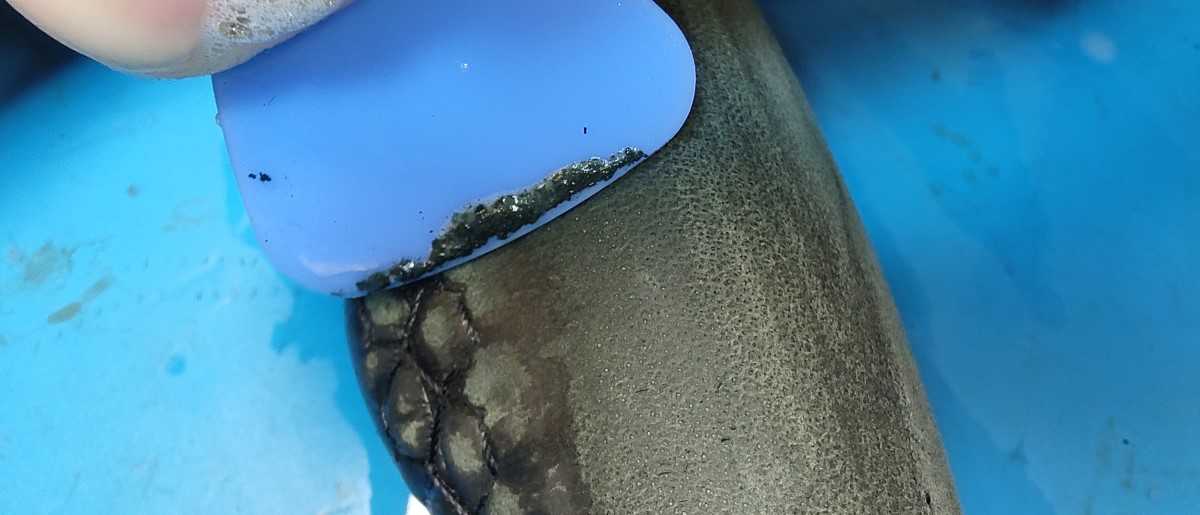
I switched to regular hand soap and water(a few buckets by the end because the water got dirty quickly) to soak the wheel with a rag and the brush. Then I scrubbed it with the provided brush and scraped it with a prying tool usually used for prying apart plastic parts without scratching them, but in this case it was just the right size and shape of smooth plastic to use to scrape off the coating without damaging the steering wheel.
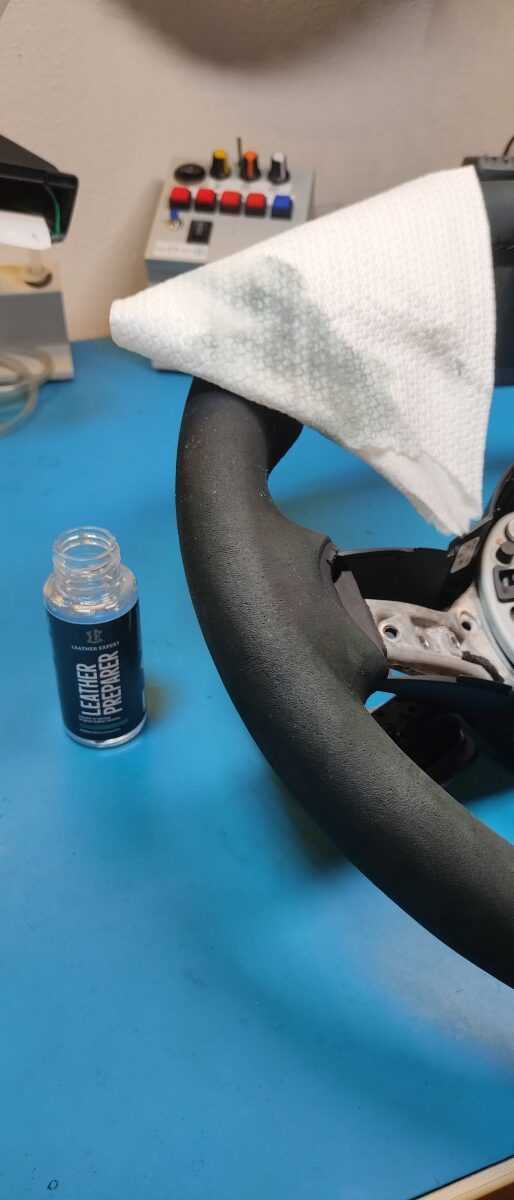
Step 2: Remove Dirt And Old Coating
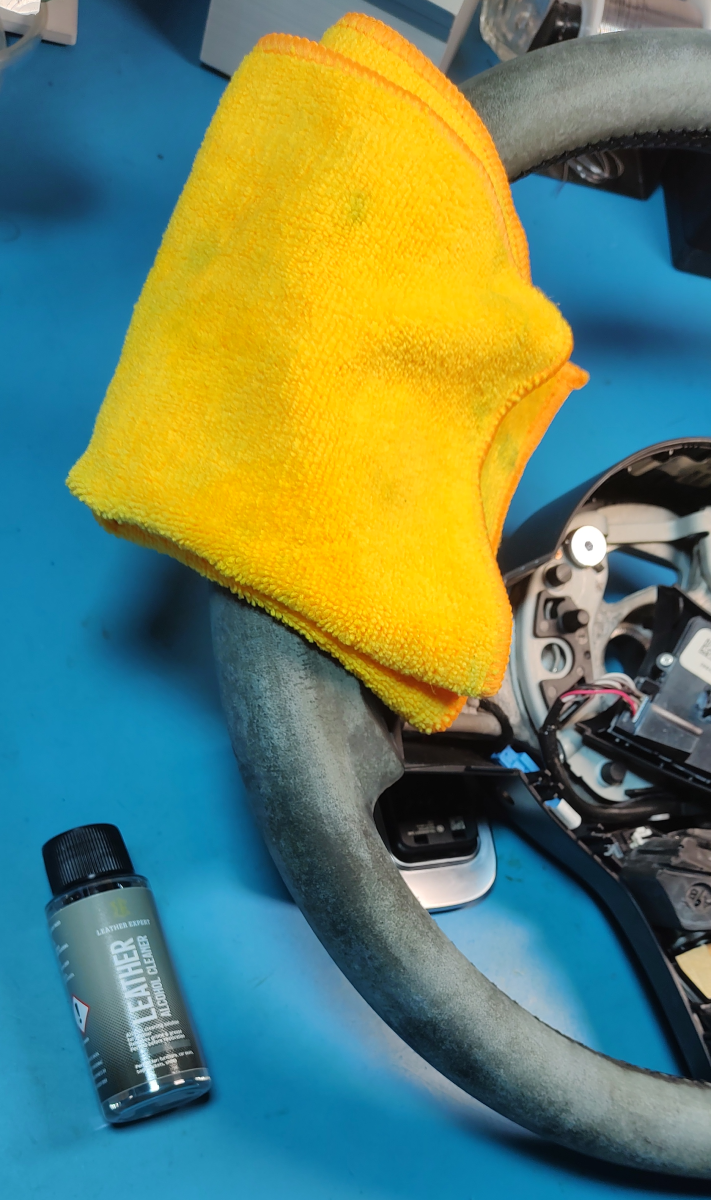
Step 3: Sanding + Alcohol Cleaner
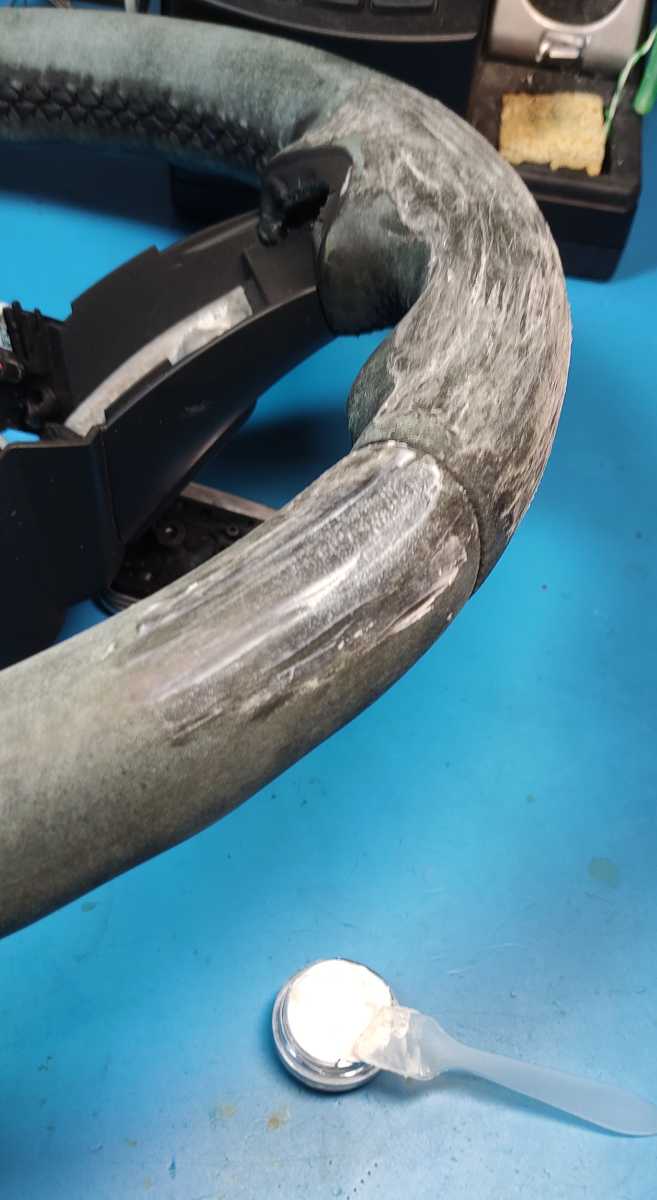
Step 4: Leather Filler + Sanding Again
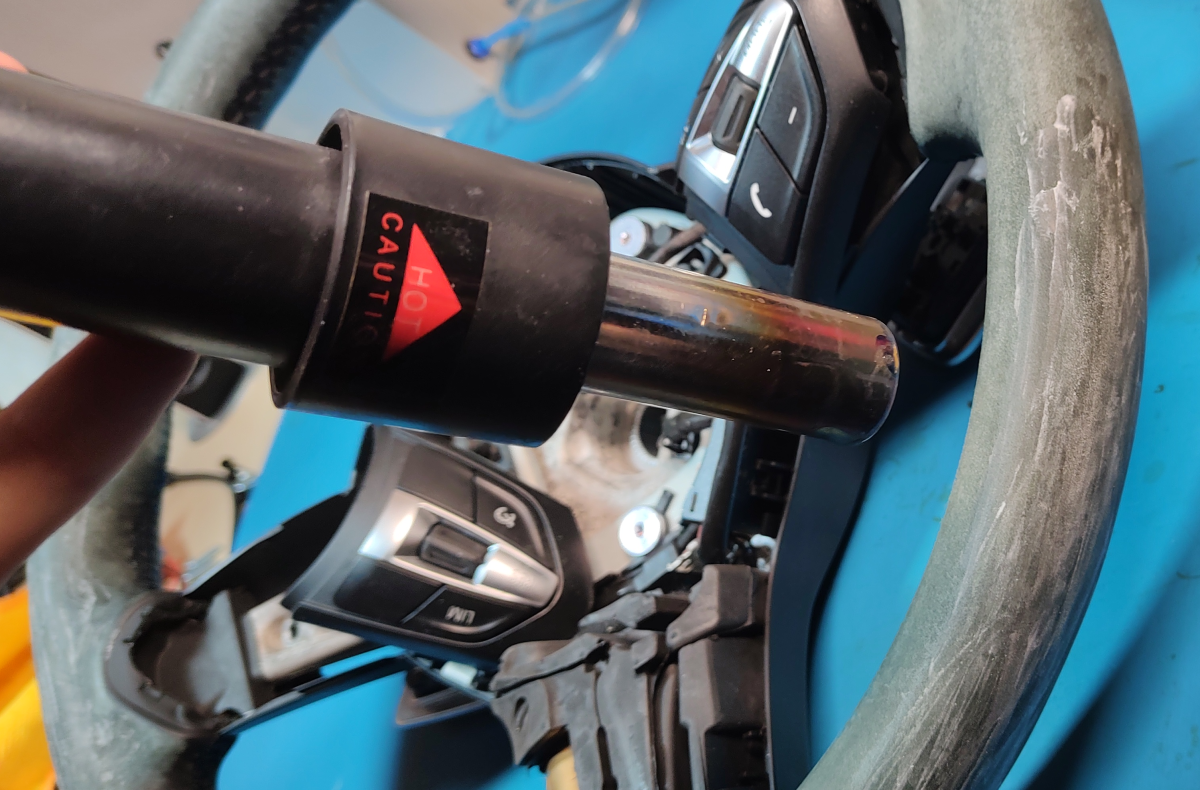
Fill any cuts, gauges, or holes, then use a hair dryer or a heat gun to dry it off. If you have any bigger holes/gauges, use the provided plastic spatula; however, if you have smaller holes over a larger area like I did that are really small bits of the steering wheel peeling off, I would recommend the following instead.
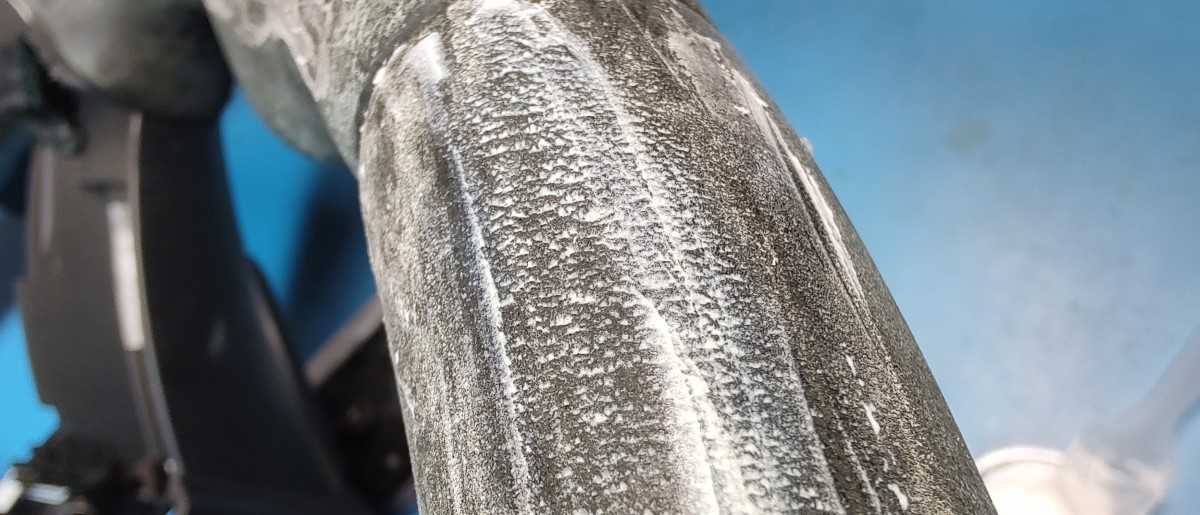
The filler compound hardens fairly quickly, so I’d just put on a glove and use a finger to lightly and evenly coat the entire area, filling in those smaller holes. Using the spatula like I did will leave these ridges, which you will have to sand down.
After you have applied the filler and dried it out, repeat step 3 again. In hindsight, I probably should have repeated the filling and sanding one more time to get an even smoother surface, but it is what it is now.
Step 5: Dyeing The Leather
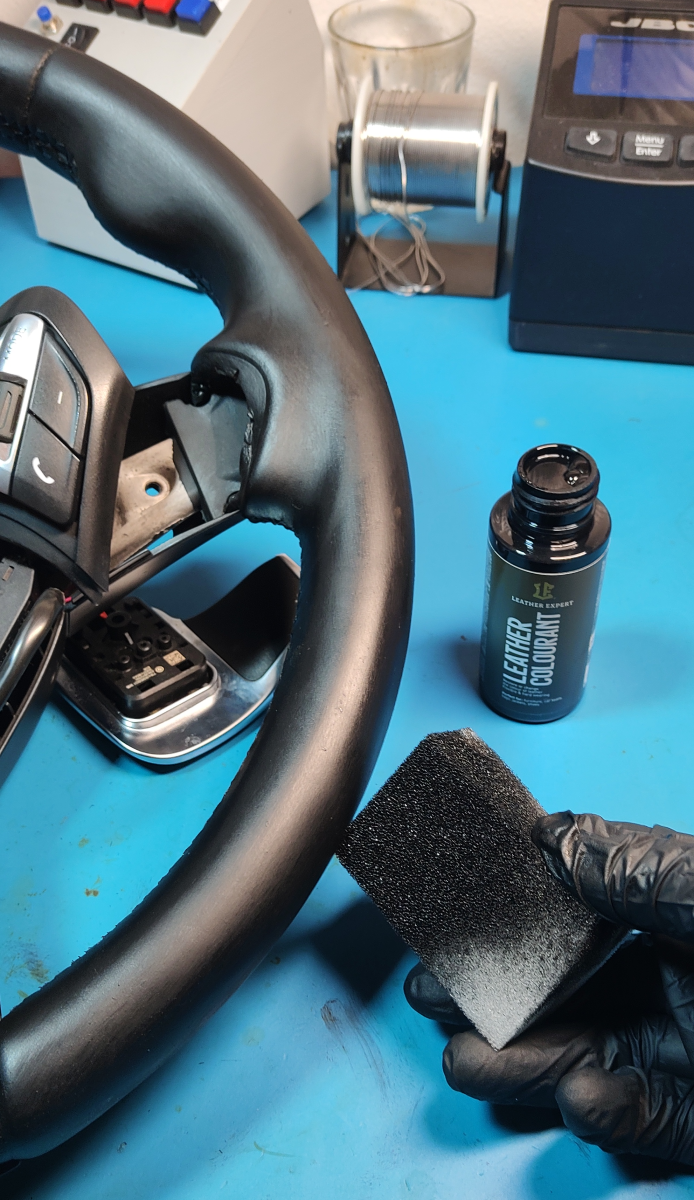
Now we need to apply 3 to 4 thin coats of the leather dye, letting each layer dry completely before applying the next. I used the sponge, but the dye dries quickly, and it’s hard to get an even coat with the sponge quickly. So I recommend you soak the sponge with the dye instead of continuously pouring dye onto it.
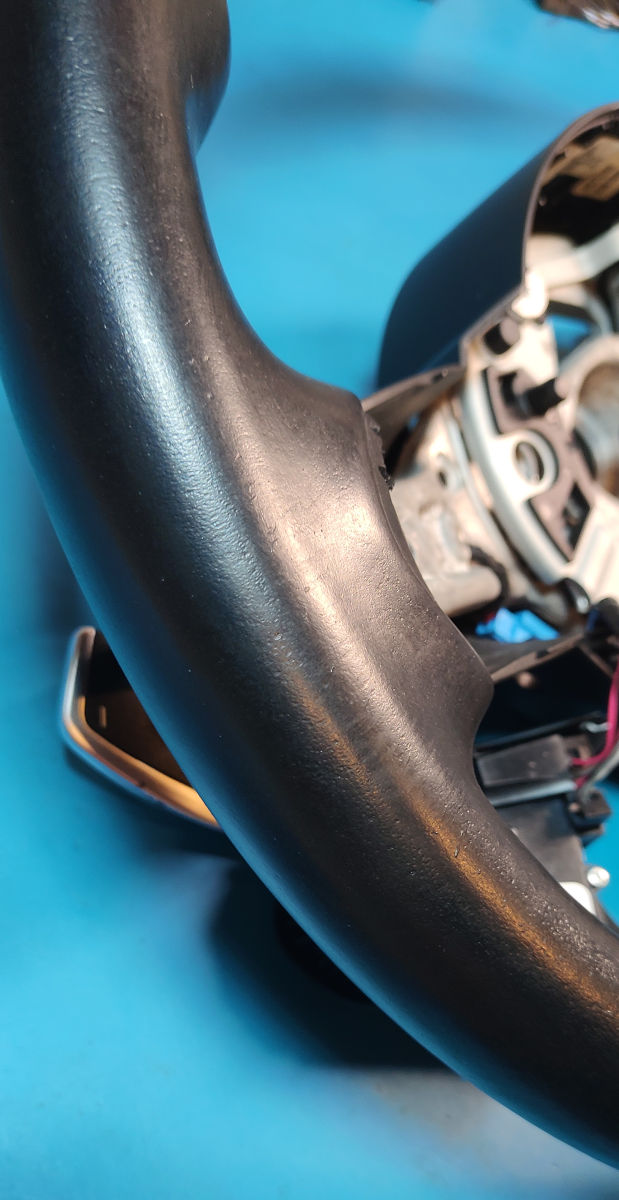
The problem I ran into is that the dye started to dry very quickly, or the coating was too thick, or I went over the same area again unknowingly before it fully dried, which caused small specks/chips of dye to stick to the surface. After driving the car for about two weeks, most of these came off, and you can barely even feel them, but if you look closely, some are still visible, or the spot where they rubbed off is slightly visible.
I would just get one of #adAmazon Linkthese cheap airbrush guns instead, as you can get a much more even coat much more quickly, and you will avoid any bits.
Step 6: Leather Top Coat
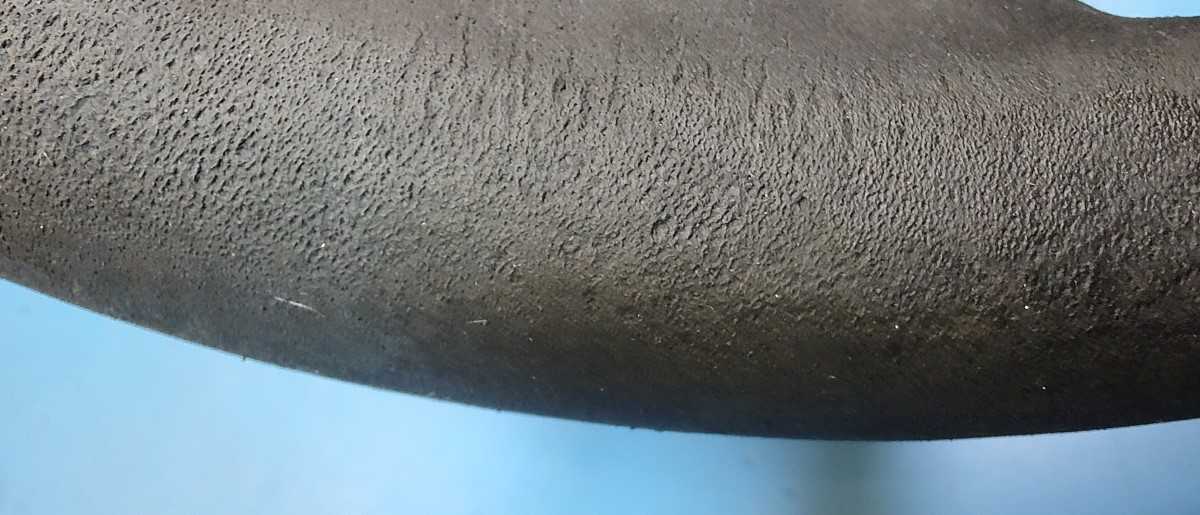
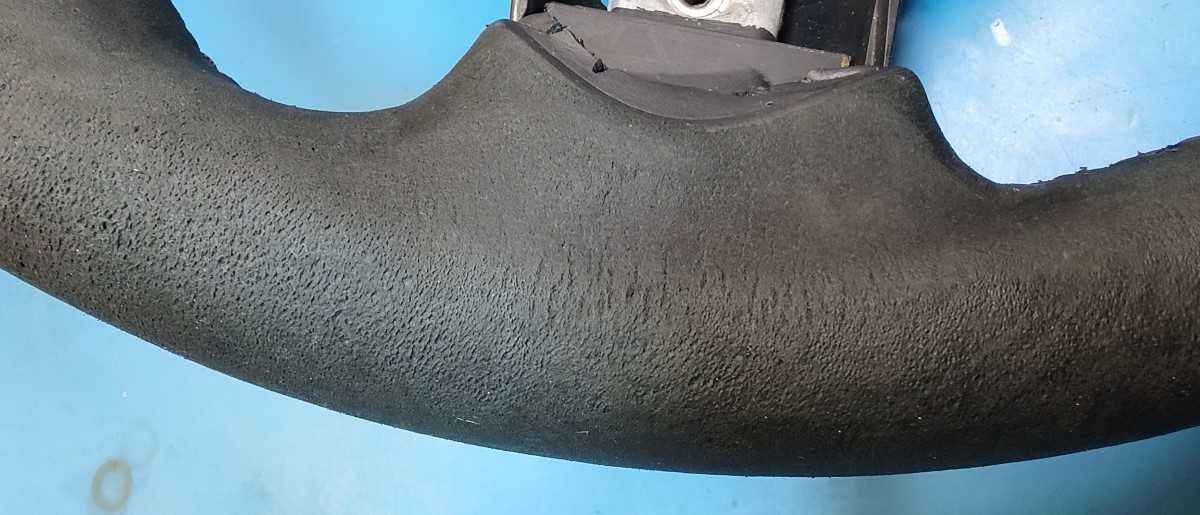
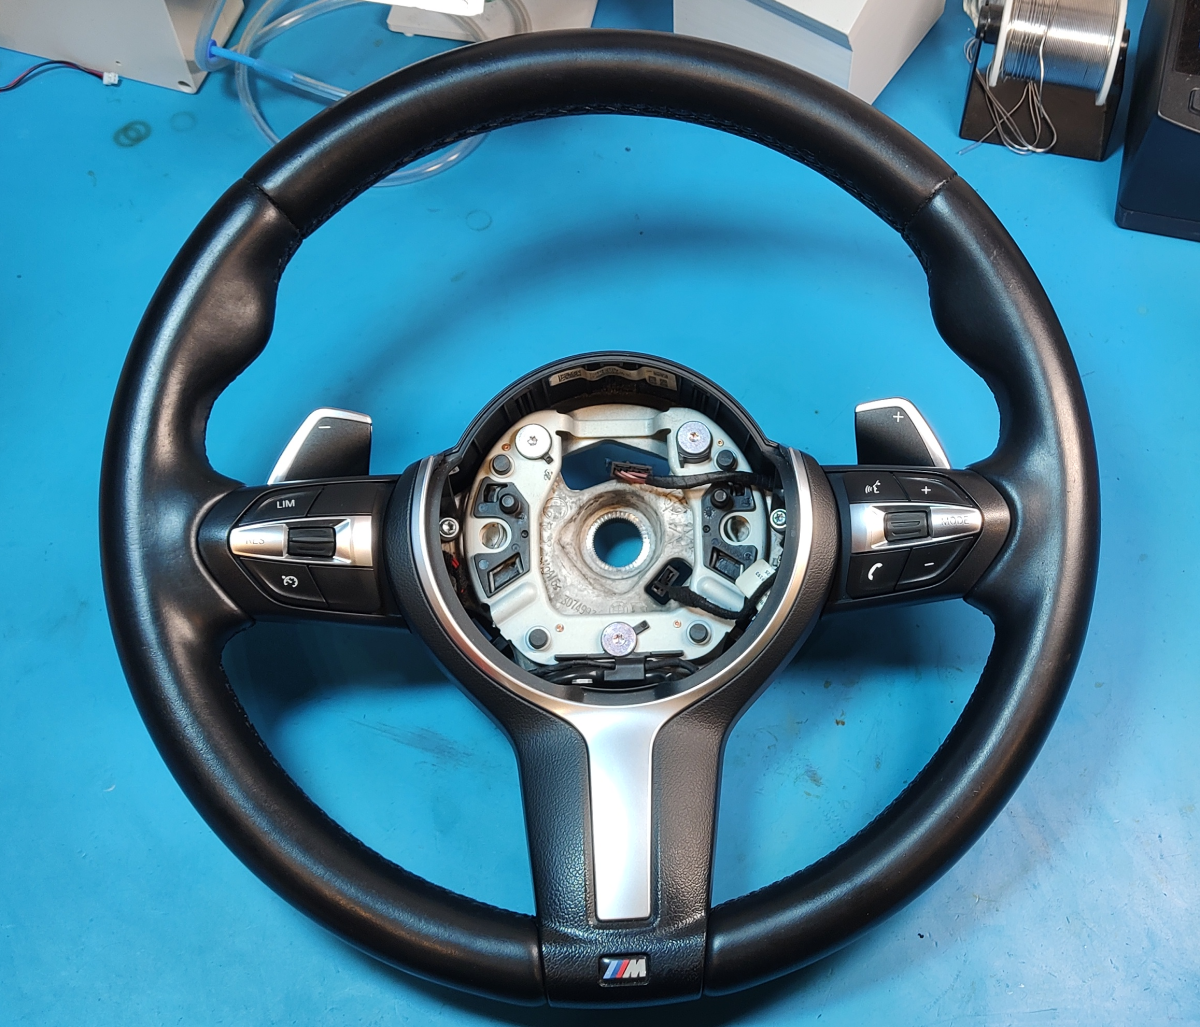
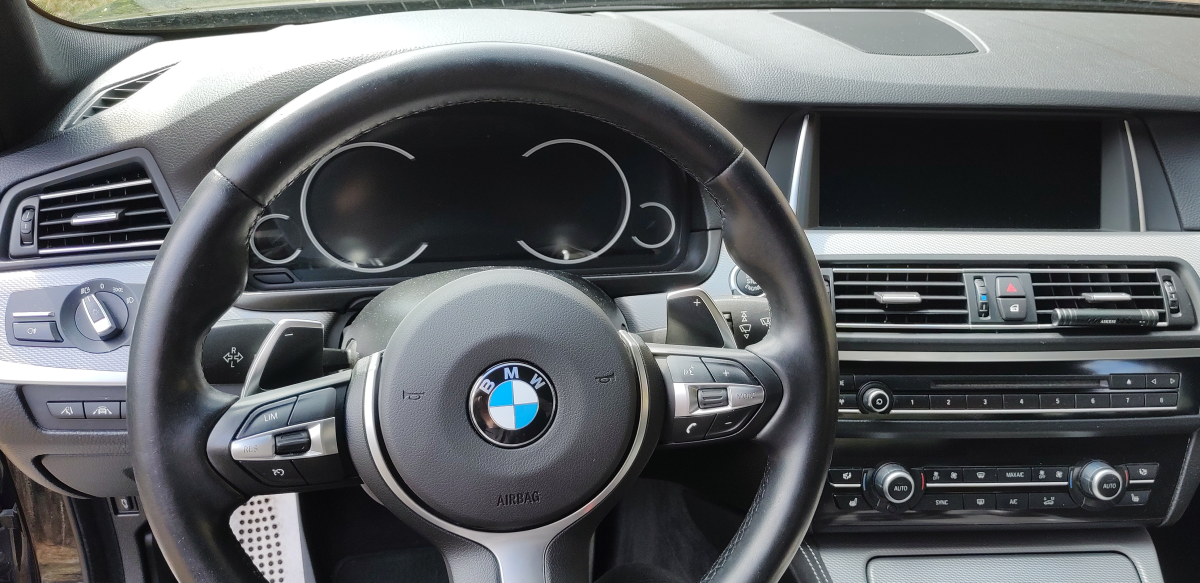
Here’s the final result. If you look closely, you will see it’s not perfect, and you can still see some of the little pits(as said previously, I should have added a second coat of filler and sanded again) and some of the little specks of paint.
However, the imperfections aren’t that visible unless you look closely, and the condition of the steering wheel is still a hundred times better than before.