Ubuntu Virtual Box VM Will Not Boot After Disk Resize Fix

ubuntu resize disk
Share:

About

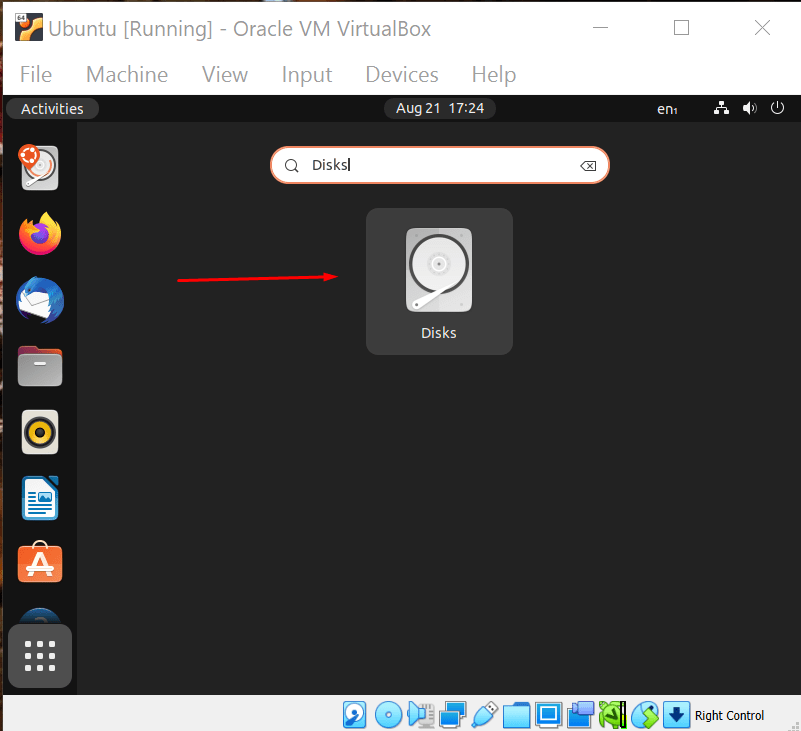
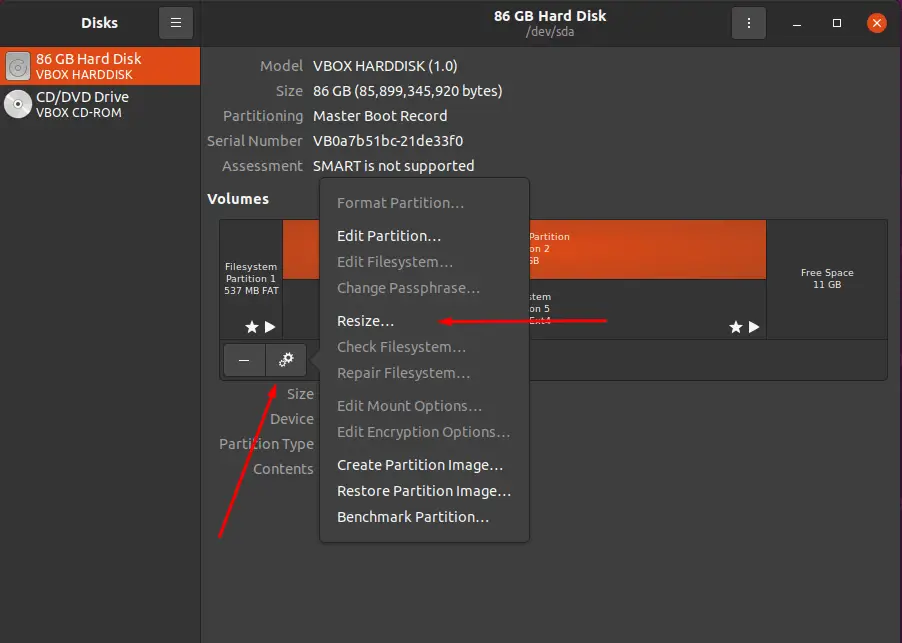
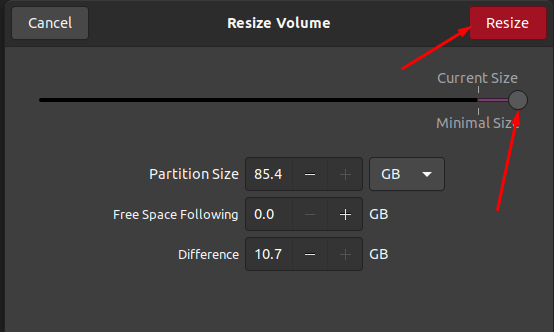
In this post, I will show you how to fix Ubuntu not booting after you resize the disk of the virtual machine in VirtualBox. I just recently ran into this problem so I thought I’d share/document the solution.

Resizing the disk:

Under File select Virtual Media Manager.
This will open up the following window. Here select your disk and adjust it’s size in the bottom right corner.

After doing this your VM might not boot anymore and all that you will see is a blinking cursor. It’s such a case shut down the VM and do the following:

Fixing the boot error:

Go to the settings of the affected virtual machine got to the System tab, enable the optical drive and make it the top boot priority.
Next, go to the Storage tab and add an optical drive.
Add the installation .iso you used to install your OS to the optical drive.
This is how it should look. Now save the settings and boot up your VM. 
Select try or install ubuntu. Then Select Try Ubuntu.
Search for and open the Disks app.
Select your disk, right click it and select resize. Then make sure to use up all the space and click resize.
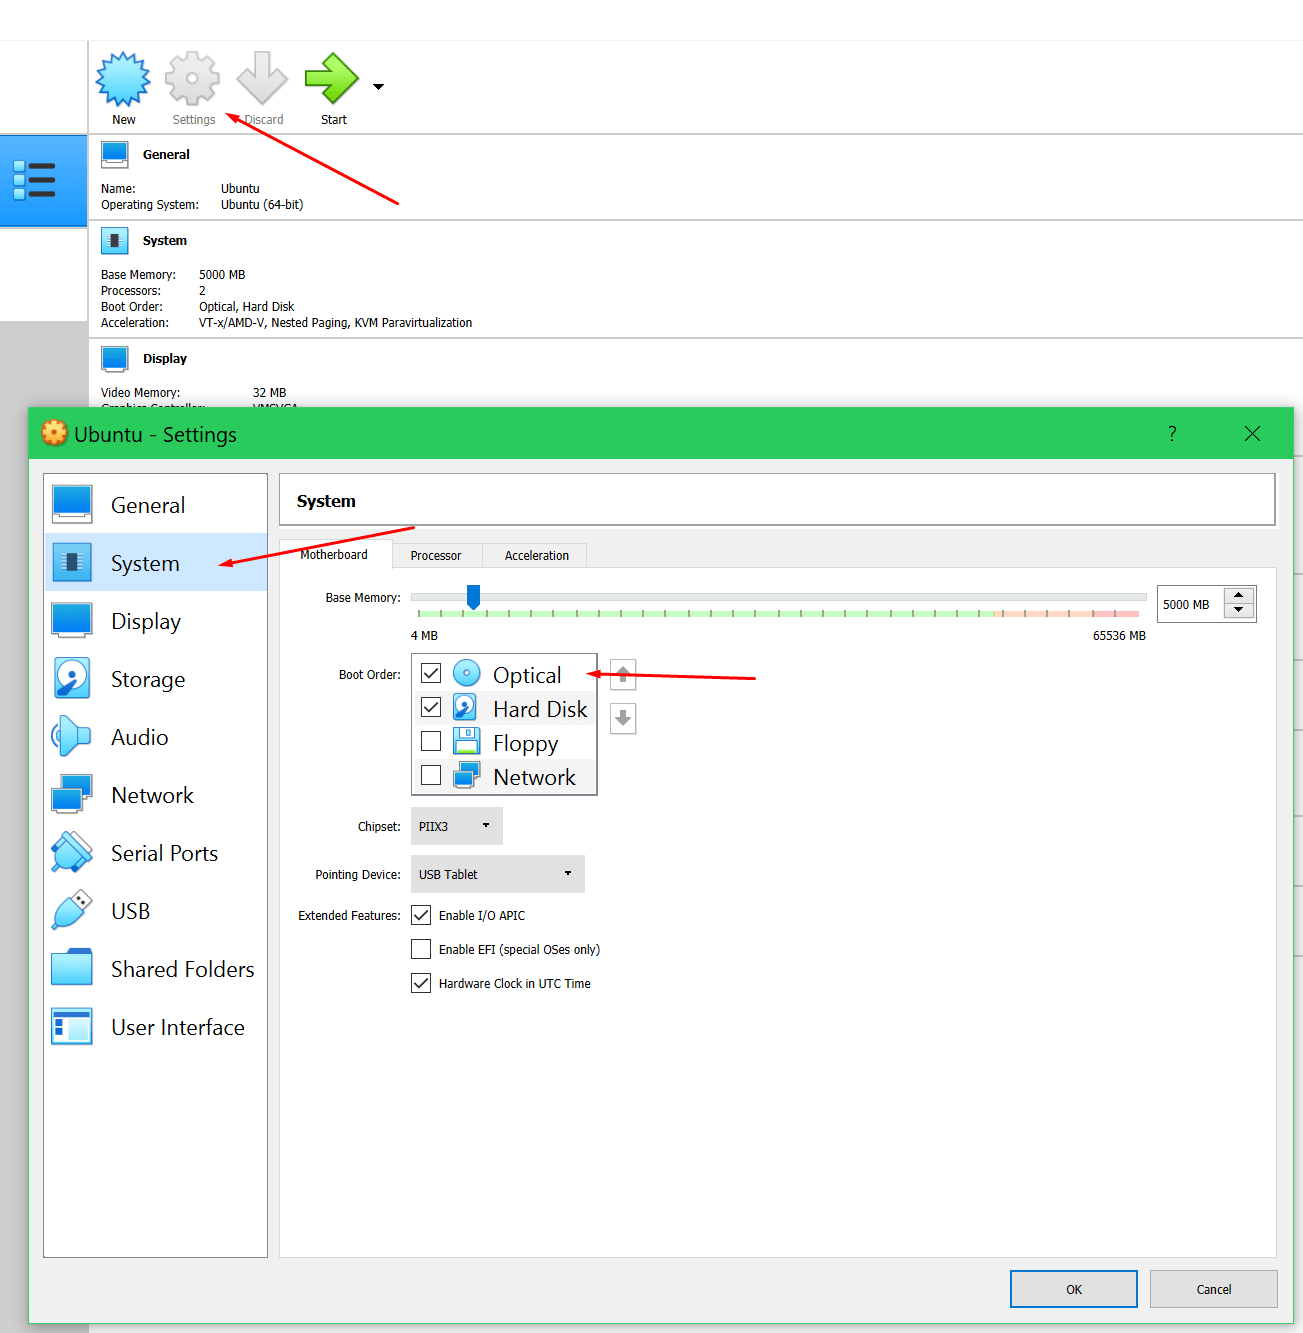
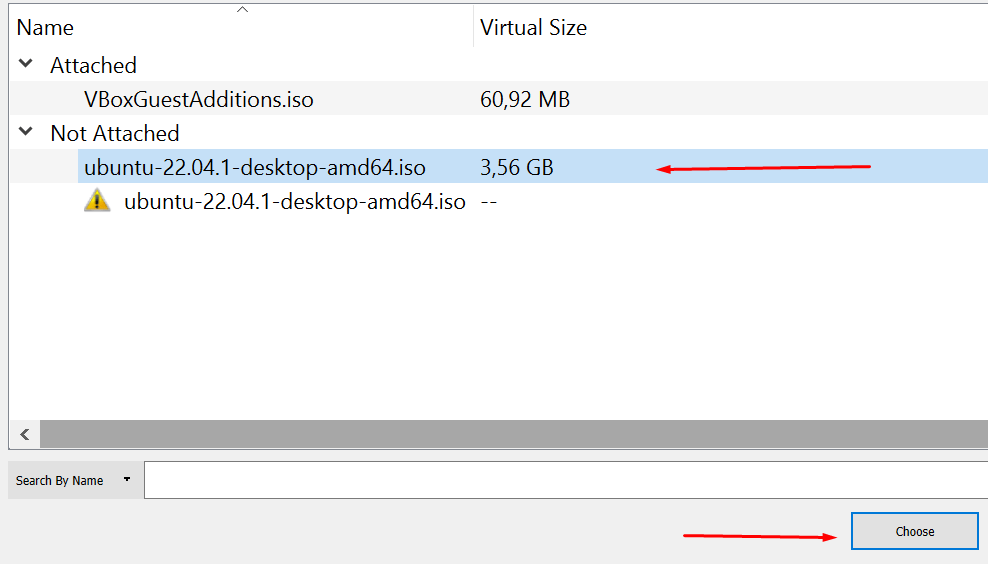
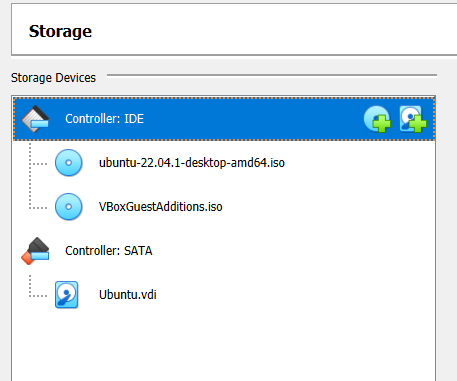
Finally, you can shut down the VM, remove the installation .iso, or just remove the optical drive from the boot order by unchecking it. And now if you start your virtual machine it should start up without a problem.
Share:

Leave a Reply

Your email address will not be published. Required fields are marked *

The following GDPR rules must be read and accepted:
This form collects your name, email and content so that we can keep track of the comments placed on the website. For more info check our privacy policy where you will get more info on where, how and why we store your data.

Advertisment ad adsense adlogger