About
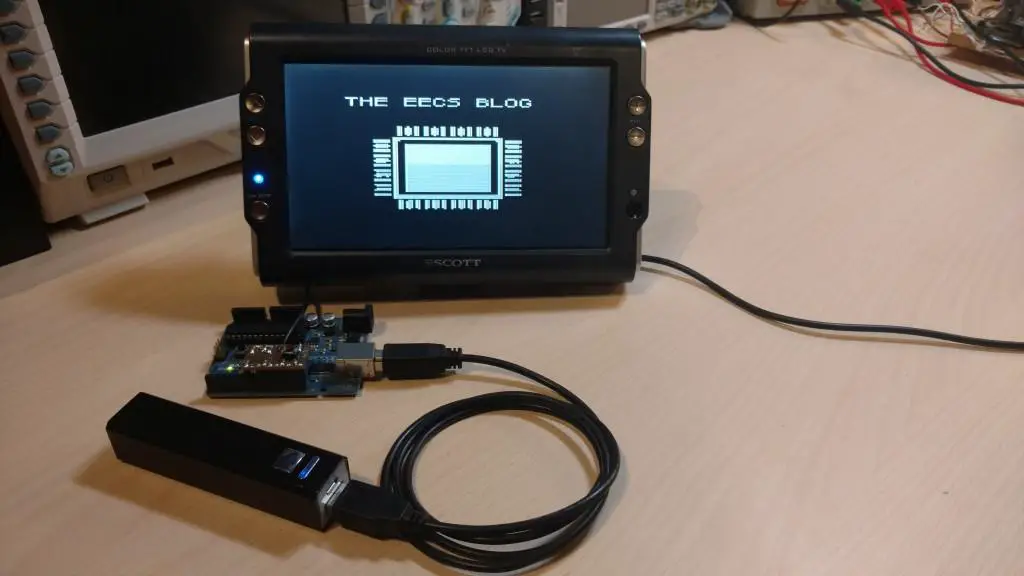
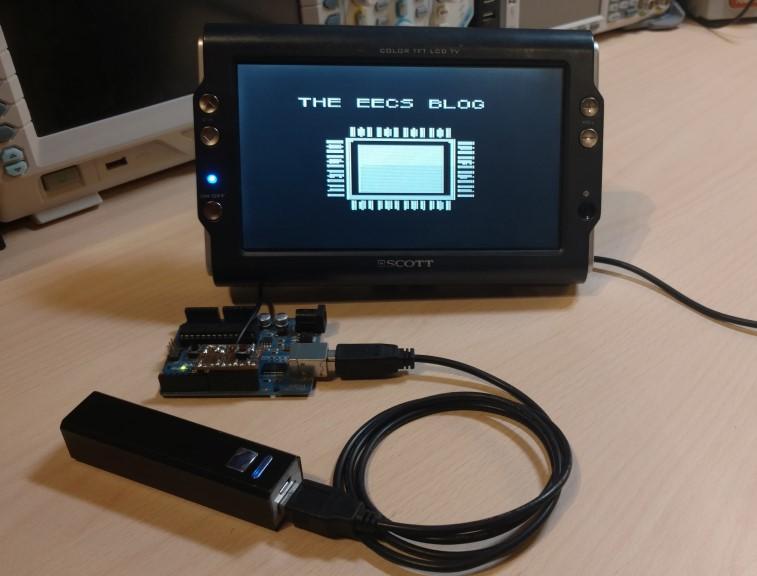
In this tutorial, you will learn how to output video from an Arduino and display it on a TV. Here we will specifically, see how to output an image. If you would like to know how to make the adapter or know more about the other functions available(outputting text, shapes, pixels) in the TVout library see this post.
Hardware used:
- #adAmazon LinkArduino
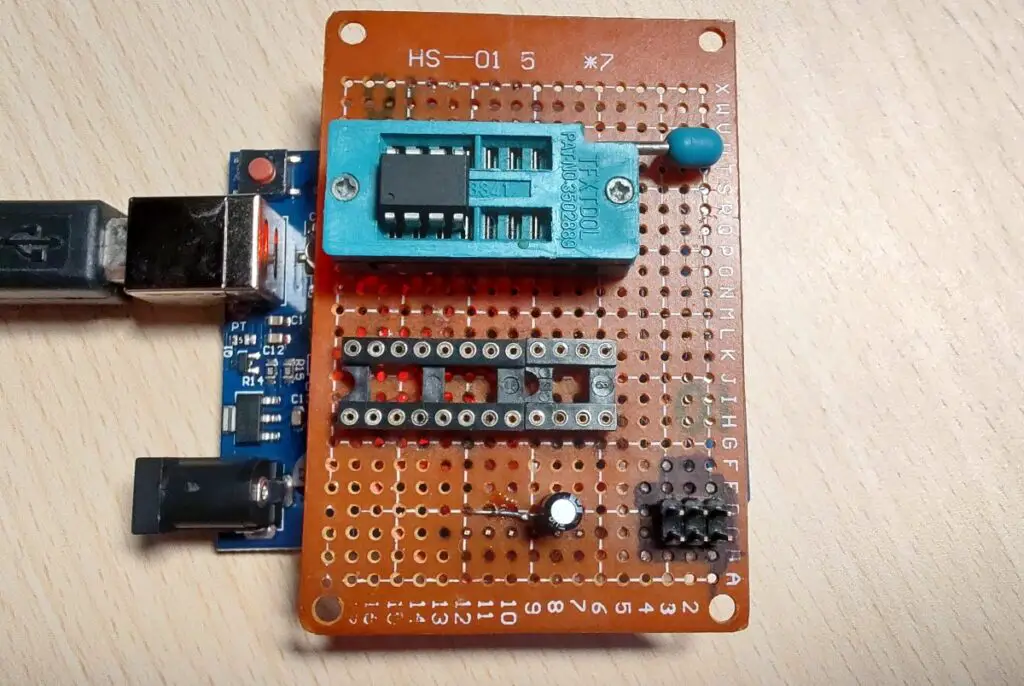
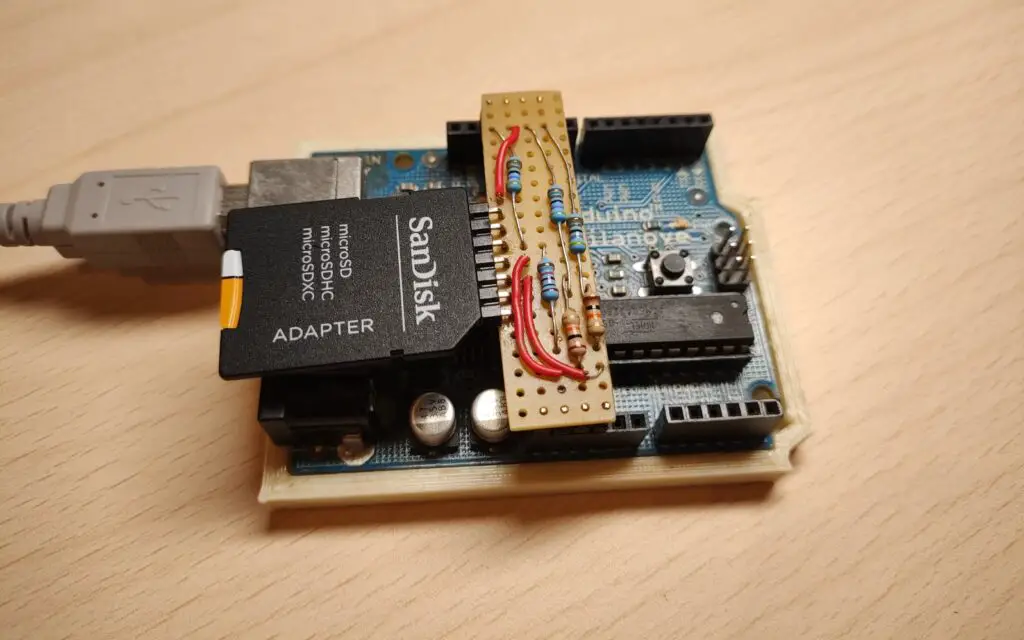
This tutorial is an extension of this original post I made about the TVout library. See the original post to see how to connect/make the circuit to connect the Arduino to the TV RCA input.
Software
This is the main code. It is pretty straight forward and self-explanatory(else read the code comments). However, you will first have to install the TVout library. You can do that by using the Arduino library manager. If you don’t exactly know how to install a library see the first part of this tutorial.
#include <TVout.h>
#include <fontALL.h>

//Include the image.
#include "myImage.h"

TVout TV;

void setup()
{
  //Setup display.
  TV.begin(PAL,120,96);
  //Select font.
  TV.select_font(font6x8);
}

void loop()
{
  //Clear screen at the beginning of the loop.
  TV.clear_screen();

  //Set curosr position. (x,y)
  TV.set_cursor(15, 10);
  //Print text.
  TV.println("THE EECS BLOG");

  //Add the bitmap image. (x,y,image)
  TV.bitmap(25, 30, myImage);

  TV.delay(60);
}
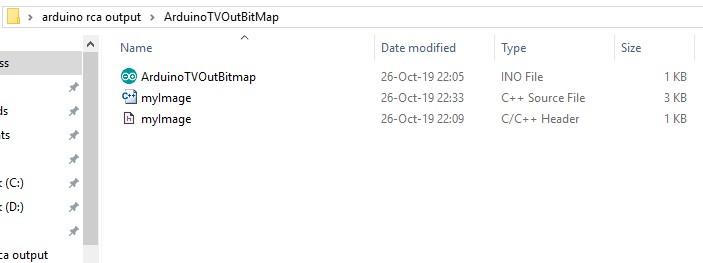
Next, we need to create a c++ header file. Put in the code below and call it myImage.h. Save this file inside the project directory.
#include <avr/pgmspace.h>

#ifndef MYIMAGE_H

#define MYIMAGE_H

extern const unsigned char myImage[];

#endif
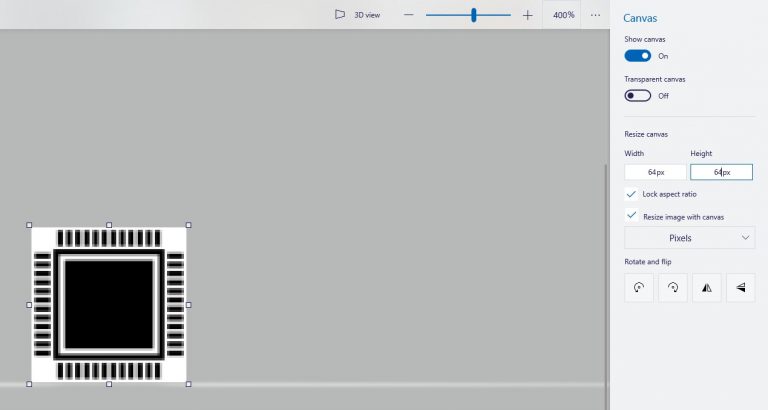
Now we need to resize our image(64x64px). You can do this good old MS paint.
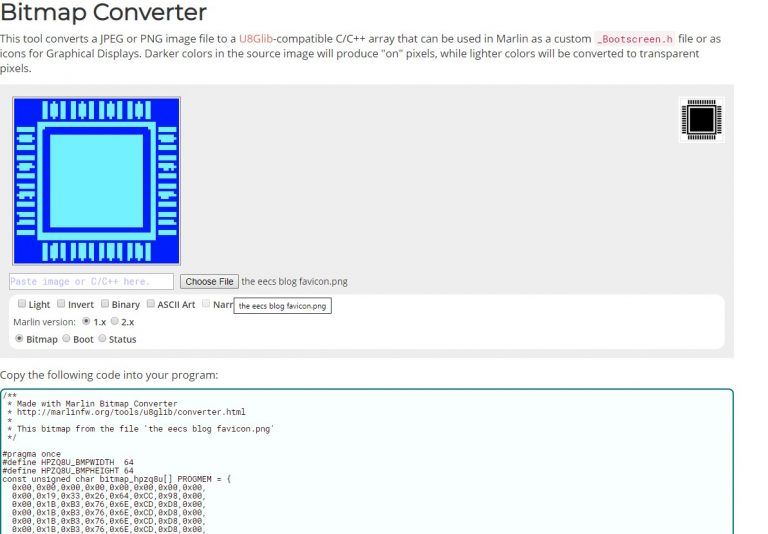
Next, we have to convert our image to a bitmap. We can use this website to do this.
Lastly, we need to make the file that is going to contain the image. Name the file myImage.cpp and save it into the project directory. In this file, we will fill our image “container” with the data(bitmap) that makes up the image.
Now just copy the hexadecimal values in the array and paste them in the array below. Make sure to put the resolution “64, 64, //resolution” before the data.
#include "myImage.h"

PROGMEM const unsigned char myImage[] = {

  64, 64, //resolution
  0x00,0x00,0x00,0x00,0x00,0x00,0x00,0x00,
  0x00,0x19,0x33,0x26,0x64,0xCC,0x98,0x00,
  0x00,0x1B,0xB3,0x76,0x6E,0xCD,0xD8,0x00,
  0x00,0x1B,0xB3,0x76,0x6E,0xCD,0xD8,0x00,
  0x00,0x1B,0xB3,0x76,0x6E,0xCD,0xD8,0x00,
  0x00,0x1B,0xB3,0x76,0x6E,0xCD,0xD8,0x00,
  0x00,0x1B,0xB3,0x76,0x6E,0xCD,0xD8,0x00,
  0x00,0x19,0x33,0x26,0x64,0xCC,0x98,0x00,
  0x00,0x00,0x00,0x00,0x00,0x00,0x00,0x00,
  0x00,0x7F,0xFF,0xFF,0xFF,0xFF,0xFE,0x00,
  0x00,0x7F,0xFF,0xFF,0xFF,0xFF,0xFE,0x00,
  0x7F,0x70,0x00,0x00,0x00,0x00,0x0E,0xFE,
  0x7F,0x60,0x00,0x00,0x00,0x00,0x06,0xFE,
  0x00,0x60,0x00,0x00,0x00,0x00,0x06,0x00,
  0x3E,0x63,0xFF,0xFF,0xFF,0xFF,0xC6,0xFC,
  0x7F,0x63,0xFF,0xFF,0xFF,0xFF,0xC6,0xFE,
  0x3E,0x63,0xFF,0xFF,0xFF,0xFF,0xC6,0x7C,
  0x00,0x63,0xFF,0xFF,0xFF,0xFF,0xC6,0x00,
  0x7F,0x63,0xFF,0xFF,0xFF,0xFF,0xC6,0xFE,
  0x7F,0x63,0xFF,0xFF,0xFF,0xFF,0xC6,0xFE,
  0x00,0x63,0xFF,0xFF,0xFF,0xFF,0xC6,0x00,
  0x00,0x63,0xFF,0xFF,0xFF,0xFF,0xC6,0x00,
  0x7F,0x63,0xFF,0xFF,0xFF,0xFF,0xC6,0xFE,
  0x7F,0x63,0xFF,0xFF,0xFF,0xFF,0xC6,0xFE,
  0x00,0x63,0xFF,0xFF,0xFF,0xFF,0xC6,0x00,
  0x3E,0x63,0xFF,0xFF,0xFF,0xFF,0xC6,0xFC,
  0x7F,0x63,0xFF,0xFF,0xFF,0xFF,0xC6,0xFE,
  0x3C,0x63,0xFF,0xFF,0xFF,0xFF,0xC6,0x34,
  0x00,0x63,0xFF,0xFF,0xFF,0xFF,0xC6,0x00,
  0x7F,0x63,0xFF,0xFF,0xFF,0xFF,0xC6,0xFE,
  0x7F,0x63,0xFF,0xFF,0xFF,0xFF,0xC6,0xFE,
  0x00,0x63,0xFF,0xFF,0xFF,0xFF,0xC6,0x00,
  0x00,0x63,0xFF,0xFF,0xFF,0xFF,0xC6,0x00,
  0x7F,0x63,0xFF,0xFF,0xFF,0xFF,0xC6,0xFE,
  0x3F,0x63,0xFF,0xFF,0xFF,0xFF,0xC6,0xFE,
  0x00,0x63,0xFF,0xFF,0xFF,0xFF,0xC6,0x00,
  0x3F,0x63,0xFF,0xFF,0xFF,0xFF,0xC6,0xFC,
  0x7F,0x63,0xFF,0xFF,0xFF,0xFF,0xC6,0xFE,
  0x32,0x63,0xFF,0xFF,0xFF,0xFF,0xC6,0x70,
  0x00,0x63,0xFF,0xFF,0xFF,0xFF,0xC6,0x00,
  0x7F,0x63,0xFF,0xFF,0xFF,0xFF,0xC6,0xFE,
  0x7F,0x63,0xFF,0xFF,0xFF,0xFF,0xC6,0xFE,
  0x00,0x63,0xFF,0xFF,0xFF,0xFF,0xC6,0x00,
  0x00,0x63,0xFF,0xFF,0xFF,0xFF,0xC6,0x00,
  0x7F,0x63,0xFF,0xFF,0xFF,0xFF,0xC6,0xFE,
  0x3F,0x63,0xFF,0xFF,0xFF,0xFF,0xC6,0xFE,
  0x00,0x63,0xFF,0xFF,0xFF,0xFF,0xC6,0x00,
  0x3F,0x63,0xFF,0xFF,0xFF,0xFF,0xC6,0xFC,
  0x7F,0x63,0xFF,0xFF,0xFF,0xFF,0xC6,0xFE,
  0x00,0x63,0xFF,0xFF,0xFF,0xFF,0xC6,0x00,
  0x00,0x60,0x00,0x00,0x00,0x00,0x06,0x00,
  0x7F,0x60,0x00,0x00,0x00,0x00,0x06,0xFE,
  0x7F,0x7F,0xFF,0xFF,0xFF,0xFF,0xFE,0xFE,
  0x00,0x7F,0xFF,0xFF,0xFF,0xFF,0xFE,0x00,
  0x00,0x7F,0xFF,0xFF,0xFF,0xFF,0xFE,0x00,
  0x00,0x00,0x00,0x00,0x00,0x00,0x00,0x00,
  0x00,0x19,0xB3,0x76,0x6E,0xCD,0x98,0x00,
  0x00,0x1B,0xB3,0x76,0x6E,0xCD,0xD8,0x00,
  0x00,0x1B,0xB3,0x76,0x6E,0xCD,0xD8,0x00,
  0x00,0x1B,0xB3,0x76,0x6E,0xCD,0xD8,0x00,
  0x00,0x1B,0xB3,0x76,0x6E,0xCD,0xD8,0x00,
  0x00,0x1B,0xB3,0x76,0x6E,0xCD,0xD8,0x00,
  0x00,0x19,0x12,0x22,0x44,0x48,0x98,0x00,
  0x00,0x00,0x00,0x00,0x00,0x00,0x00,0x00
};
This is how your project directory should look like.
All that is left to do now is to upload the code …

I made the same things but it does not work. could you help me?
Yes, no problem. Please describe your issue.
I saw nothing when I sent code to the monitor
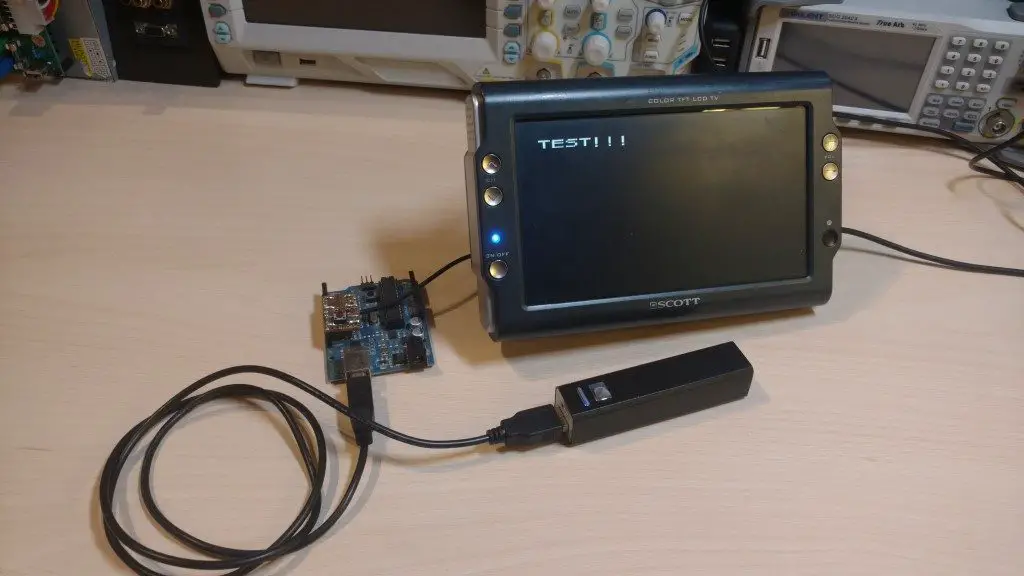
I suggest you follow this tutorial: https://eecs.blog/arduino-rca-video-output-to-tv/ and see if you can get some simple text displayed on the screen first. If that works we can then be sure that the hardware and software(such as the libraries) are ok.
I USE THIS MONITOR, can it be a problem to show the video on this screen? because I tried your code as you mentioned before.
https://www.amazon.com/Liehuzhekeji-Monitor-Waterproof-Cameras-Reversing/dp/B07R6PLBG5/ref=pd_sbs_107_img_0/143-2243515-7661647?_encoding=UTF8&pd_rd_i=B07R6PLBG5&pd_rd_r=90d47677-d1bf-43b9-ad1d-82470829393e&pd_rd_w=LuqIK&pd_rd_wg=HqiyT&pf_rd_p=5cfcfe89-300f-47d2-b1ad-a4e27203a02a&pf_rd_r=TX30J34XJE8S83FWPHRT&psc=1&refRID=TX30J34XJE8S83FWPHRT
The monitor you have should be able to display the output. It supports NTSC and PAL so that can’t be a problem. Maybe you can try using your TV to see if works there. I see that the monitor has multiple inputs. I am sure you probably already did this but just in case make sure the right input is selected. Also, it might be a hardware problem with your circuit. Try using an oscilloscope to check if there a signal coming out.