About
Make a Basic Extension
The first thing you need to do is make a folder and put a manifset.json file into it. For the web browser to recognize this as an extension you need to need to fill the file with the following JSON(Put the name and description you want for your extension.):
{
"manifest_version": 2,
"name": "My Extension",
"description": "My first browser extension.",
"version": "1"
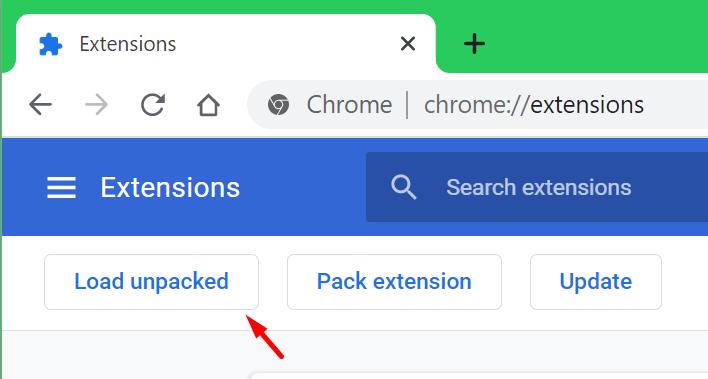
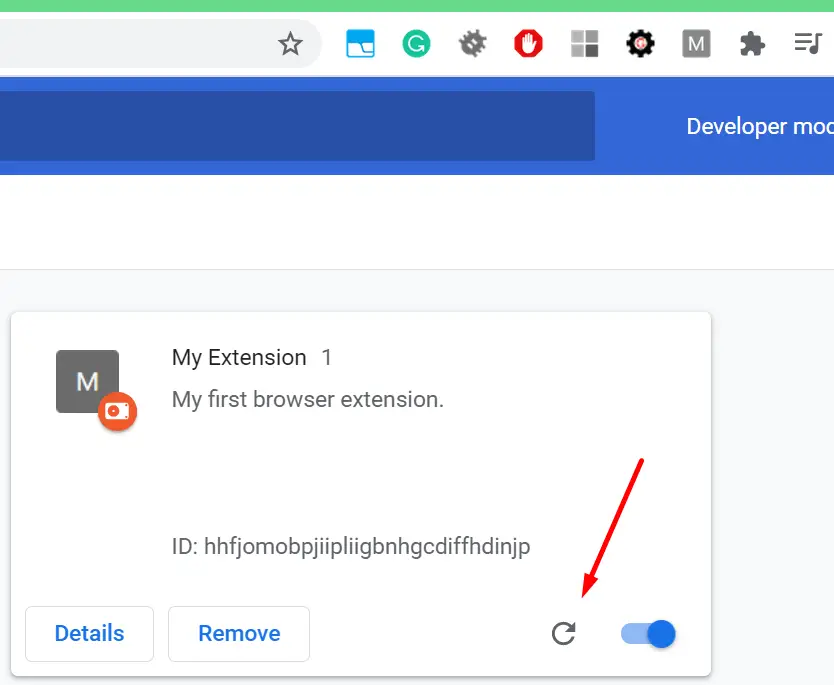
} Open up your browser(Chrome in my case) go to the extensions(chrome://extensions/), click “Load unpacked” and select your extension folder containing the manifest.json file. The browser should now recognize your extension.


Adding An Icon
{
  "manifest_version": 2,

  "name": "My Extension",
  "description": "My first browser extension.",
  "version": "1",
  "icons": {
    "128": "icon128.png",
    "48": "icon48.png",
    "16": "icon16.png"
  }
} 
Adding a Popup For Our Extension
{
"manifest_version": 2,
"name": "My Extension",
"description": "My first browser extension.",
"version": "1",
"icons": {
"128": "icon128.png",
"48": "icon48.png",
"16": "icon16.png"
},
"browser_action": {
"default_icon": "icon16.png",
"default_popup": "popup.html"
}
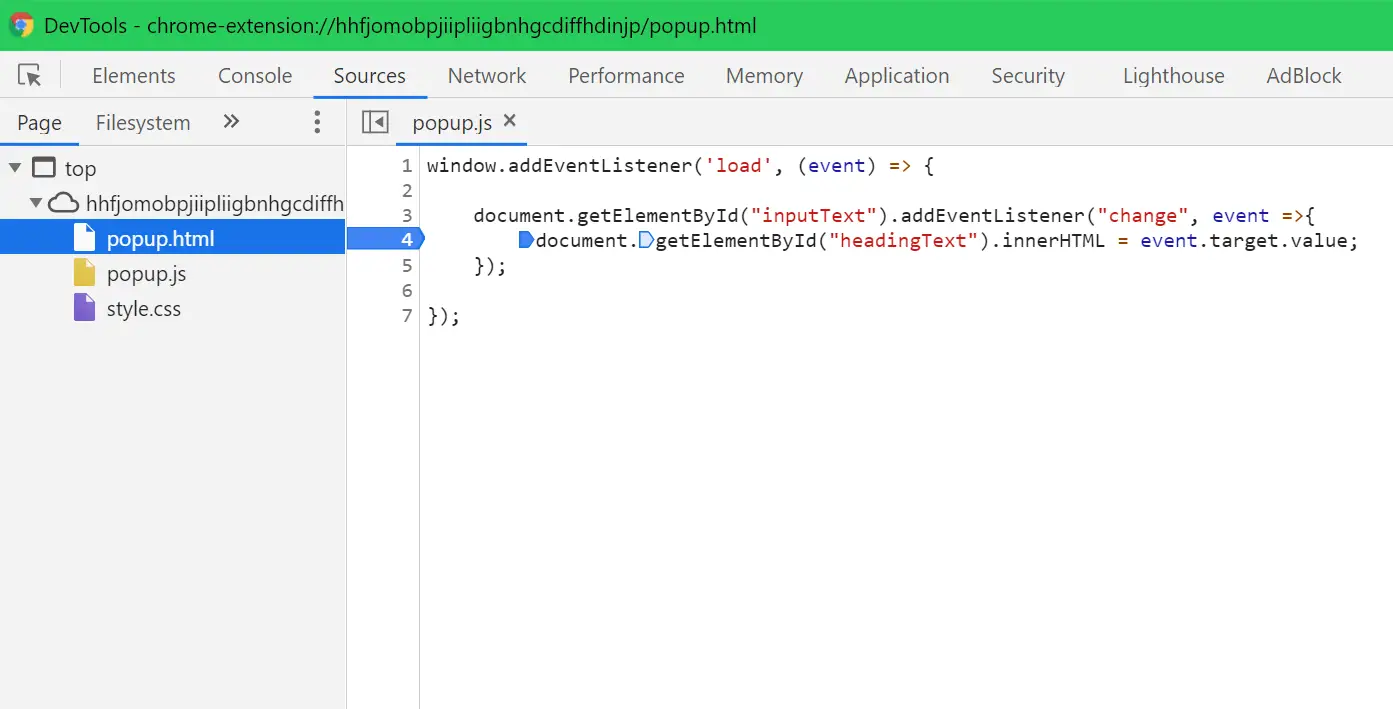
} Now make a file named popup.html in the extension directory. Inside define the desired layout for your popup. I also added a style.css for the styling, popup.js for the code and linked to both files from the HTML file. I won’t go into detail about HTML, CSS and JS as I assume you already know how to work with them.
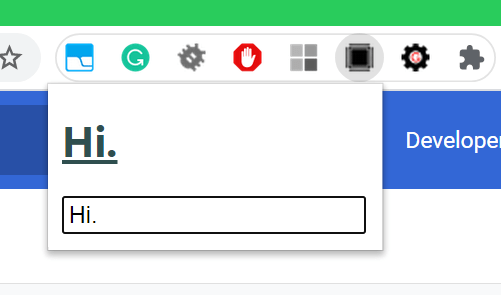
This is just an example of the basic functionality. All the popup will do is take whatever you put in the text box and display it above it in the heading.

HTML:
<!DOCTYPE html>
<html>
<head>
<title>Hello World</title>
<link rel="stylesheet" type="text/css" href="style.css">
<script src="popup.js"></script>
</head>
<body>
<h1 id="headingText">Hello World!</h1>
<input type="text" id="inputText">
</body>
</html> CSS:
h1{
font-weight: bold;
color: darkslategrey;
text-decoration: underline;
}
JS:
window.addEventListener('load', (event) => {
document.getElementById("inputText").addEventListener("change", event =>{
document.getElementById("headingText").innerHTML = event.target.value;
});
});
Note:
Run Code On The Current Web Page
{
  "manifest_version": 2,

  "name": "My Extension",
  "description": "My first browser extension.",
  "version": "1",
  "icons": {
    "128": "icon128.png",
    "48": "icon48.png",
    "16": "icon16.png"
  },

  "browser_action": {
    "default_icon": "icon16.png",
    "default_popup": "popup.html"
  },

  "content_scripts": [{
    "matches": [
      "<all_urls>"
    ],
    "js": ["code.js"]
  }]

}
You can use the matches array to define which URLs our script will be invoked on. In our case, all of them, see the documentation from Google if you want to know how to perform matching to some specific pattern.
The js array defines all the scripts that will get called when the URL matches.
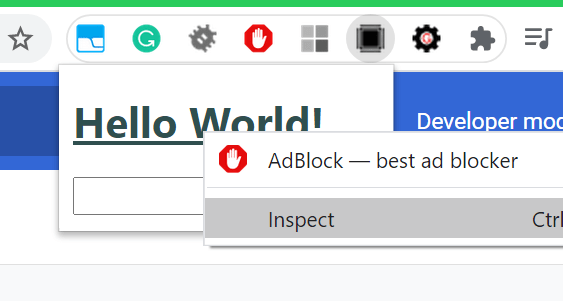
This simple bit of code here will get all the h2 elements and set their color to green.
code.js:
window.addEventListener('load', (event) => {
    let list = document.getElementsByTagName("H2");

    for(let element of list){
        element.style.color = "green";
    }
}); 
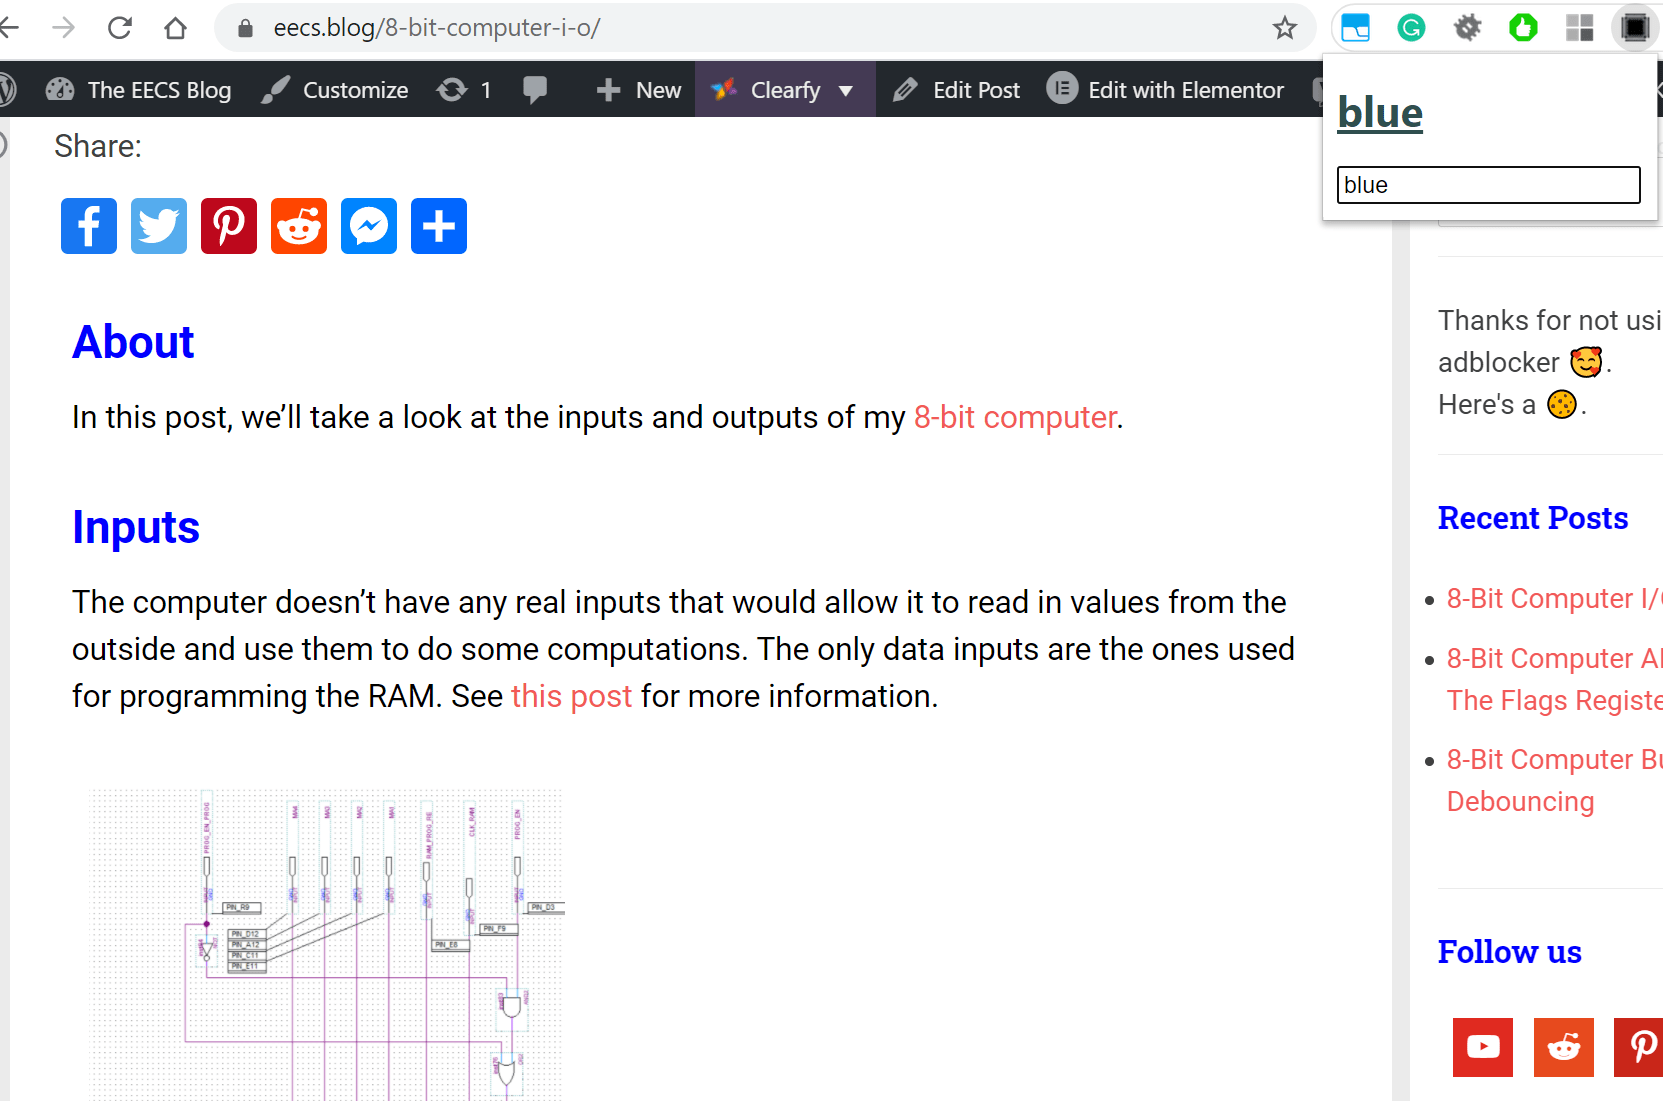
Popup and Web Page Script Communication
So far we have two different js scripts, one that is loaded when the extension popup is opened and one when the page gets loaded.
Here we’ll see how to send data from one to another. We’ll enter a color in the text box in the popup and send that to the script running on the web page to change all the h2 elements accordingly.
popup.js:
window.addEventListener('load', (event) => {

    document.getElementById("inputText").addEventListener("change", event =>{
        const color = event.target.value;
        document.getElementById("headingText").innerHTML = color;

        //Send color to web page in tab.
        chrome.tabs.query({currentWindow: true, active: true}, function (tabs){
            chrome.tabs.sendMessage(tabs[0].id, color);
        });
    });

});
code.js:
window.addEventListener('load', (event) => {
    //When a message is received execute the receivedMessage function
    chrome.runtime.onMessage.addListener(receivedMessage);
});

function receivedMessage(message, sender, response){
    //When the message is received call and pass the value to the colorElements function.
    colorElements(message);
}

function colorElements(color){
    //Get elements.
    let list = document.getElementsByTagName("H2");
    //Color the elements.
    for(let element of list){
        element.style.color = color;
    }
}
Data Storage
{
  "manifest_version": 2,

  "name": "My Extension",
  "description": "My first browser extension.",
  "version": "1",
  "icons": {
    "128": "icon128.png",
    "48": "icon48.png",
    "16": "icon16.png"
  },

  "browser_action": {
    "default_icon": "icon16.png",
    "default_popup": "popup.html"
  },

  "content_scripts": [{
    "matches": [
      ""
    ],
    "js": ["code.js"]
  }],

  "permissions": [
    "storage"
  ]

}
popup.js:
window.addEventListener('load', (event) => {
    //Initialize extension to the stored values.
    chrome.storage.sync.get(['color'], function(color) {
        setColor(color.color);
    });

    document.getElementById("inputText").addEventListener("change", event =>{
        //Get color.
        const color = event.target.value;
        //Set color.
        setColor(color);
        //Save color.
        chrome.storage.sync.set({'color': color}, function(){});
    });
});

function setColor(color)
{
    //Display the selected color.
    document.getElementById("headingText").innerHTML = color;
    //Send color to web page in tab.
    chrome.tabs.query({currentWindow: true, active: true}, function (tabs){
        chrome.tabs.sendMessage(tabs[0].id, color);
    });
}
code.js:
window.addEventListener('load', (event) => {
    //When a message is received execute the receivedMessage function
    chrome.runtime.onMessage.addListener(receivedMessage);

    chrome.storage.sync.get(['color'], function(color) {
        colorElements(color.color);
    });
});

function receivedMessage(message, sender, response){
    //When the message is received call and pass the value to the colorElements function.
    colorElements(message);
}

function colorElements(color){
    //Get elements.
    let list = document.getElementsByTagName("H2");
    //Color the elements.
    for(let element of list){
        element.style.color = color;
    }
}
Well, this is it, you should now have the basic knowledge for making a browser extension. For any additional information see the documentation from Google. You can get the full code on Github.


thanks really helpfull