DIY Raspberry Pi Microscope

Raspberry Pi Microscope
Share:

About

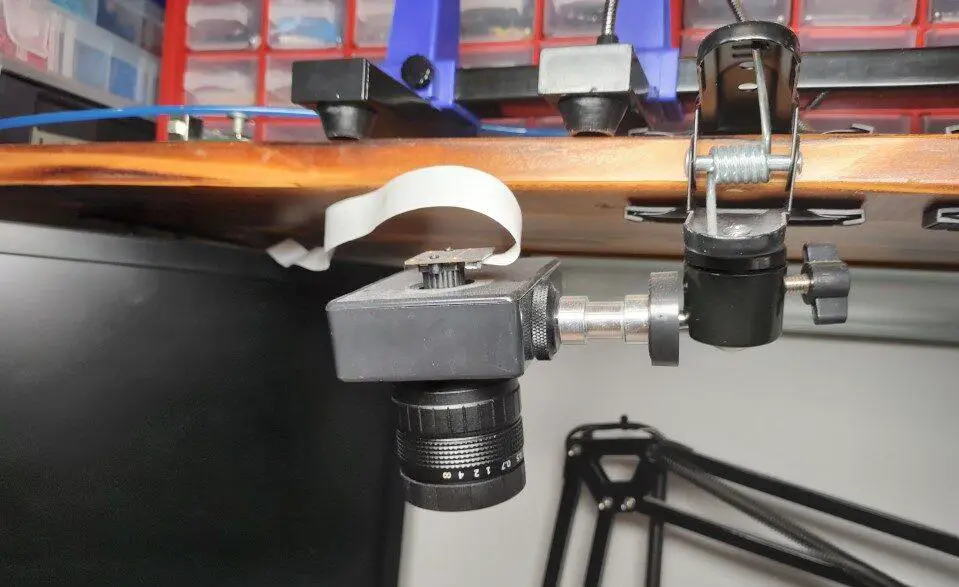
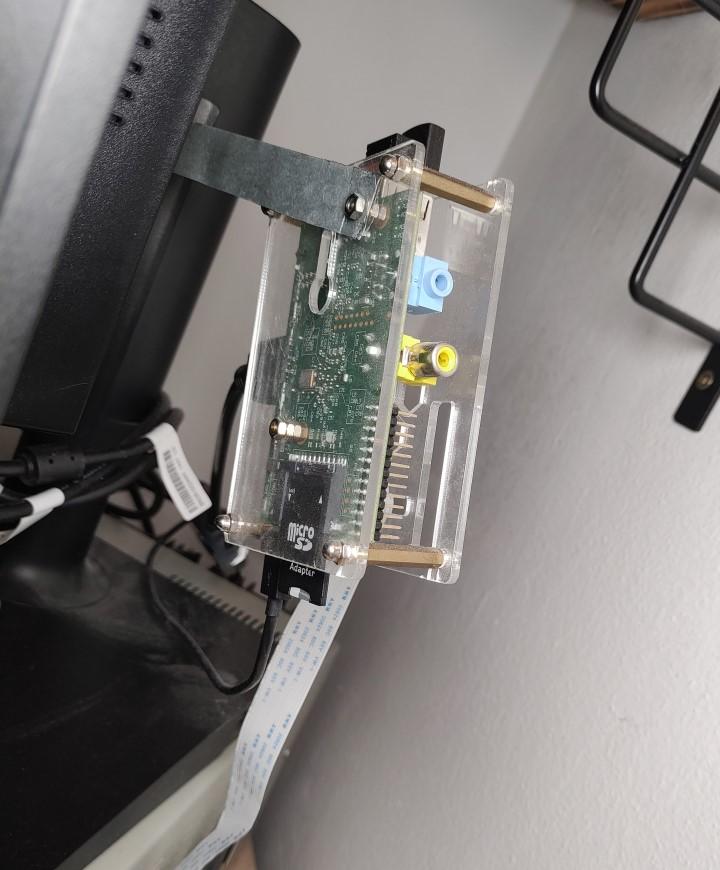
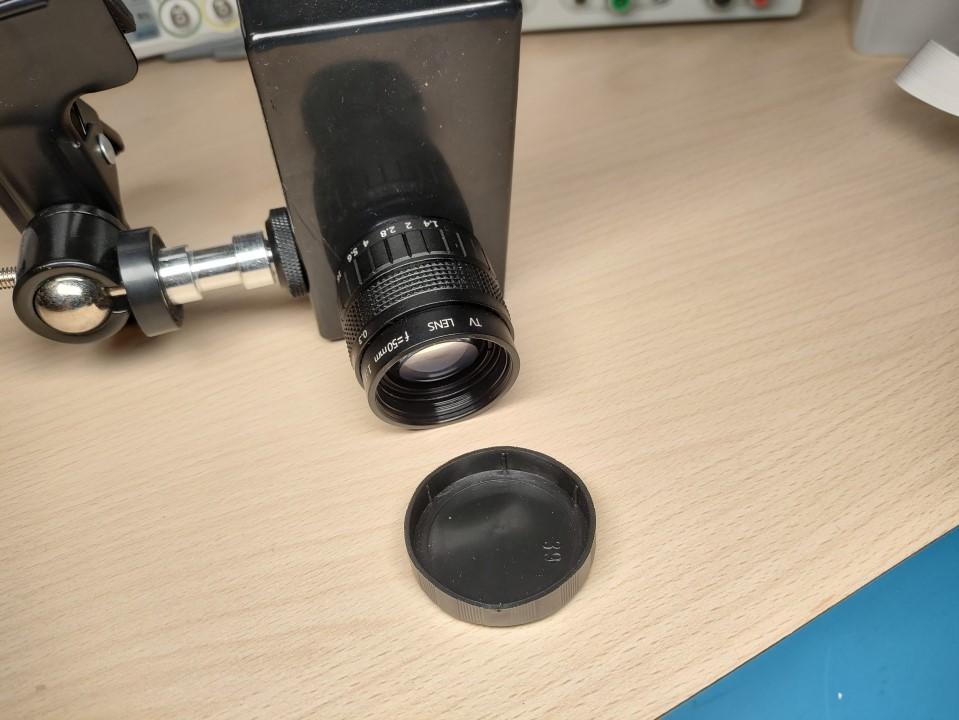
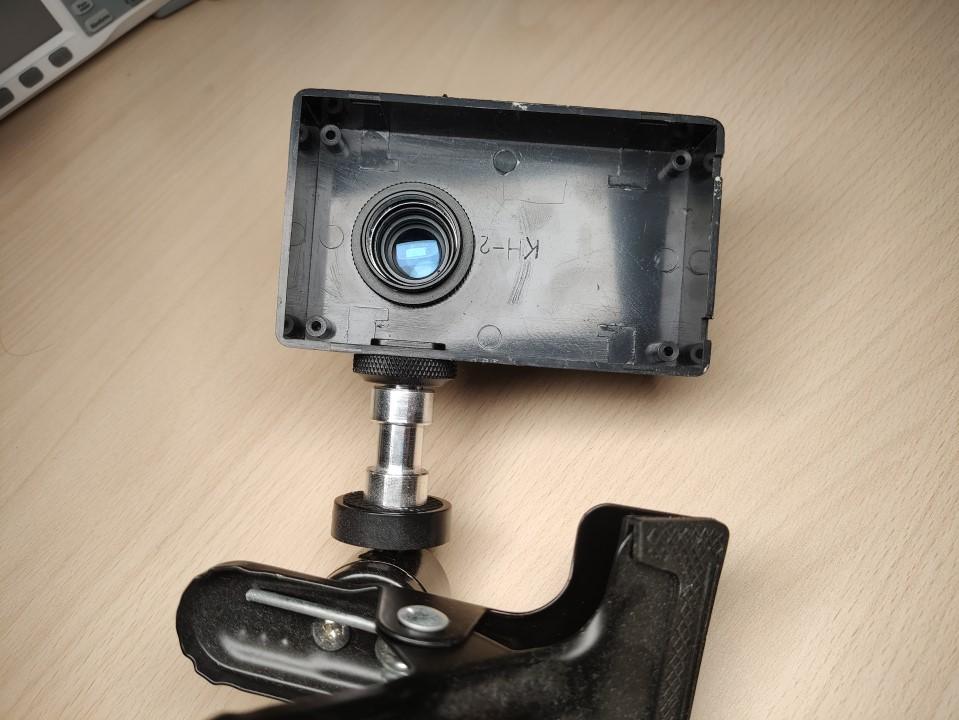
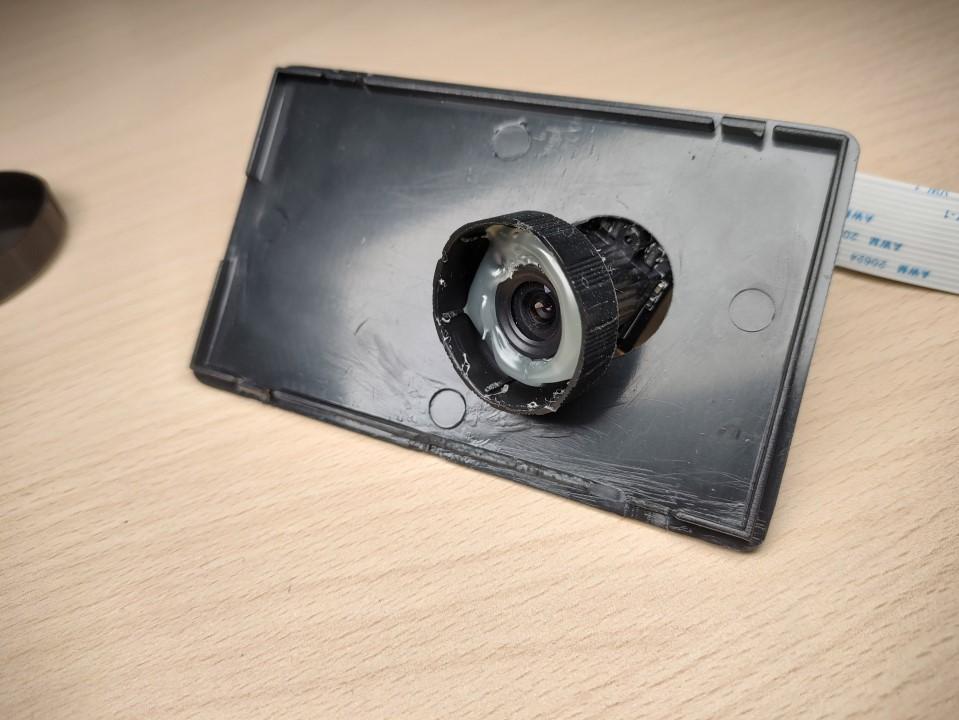
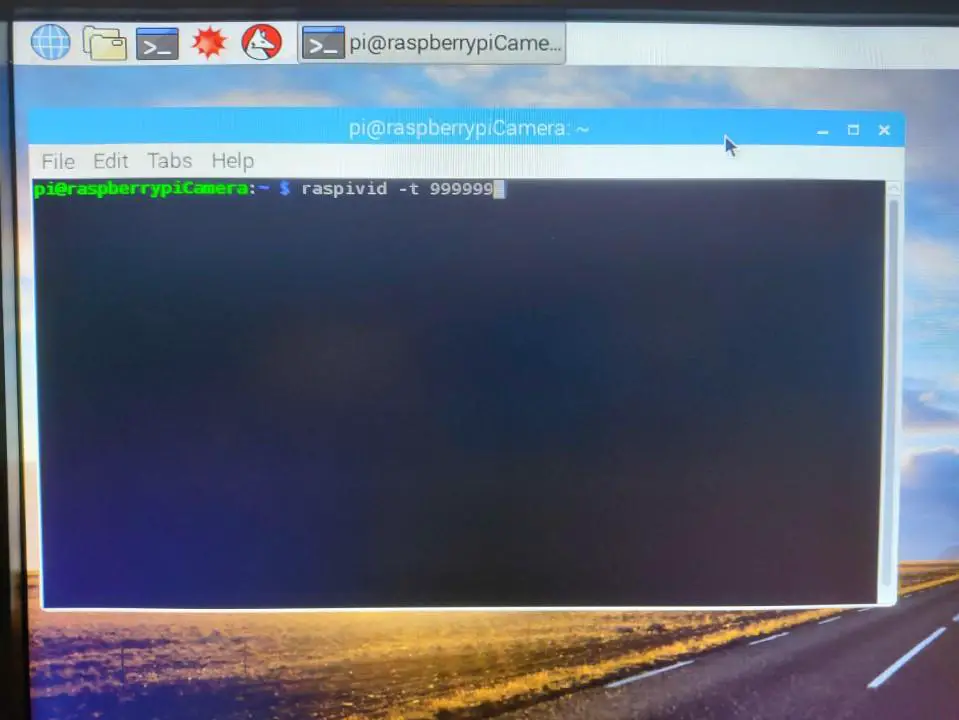
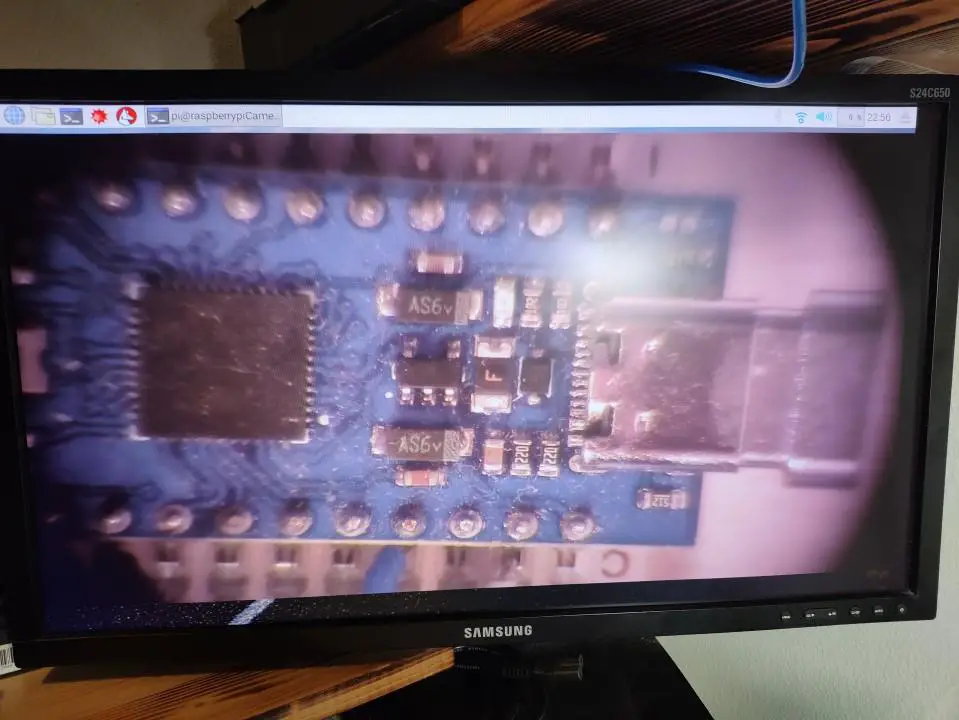
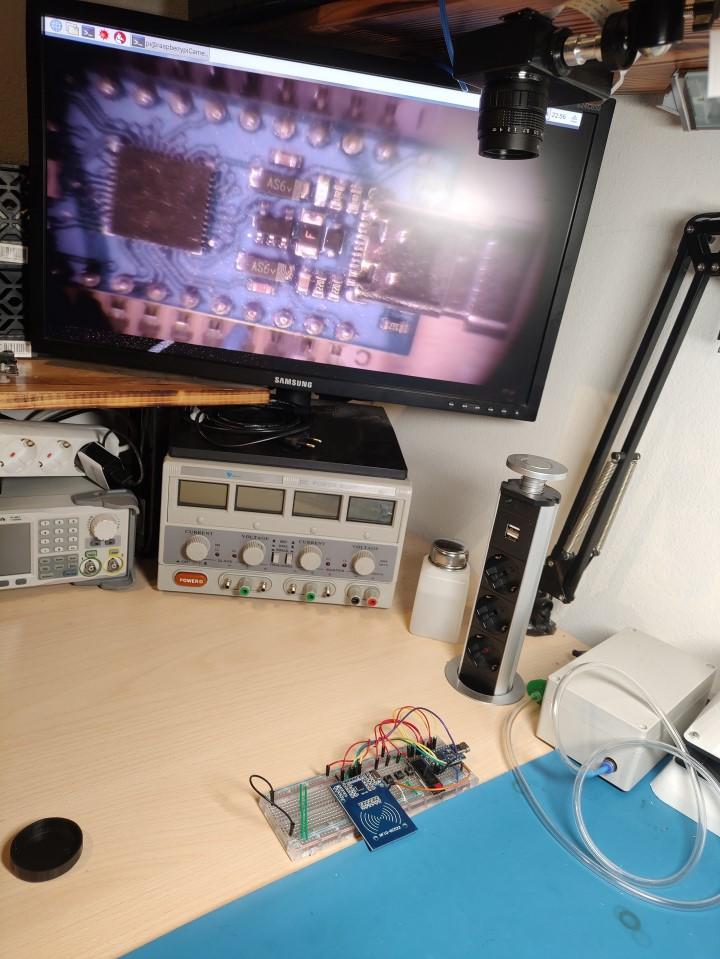
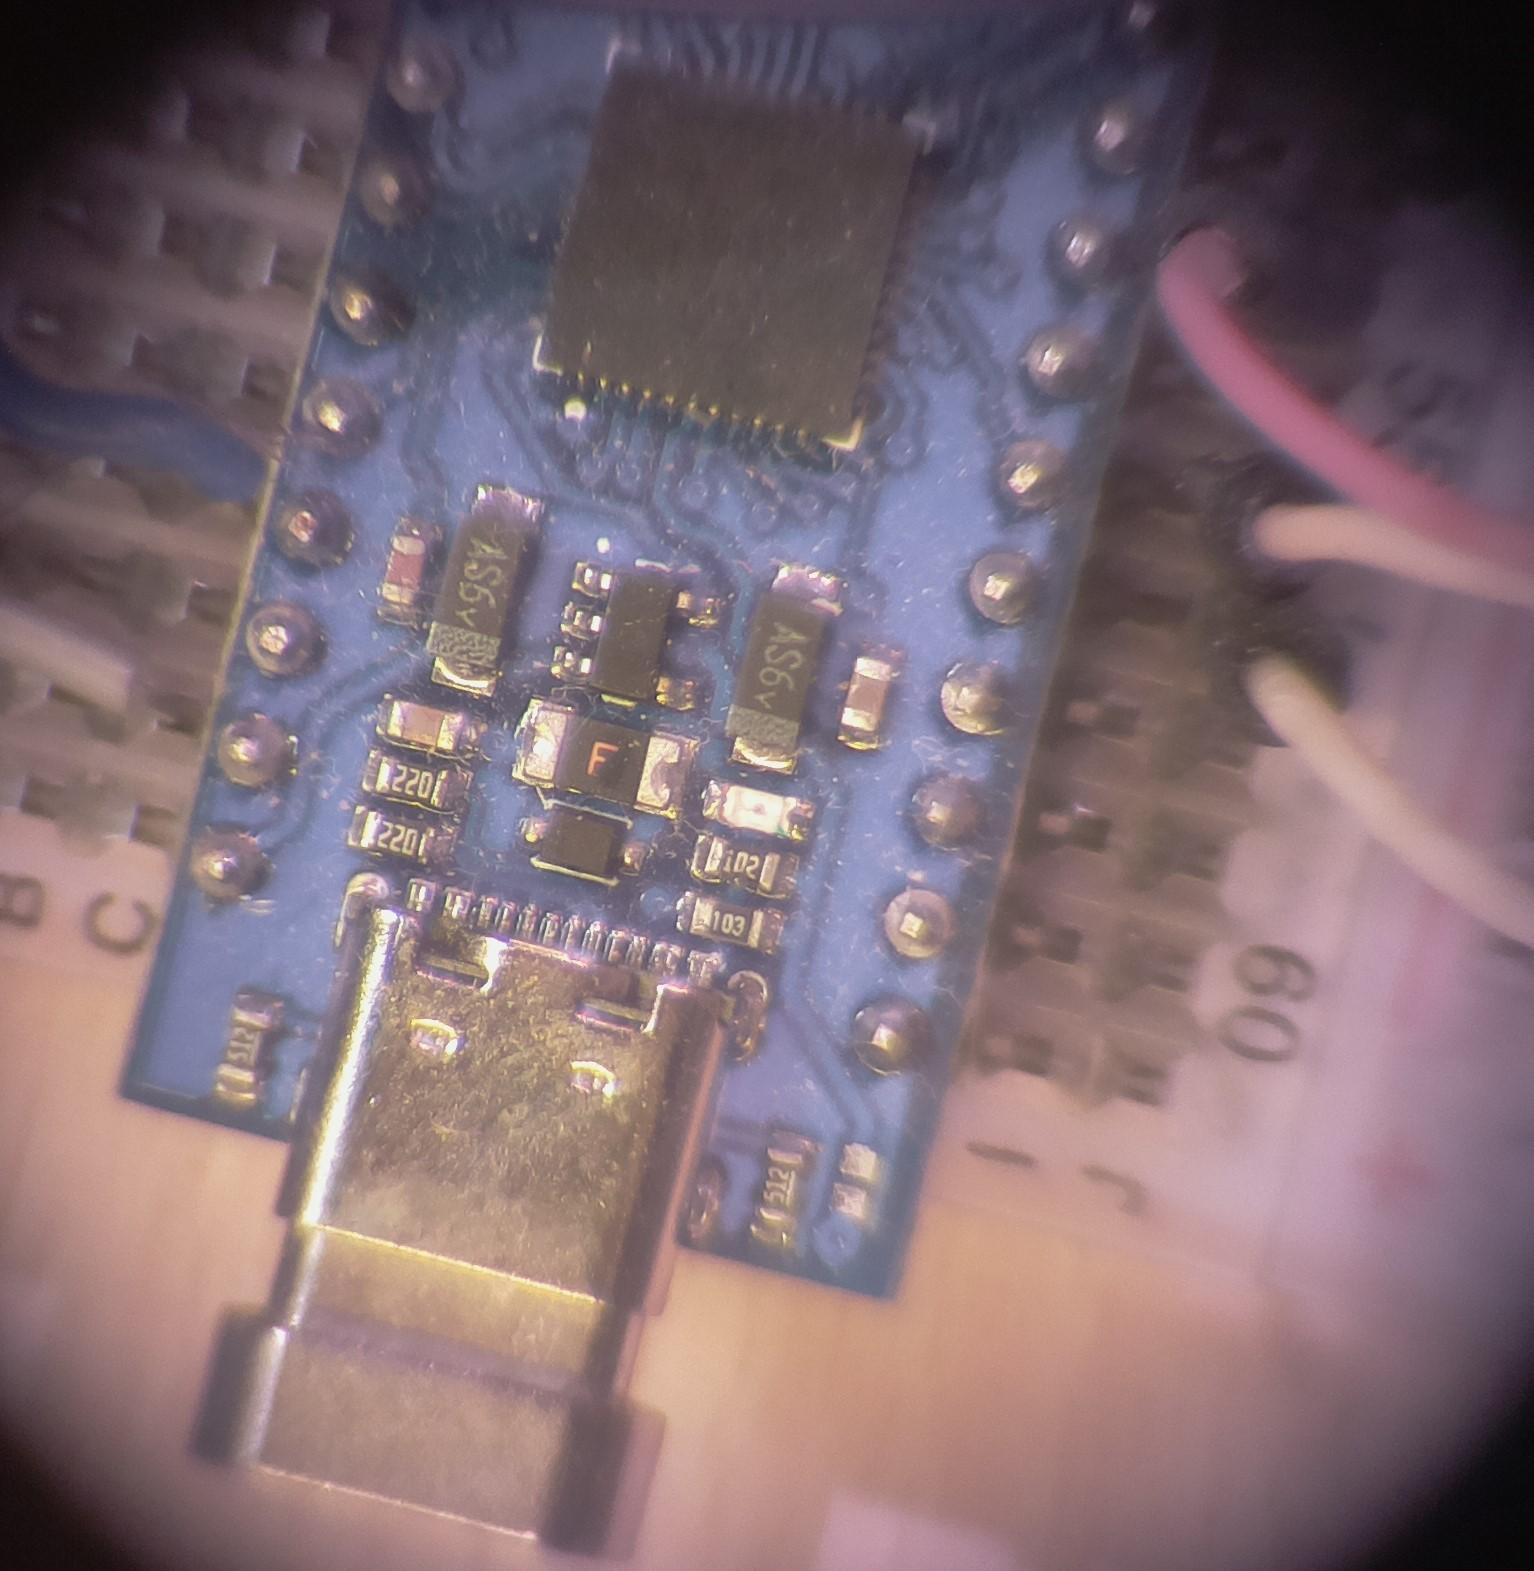
In this post, I’ll show you a Raspberry Pi microscope I made for soldering and inspecting PCBs. The great thing about it is that it has a long working distance. This enables the microscope to be mounted on the shelf above my workbench so it doesn’t get in the way. An additional benefit is that the image doesn’t shake if you bump the table when working.

Hardware used:

I mounted the Raspberry Pi behind the monitor which will be used to display the image. The camera is connected to the Pi via an extended ribbon cable.
The lens is mounted to the plastic box which is mounted onto the clamp. To attach the camera to the lens I drilled a hole into the plastic lens cap and hot glued it in.
To see a continuous video feed from the camera on the Raspberry Pi type this into the command line: raspivid -t 999999
This is the final result:
Share:

Leave a Reply

Your email address will not be published. Required fields are marked *

The following GDPR rules must be read and accepted:
This form collects your name, email and content so that we can keep track of the comments placed on the website. For more info check our privacy policy where you will get more info on where, how and why we store your data.

Advertisment ad adsense adlogger