Installing Tasmota On The Sonoff Smart Switch

sonoff smart switch
Share:

About

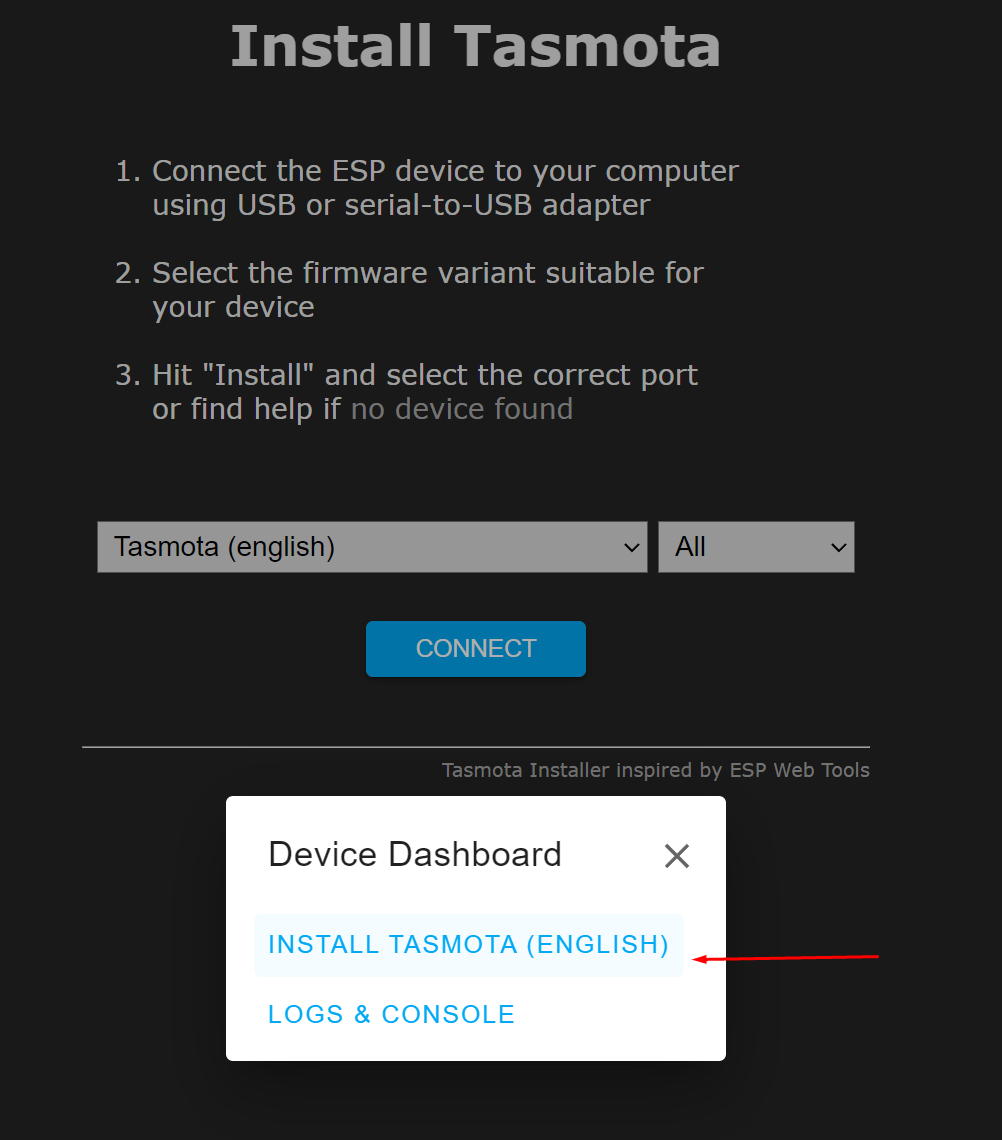
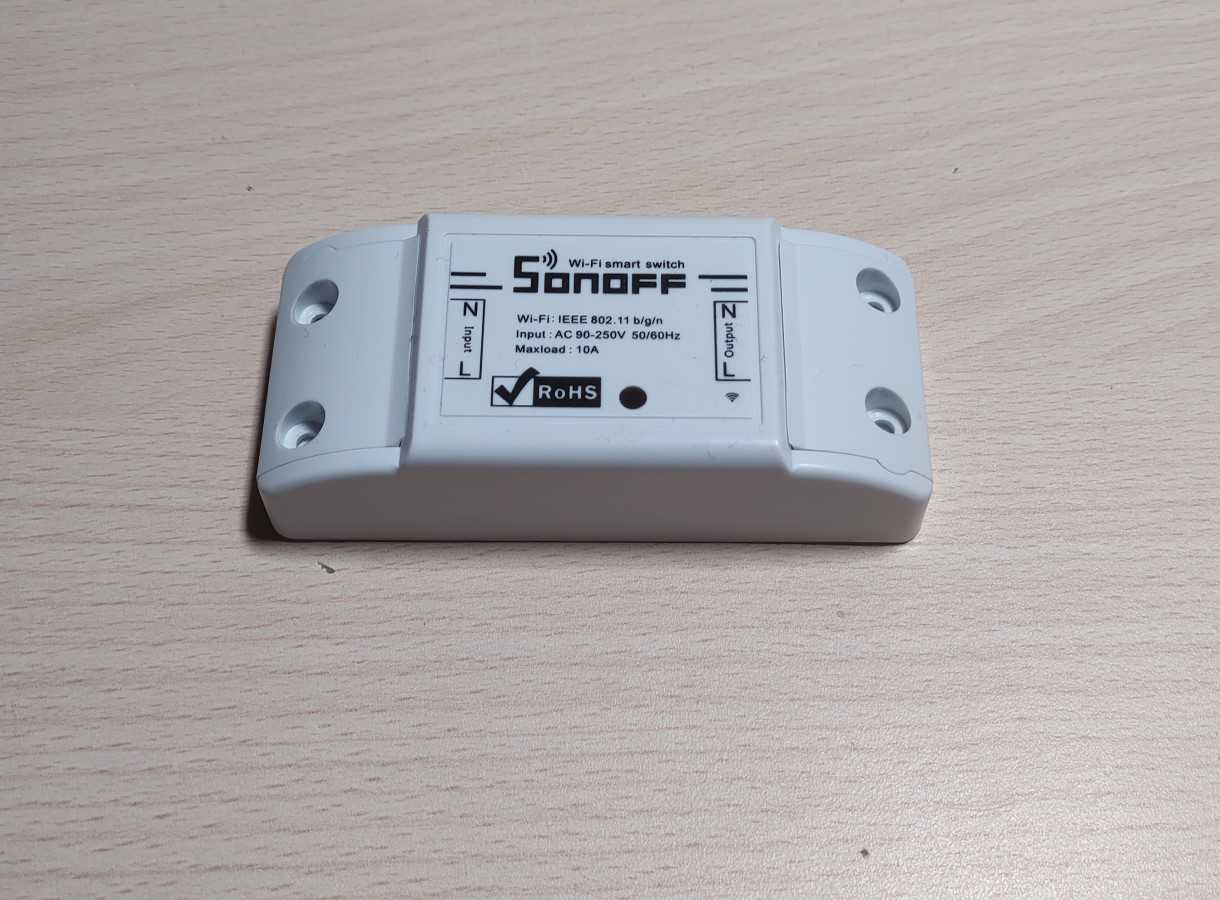
In this post, I will show you how to flash a Sonoff Wi-Fi smart switch with the Tasmota firmware. Tasmoata is open source firmware for ESP chips. It gives you extra functionality like control via HTTP, Web UI, MQTT or serial compared to the Sonoff app. It also makes it easy to integrate with other services like Home Assistant. But most importantly it has no external dependencies and it won’t collect your data.

Hardware used:

Hardware Connections

Unscrew the terminal covers on both ends of the switch and open up the plastic case by popping out its bottom piece. Next, solder in some pin headers into the empty holes in the PCB(see image).

Connect the serial to USB converter like in the image above.

Board to Converter connections:

    • Green -> Vcc
    • Red -> Gnd
    • Yellow -> TX
    • Orange -> RX 

Flashing Process

Go to the Tasmota web installer here and do the following:

After you are done with the flashing process disconnect the power to switch and then power it up again. You should now see the Tasmota AP pop up if you scan for wifi networks.

Connect to it and you should be automatically redirected to the web UI of your smart switch where you must connect to your wireless network. 

After you connect your Sonoff smart switch to a wifi network type the IP address that was assigned to it into your browser(you must be in the same network). The following Tasmoat configuration web page should open.

Note: Consider adding a static IP for the switch in your router settings so DHCP doesn’t change it.

Share:

Leave a Reply

Your email address will not be published. Required fields are marked *

The following GDPR rules must be read and accepted:
This form collects your name, email and content so that we can keep track of the comments placed on the website. For more info check our privacy policy where you will get more info on where, how and why we store your data.

Advertisment ad adsense adlogger