How To Revive A Dead GPU

dead GPU fix by heating
Share:

About

In this post, I’ll show you how I fixed my dead GPU by simply heating it up.

Some time ago the GPU in my old computer died(black screen). I managed to repair it by simply slowly heating it up, keeping up the heat for some time and then slowly lowering the temperature back down again. As my previous PC was quite old when this happened I got myself a new one and haven’t used the old PC very much since then. So I don’t know how much longer the fixed GPU might have lasted after that.

Disclaimer

To clear things up a graphics card can break because of multiple reasons GPU, VRAM, DC-DC converters, dirt on the card, bad connections, etc. Ideally, you would troubleshoot it like any other piece of electronics check the voltages, make sure there are no shorts and nothing is overheating, … But if you lack the knowledge, time or skill you can simply heat it up and hope that this will fix the problem(and in some cases it does). You could potentially scorch the board, melt connectors and damage components. But hey if you were going to throw it away might as well try right? 

This might help only if your actual GPU die went bad. It won’t help if other components are bad or there is a short on the board. Also, a common misconception is that the BGA(ball grid array) connections of the GPU to the graphics card PCB(printed circuit board) are cracked and that by reflowing the solder those bad connections get fixed. But in most cases, there are no cracks in the solder connections so reflowing the board won’t fix the issue. Instead only the GPU has to be heated up for some time and its internals will “magically” fix themselves. 

Also, your “fixed” GPU might not last very long(maybe a few days, weeks or months) if the IC(integrated circuit) continues to operate in the same conditions that led to the failure in the first place.

How Does The GPU Actually Get Fixed?

Well, this would be quite a lengthy write-up(I might make a post about it sometime in the future) to fully explain what goes on inside the GPU and why it can “magically” fix itself if heated up.

But to put it briefly what happens is the metalization lines(internal interconnects between transistors) erode due to a phenomenon called electromigration. With time the electrons will move or push atoms in the metal interconnects down the line literally eroding them in one spot causing a void and then depositing the material making a hillock. This effect only gets worse with higher temperatures as diffusion is more likely to happen. 

hillocks and voids in metalization lines
Source: https://web.stanford.edu/class/ee311/NOTES/Interconnect_Al.pdf
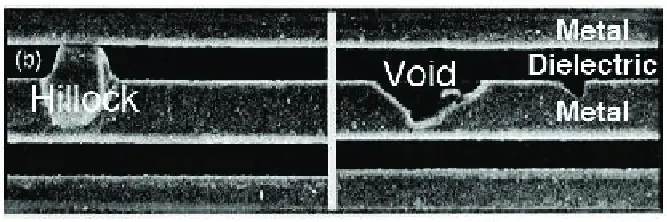
A hillock can short two lines together and a void can break a line but I believe the most common mode of failure due to electromigration are timing errors that arise from the impedance mismatch caused by voids/hillocks. Also, an impedance mismatch in the transmission line will cause reflections to occur which will further degrade the signal integrity.
delay induced by transmition line degradation
Source: https://www.researchgate.net/figure/Optimal-Vdd-for-minimum-degradation-of-circuit-performance-for-two-different-16-nm-SRAM_fig30_262938329

Impedance is frequency dependant which means the higher the frequency is the worse the timing errors will get. This is why sometimes a GPU/CPU might appear to work until you load it down and your PC crashes. The reason for this is that under load the clock frequency will get boosted causing the timing errors to become significant enough to cause an error.

impedance mismatch
Source: https://electronics.stackexchange.com/questions/235886/impedance-matching-for-high-speed-pulse-generators

Now let’s go back to the initial question of how does the chip fix itself. When the atoms are deposited somewhere down the metalization line this causes internal stresses or “pressure” in the material. So when we reheat it unpowered some of the atoms will migrate back to where there is less “pressure” in the material. This can improve the impedance of the transmission line enough to make the IC work again. However, this will usually not last very long(maybe a few days, weeks or months) if the IC continues to operate in the same conditions that led to the failure in the first place.

electromigration
Source: https://web.stanford.edu/class/ee311/NOTES/Interconnect_Al.pdf

How To Do It?

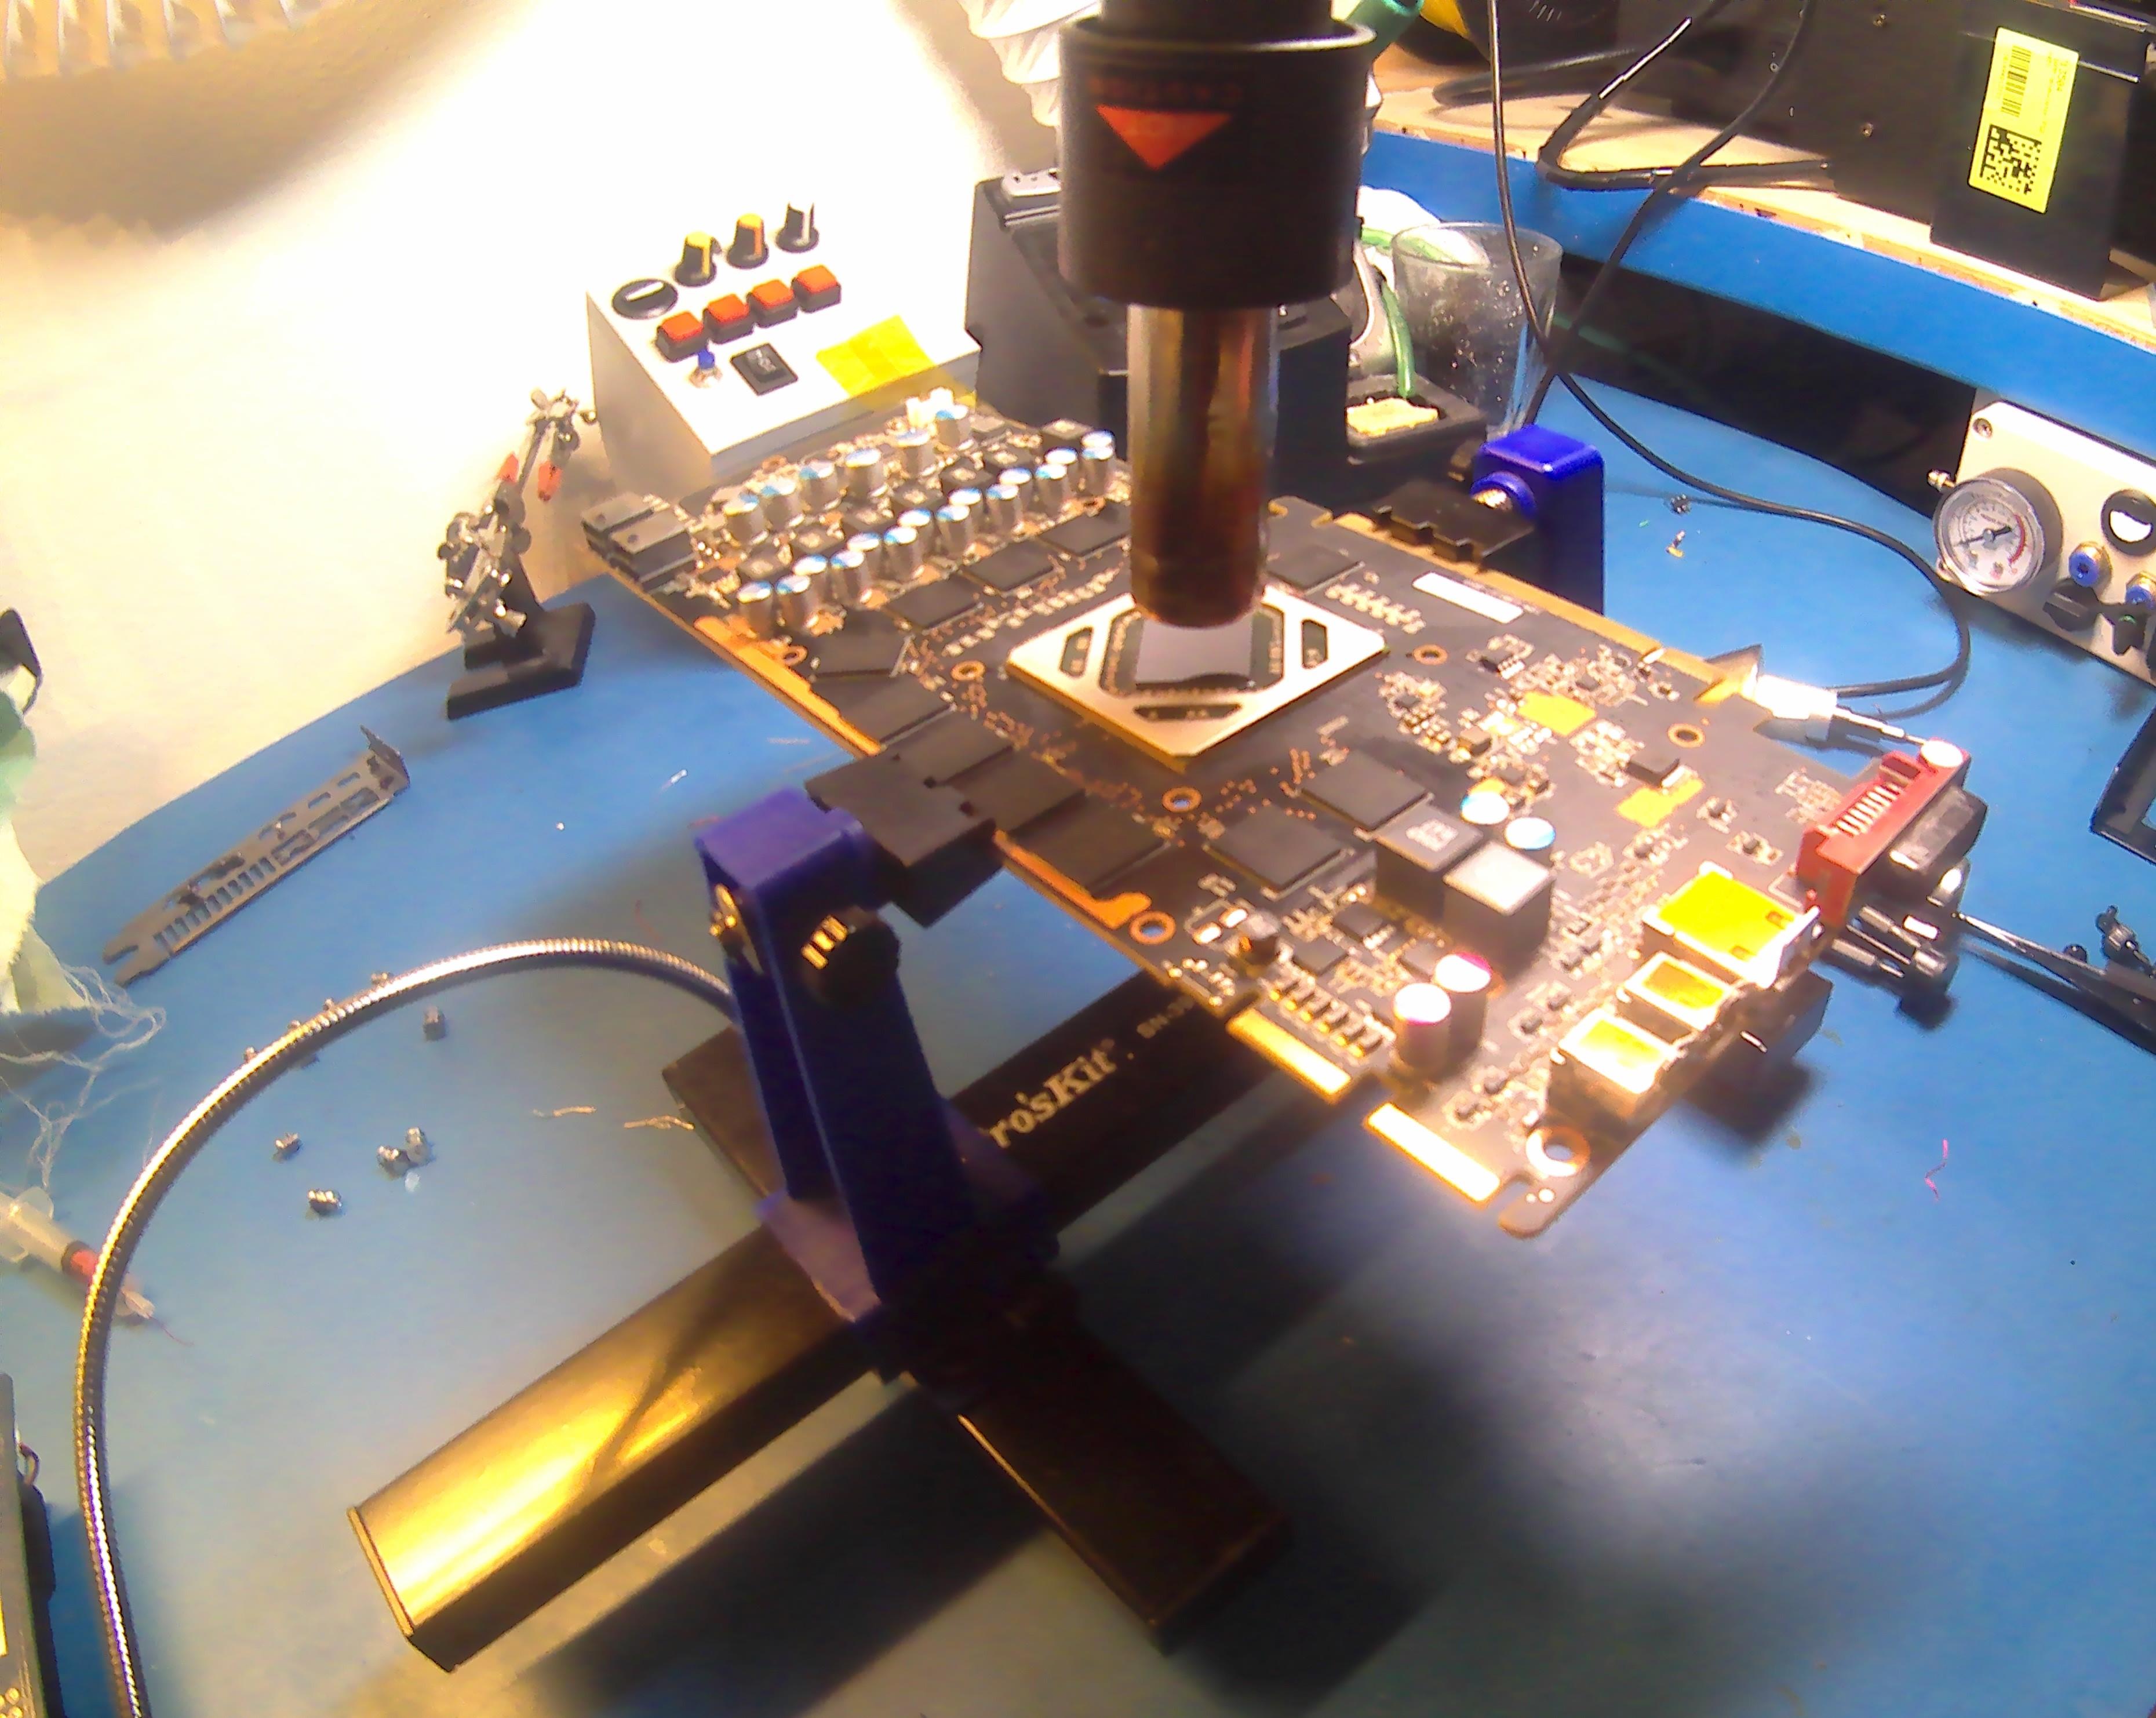
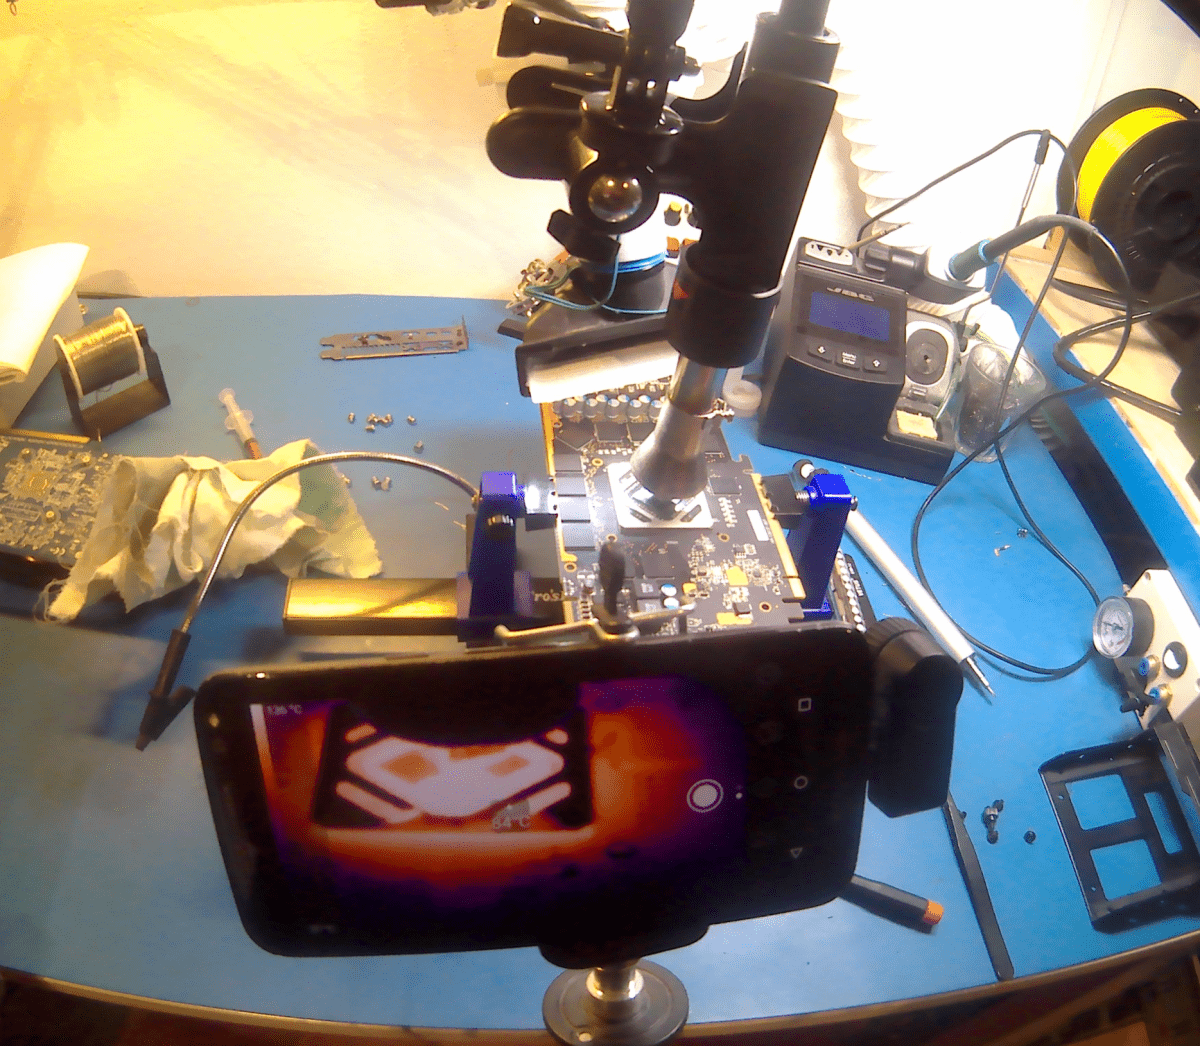
I disassembled the graphics card, put the PCB into a holder and mounted the nozzle of my hot air station above the chip. If you don’t have a hot air station you can use a hot air gun or put the whole graphics card into an oven(keep the temperatures a bit lower in this case).
I started by preheating the chip for about 15 minutes at around 150 ℃. I used a thermal camera to monitor the process.
Note: The shiny metal appears to be at a much lower temperature. This happens because it has a low emissivity and the IR light we are seeing is not from the object itself but rather a reflection of its surroundings.
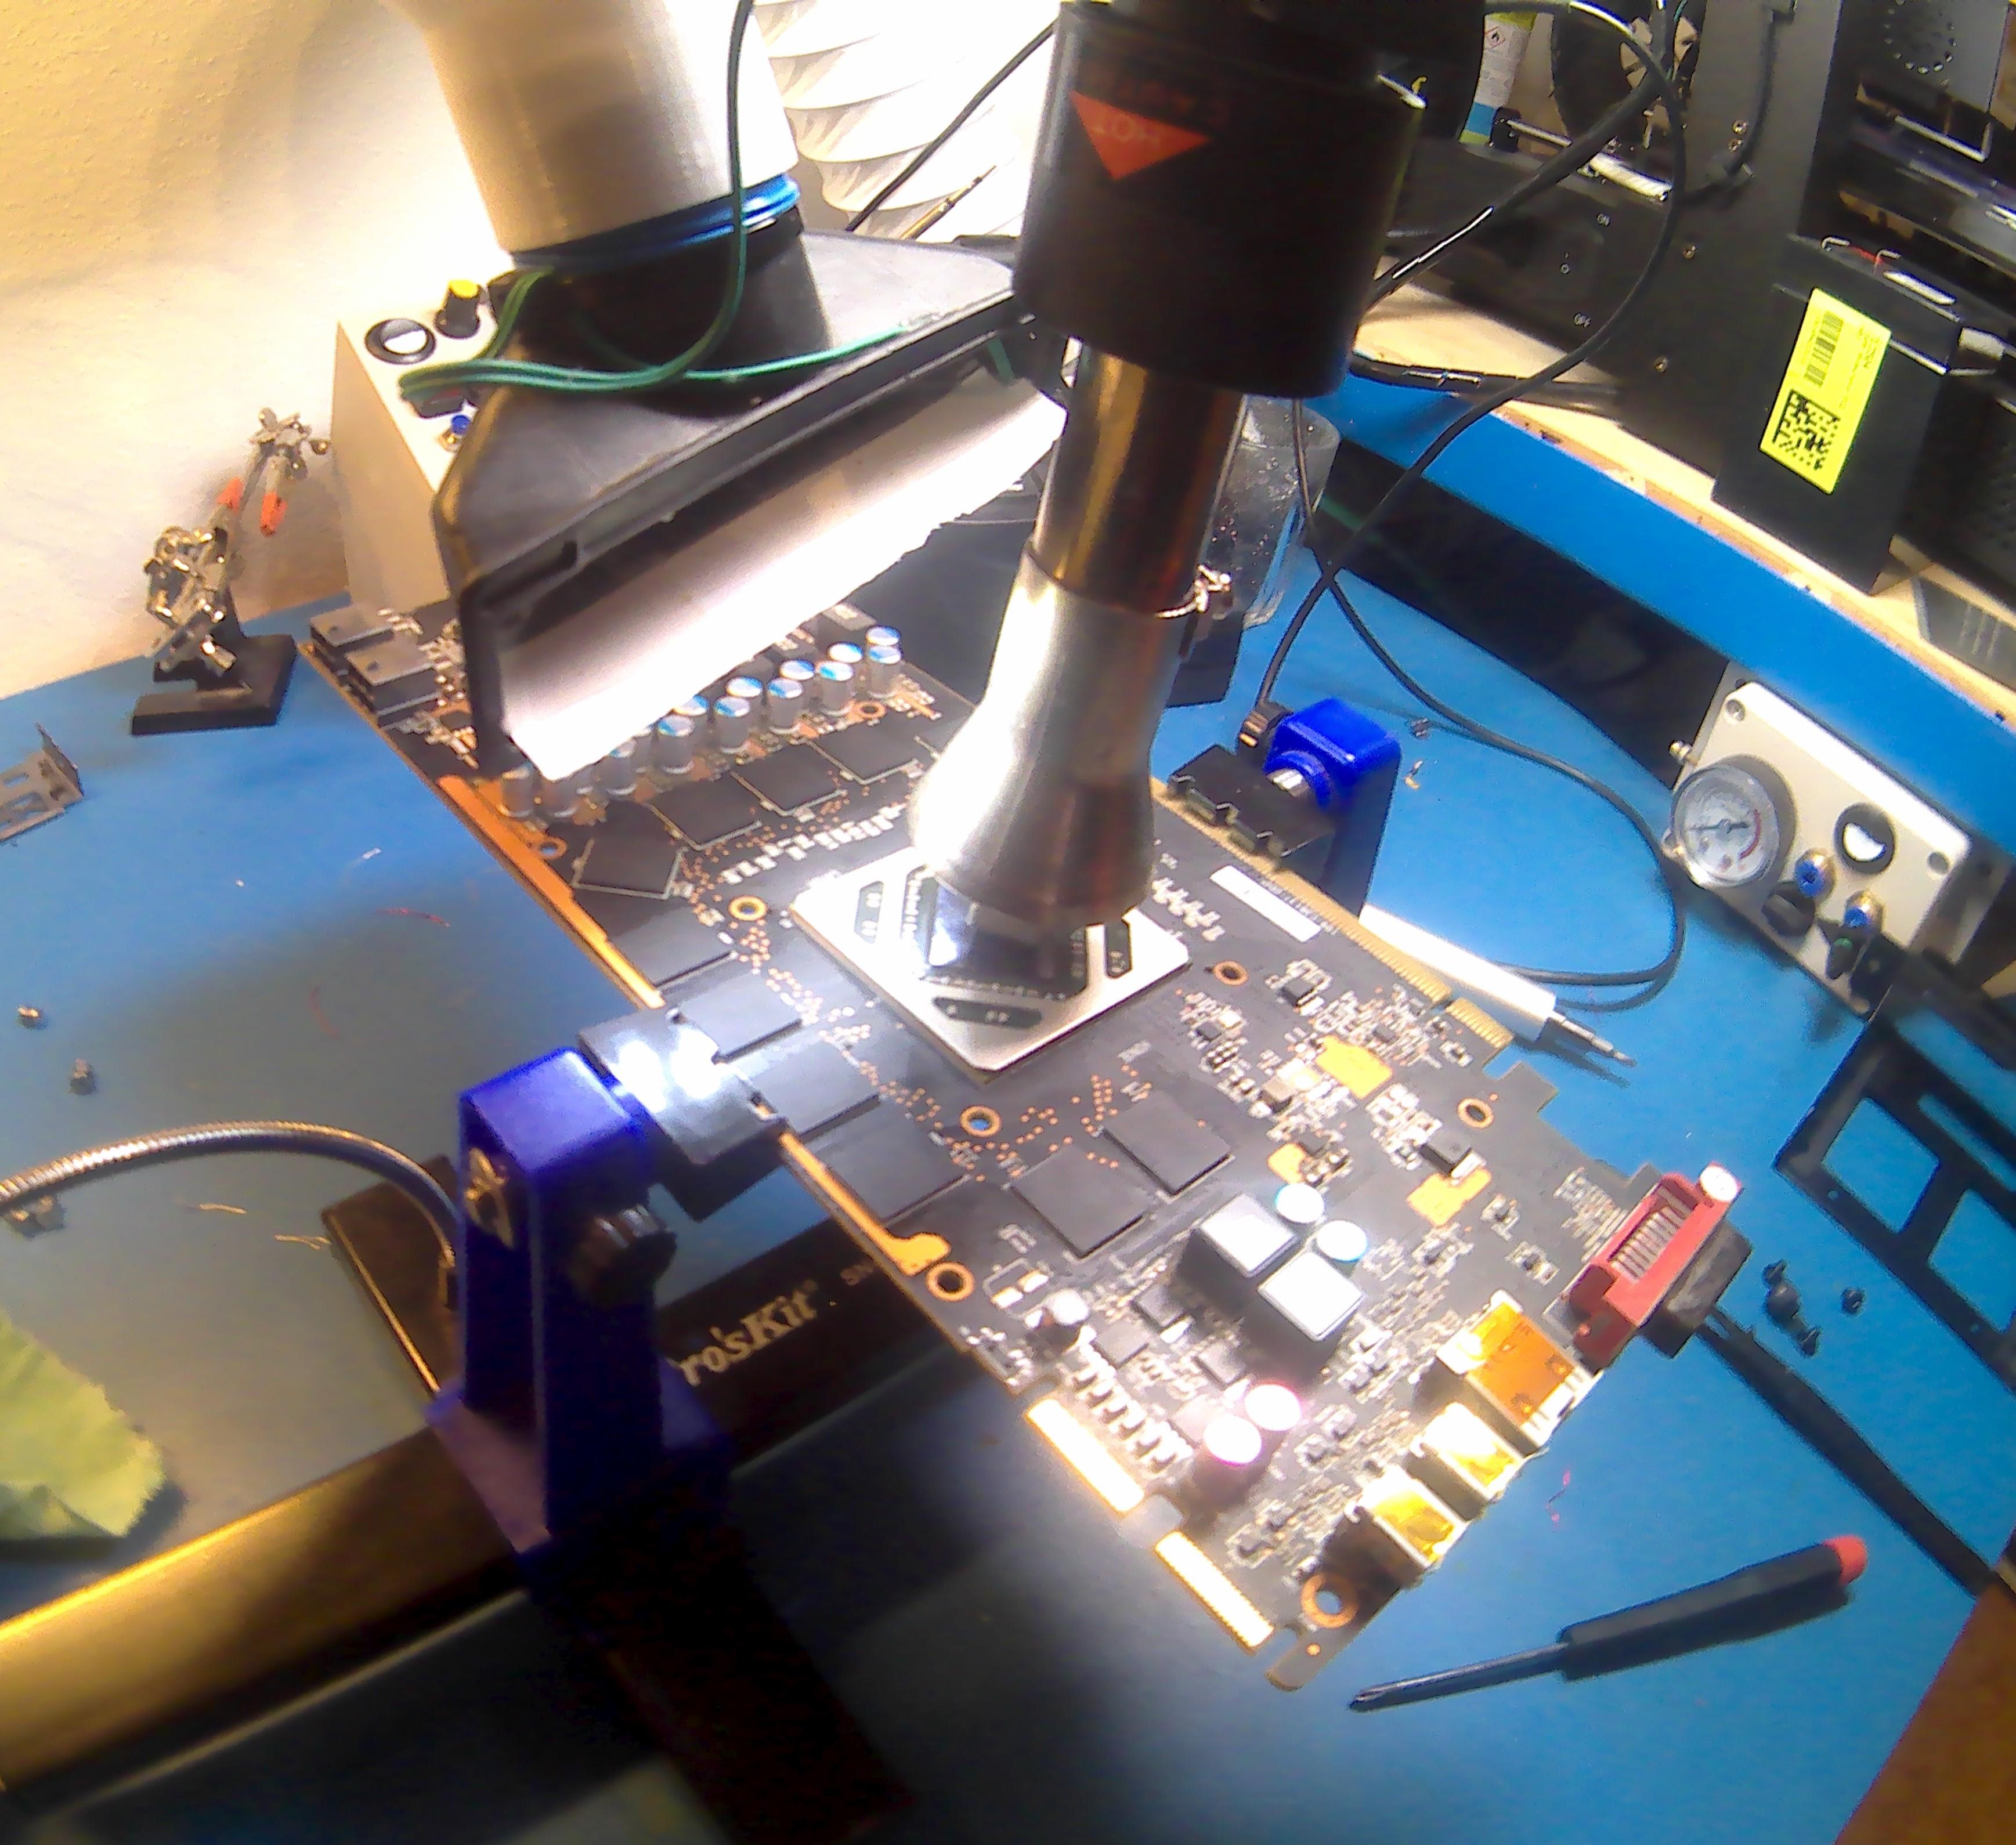
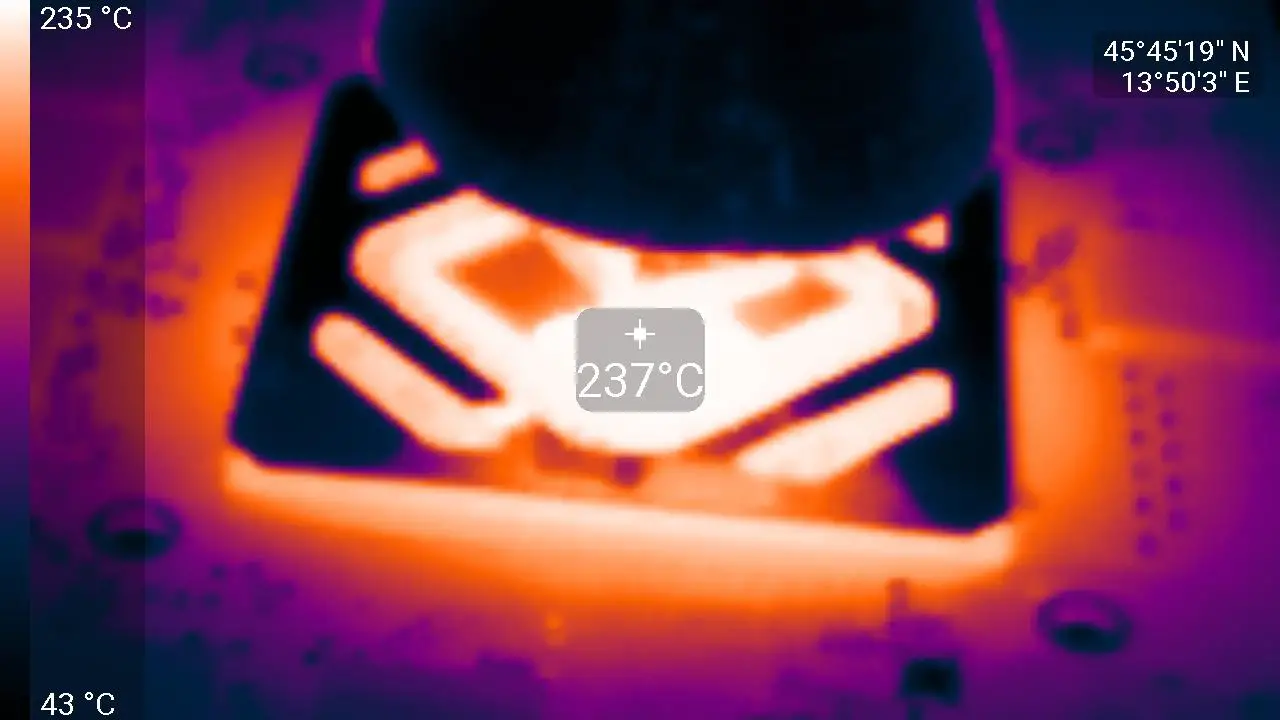
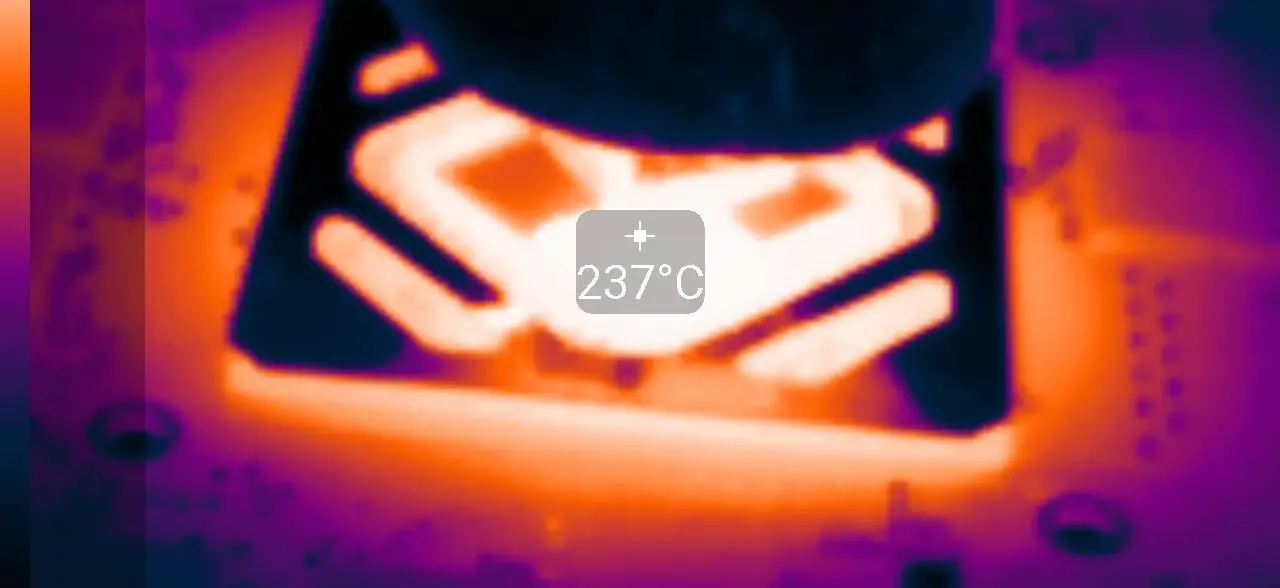
Next, I put a different nozzle on the hot air station to concentrate the airflow onto the die. I also increased the air temperature to about 250 ℃ and kept it there for about 10-15 minutes(the die itself doesn’t have to reach that temperature).
Finally, I decreased the hot air temperature to around 150℃ and kept it there for about 15 minutes. After that let the GPU cool down at room temperature,  reassemble it and if you are lucky it might just work again.
Share:

Leave a Reply

Your email address will not be published. Required fields are marked *

The following GDPR rules must be read and accepted:
This form collects your name, email and content so that we can keep track of the comments placed on the website. For more info check our privacy policy where you will get more info on where, how and why we store your data.

Advertisment ad adsense adlogger